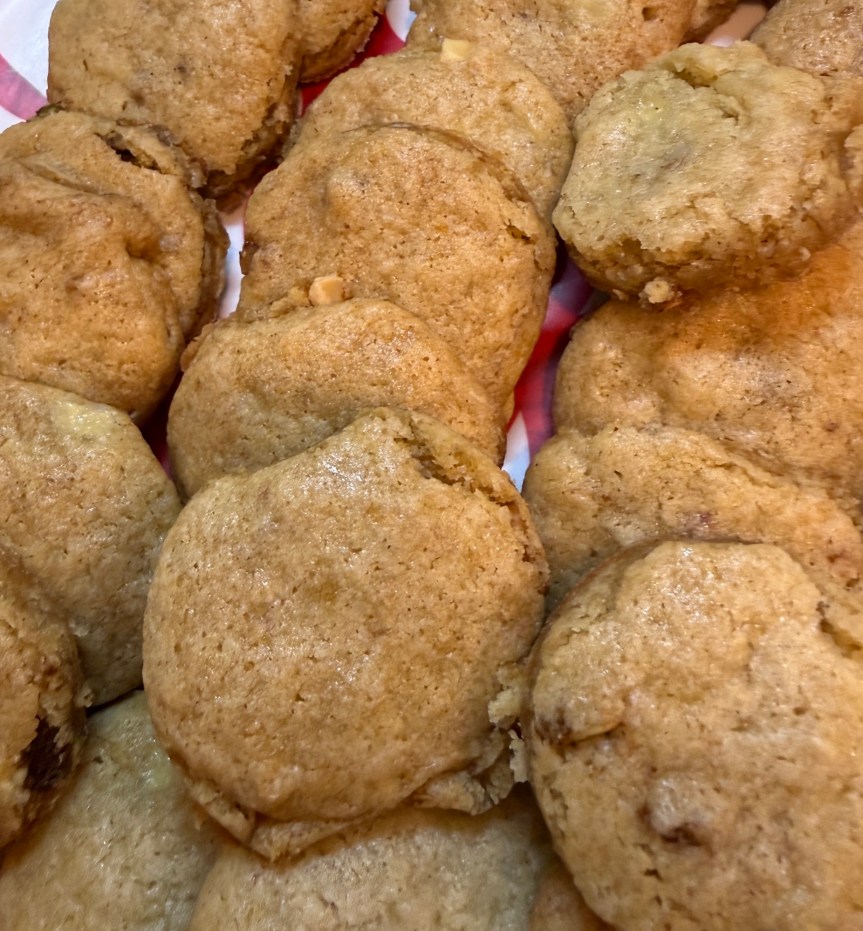
Over-Ripe Banana Bread Cookies – Vegan & Gluten Free

I love bananas, but you know how the story goes: you buy them green on Saturday, and somehow, by Thursday, they’ve gone from perfectly ripe to “what am I supposed to do with these?“

These cookies are my weekly answer to over-ripe bananas! Sure, you can freeze them for smoothies (and I do that, too), but why not turn those spotty bananas into something everyone will be begging for?

These cookies are incredibly easy to make, delicious, and the perfect way to use up bananas that have seen better days. In fact, I recommend making a small batch—otherwise, they have a funny way of disappearing!

P.S. They’re also a great recipe for kids to help make. Just be prepared for them to ask when you’re making the next batch!

Note: I have only made these vegan and gluten free, but I don’t see why you couldn’t experiment with wheat flour and butter. Let me know how it turns out if you do.

Preparation Time: 10 minutes

Cooking Time: 10-12 minutes

Servings: 2 banana = 24 cookies

Ingredients

2 ripe BANANAs, mashed
1/2 cup Vegan BUTTER (1 Earth Balance Soy Free stick), melted
1 cup SUGAR
2 cups gluten-free ALL PURPOSE BAKING MIX (King Arthur) with xanthan gum
1/2 teaspoon BAKING SODA
1/2 tsp SALT
OPTIONALS:
1/4 cup
Vegan MINI SEMI-SWEET CHOCOLATE CHIPS (Enjoy LIfe)
or Gluten Free Nutty Granola
or Walnuts
Parchment PAPER

Directions

  • PREHEAT oven to 350 degrees F
  • COVER 1 cookie sheets with parchment paper (or silicone mat)
  • MASH the bananas, then add melted butter and sugar until blended (I use masher then wooden spoon).
  • ADD the dry ingredients: flour, baking soda, and salt
  • ADD any optional ingredients like nuts or chips
  • DROP the batter onto the parchment covered baking sheets in evenly spaced slightly rounded teaspoons of goop (for bigger cookies use a tablespoon instead)
  • Slightly FLATTEN the batter globs if you can, they do spread a little.
  • BAKE for 10 to 12 minutes. They will look undercooked and should be golden on the edges. They will be soft.
  • COOL on cookie sheets for a few minutes and then plate
  • To get them evenly round, I use my little biscuit cutters before they cool on the tray to much.
  • You can FORK the top of each one for a pretty look.
  • STORE them in an airtight container for up to 1 week   
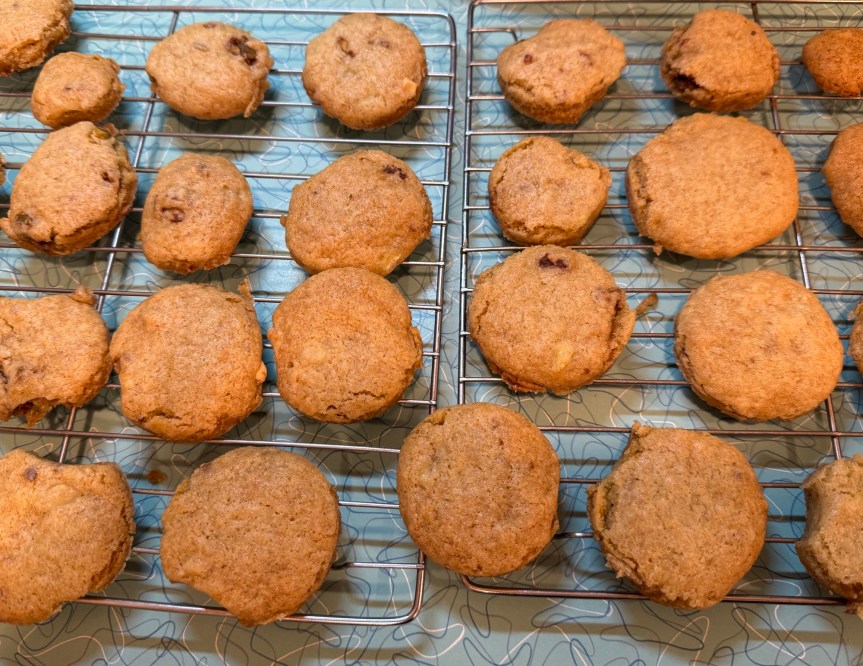
Many yellow banana bread cookies cooling on racks

Banana Bread Cookies Cooling

Make them round with biscuit cutters before moving to cooling racks.
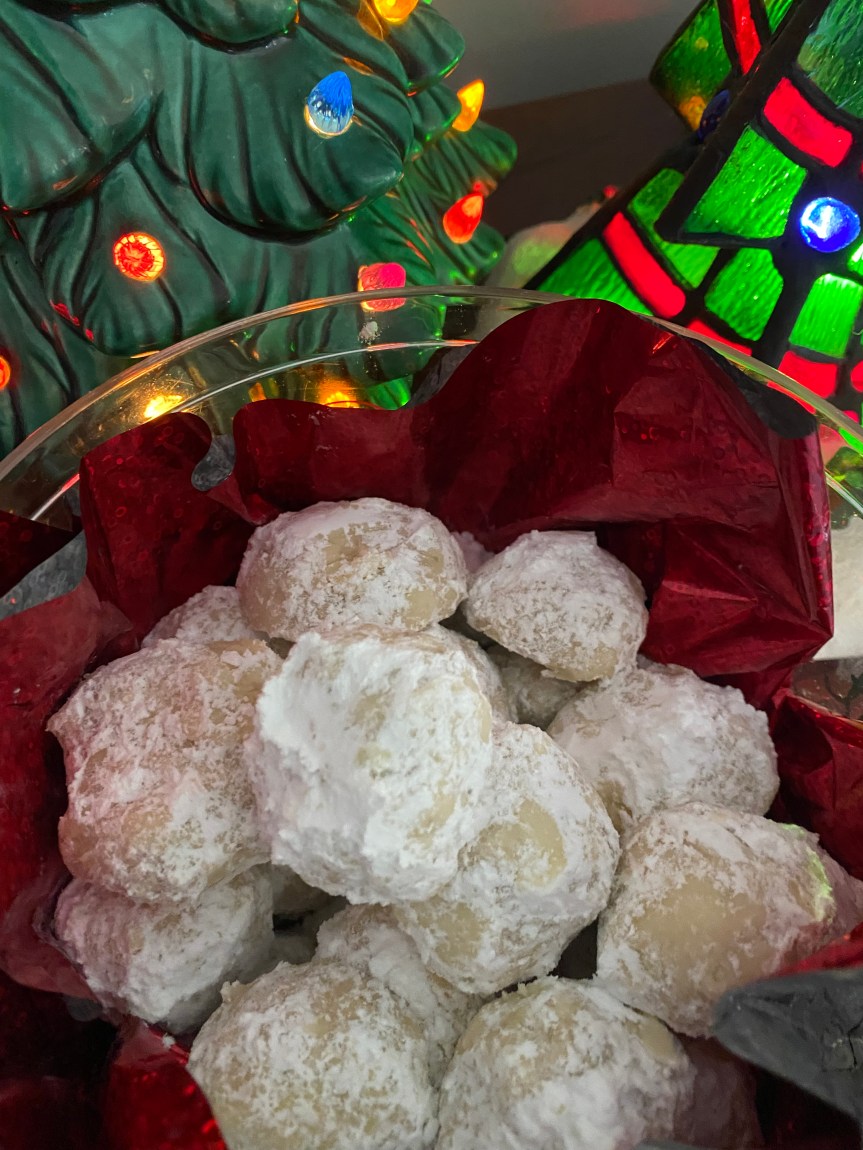
Pecan Snowball Cookies Gluten-Free Dairy-Free Vegan

My spouse’s favorite holiday treats are pecan shortbread cookies, so I figured out how to make them gluten and dairy-free so that I can enjoy them too. The ingredients are simple and they are pretty easy to make. I did the whole thing in my food processor. I found out that no matter how many you make, you always want more because they disappear so fast.

Preparation Time: 20 minutes

Cooking Time: 15-18 minutes

Chill Time: 5 minutes

Total Time: 43 minutes

Servings: 32

Ingredients

1 cup PECANS - finely chopped 
1 cup VEGAN BUTTER (at room temperature: soft but not melted) - I use Earth Balance sticks
1/2 cup POWDERED SUGAR
1 teaspoon VANILLA EXTRACT
2-1/4 cups GLUTEN-FREE ALL PURPOSE FLOUR (with Xanthan Gum)
or add 1/2 teaspoon Xanthan Gum if your flour doesn't include it 
1/4 teaspoon SALT
More POWDERED SUGAR for rolling

Directions

  • PRE-HEAT oven to 400 degrees F
  • PREPARE a baking tray with parchment paper
  • ADD the PECANS to a food processor (sharp blade) and grind until they are a coarse powder
  • ADD the BUTTER, SALT, SUGAR, and VANILLA EXTRACT to the food processor (dough blade) and combine by pulsing until the dough starts to hold together. Try not to overprocess the dough. (You can do this all in a large bowl but you will need to cream the butter and sugar together)
  • SCOOP the batter into 1-inch balls using a tablespoon or cookie scoop* onto the prepared baking tray. Leave 1-inch between balls. (You can roll the balls by hand but try not to make them too big.) *I love my 1-inch cookie scoop.
  • FREEZE the tray for at least 5 minutes.
  • BAKE: 15-18 minutes (check often – they should be lightly golden)
  • REMOVE from the oven to COOL for 3-5 minutes but LEAVE THE OVEN ON.
  • PLACE about 1/3 cup more POWDERED SUGAR in a bowl
  • ROLL the balls in the sugar gently while they are still warm. They are very fragile at this point so handle them with care.
  • PLACE the cookie balls back on the tray after they are sugared.
  • RETURN the tray to the oven for 3 minutes to set the sugar.
  • COOL on the tray for 5 minutes
  • ROLL the balls again in more POWDERED SUGAR before carefully moving them to a cooling rack.
  • STORE in an air-tight container.

Dark Chocolate Meringue Cookies – Gluten & Dairy Free

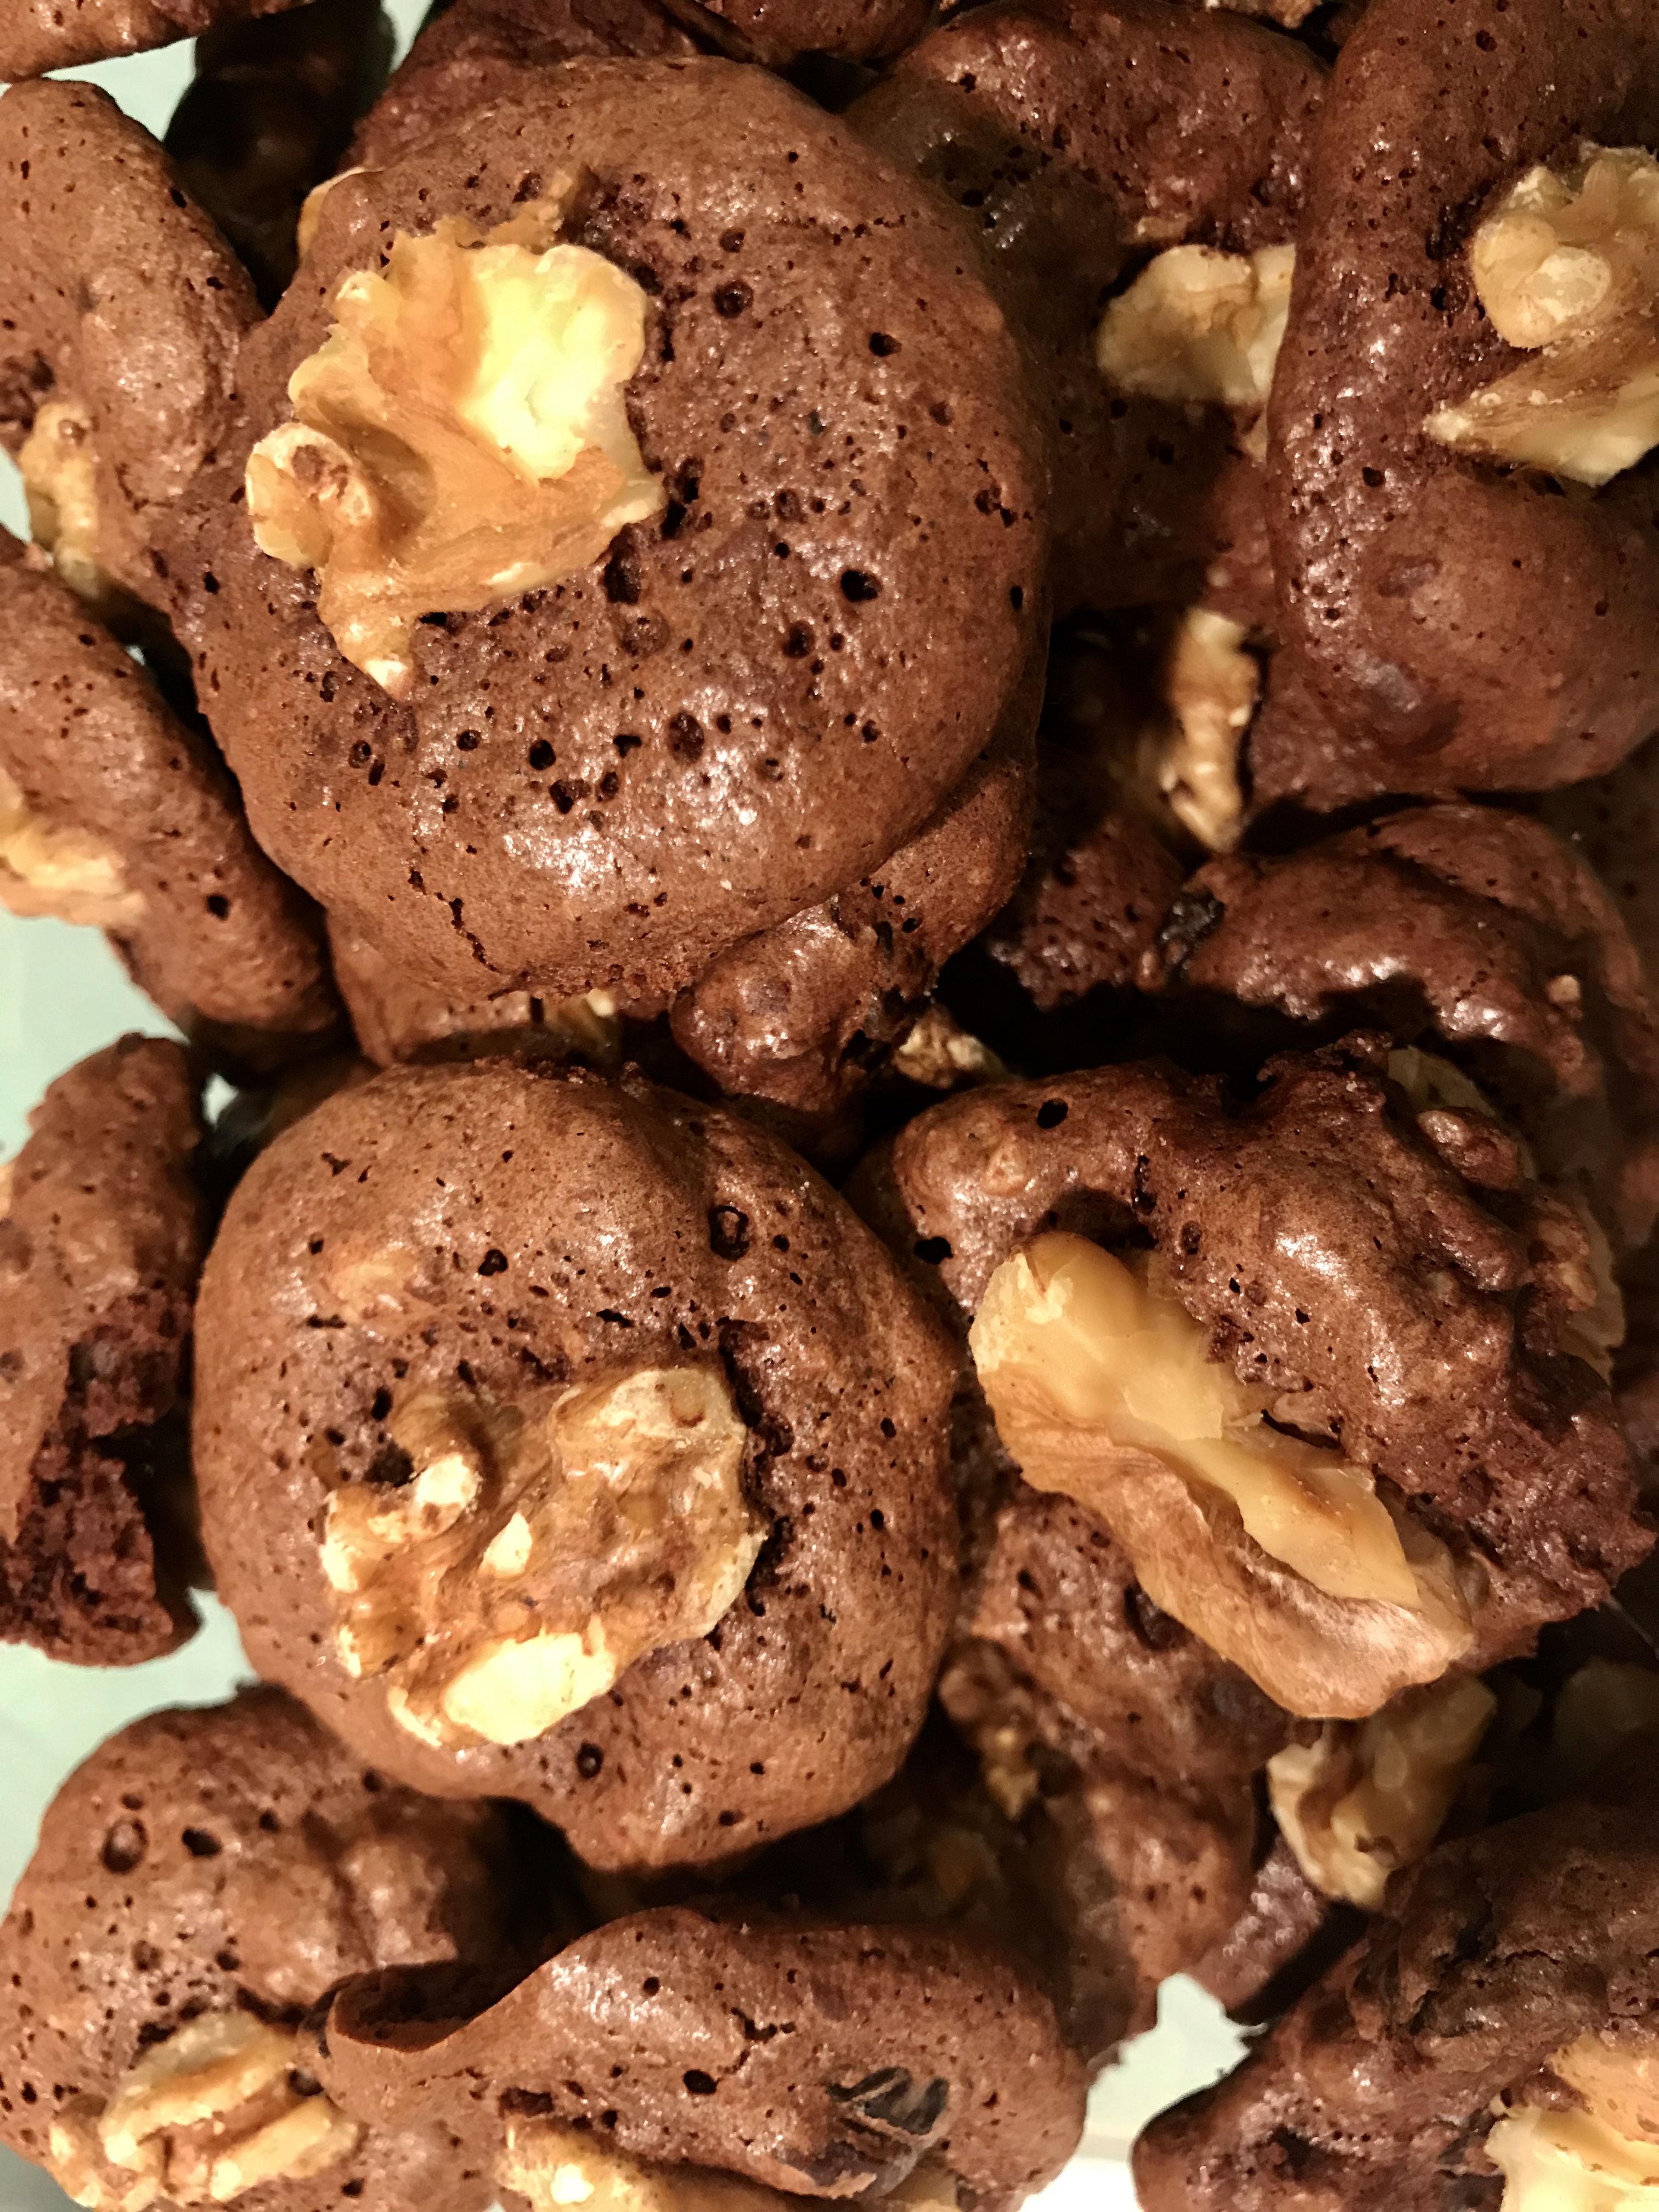
I love when the house smells like chocolate. These cookies are so chocolatey, crunchy and chewy at the same time, that no one notices that they contain no flour or butter. Did you know that making a meringue is easy? It is just really air, eggs whites, and sugar. Give these yummies a try next time you need a chocolate fix.  

Preparation Time: 20 – 30 minutes, depending on your equipment

Cooking Time: 18 minutes

Servings: Makes about 40 cookies 

Ingredients

4 EGG WHITES
1/2 teaspoon LEMON JUICE
1/2 teaspoon VANILLA
1/8 teaspoon SALT
1/4 cup SUGAR
12 ounces Vegan DARK CHOCOLATE MORSELS, melted
1/2 cup WALNUTS, chopped
Enough WALNUT halves to decorate cookies
1/2 cup DRIED CHERRIES, chopped
Parchment PAPER

Directions

  • PREHEAT oven to 325 degrees F
  • LINE 2 large cookie sheets with parchment paper
  • SEPARATE egg whites from yolks. I use 3 bowls to do this: 1 bowl for the yolks, 1 bowl for the whites, and 1 bowl for the shells. After separating all 4 eggs, put the egg yolks in the refrigerator (I use them to make my Egg Yolk Insanely Fluffy Cookies) and let the egg whites reach room temperature. 
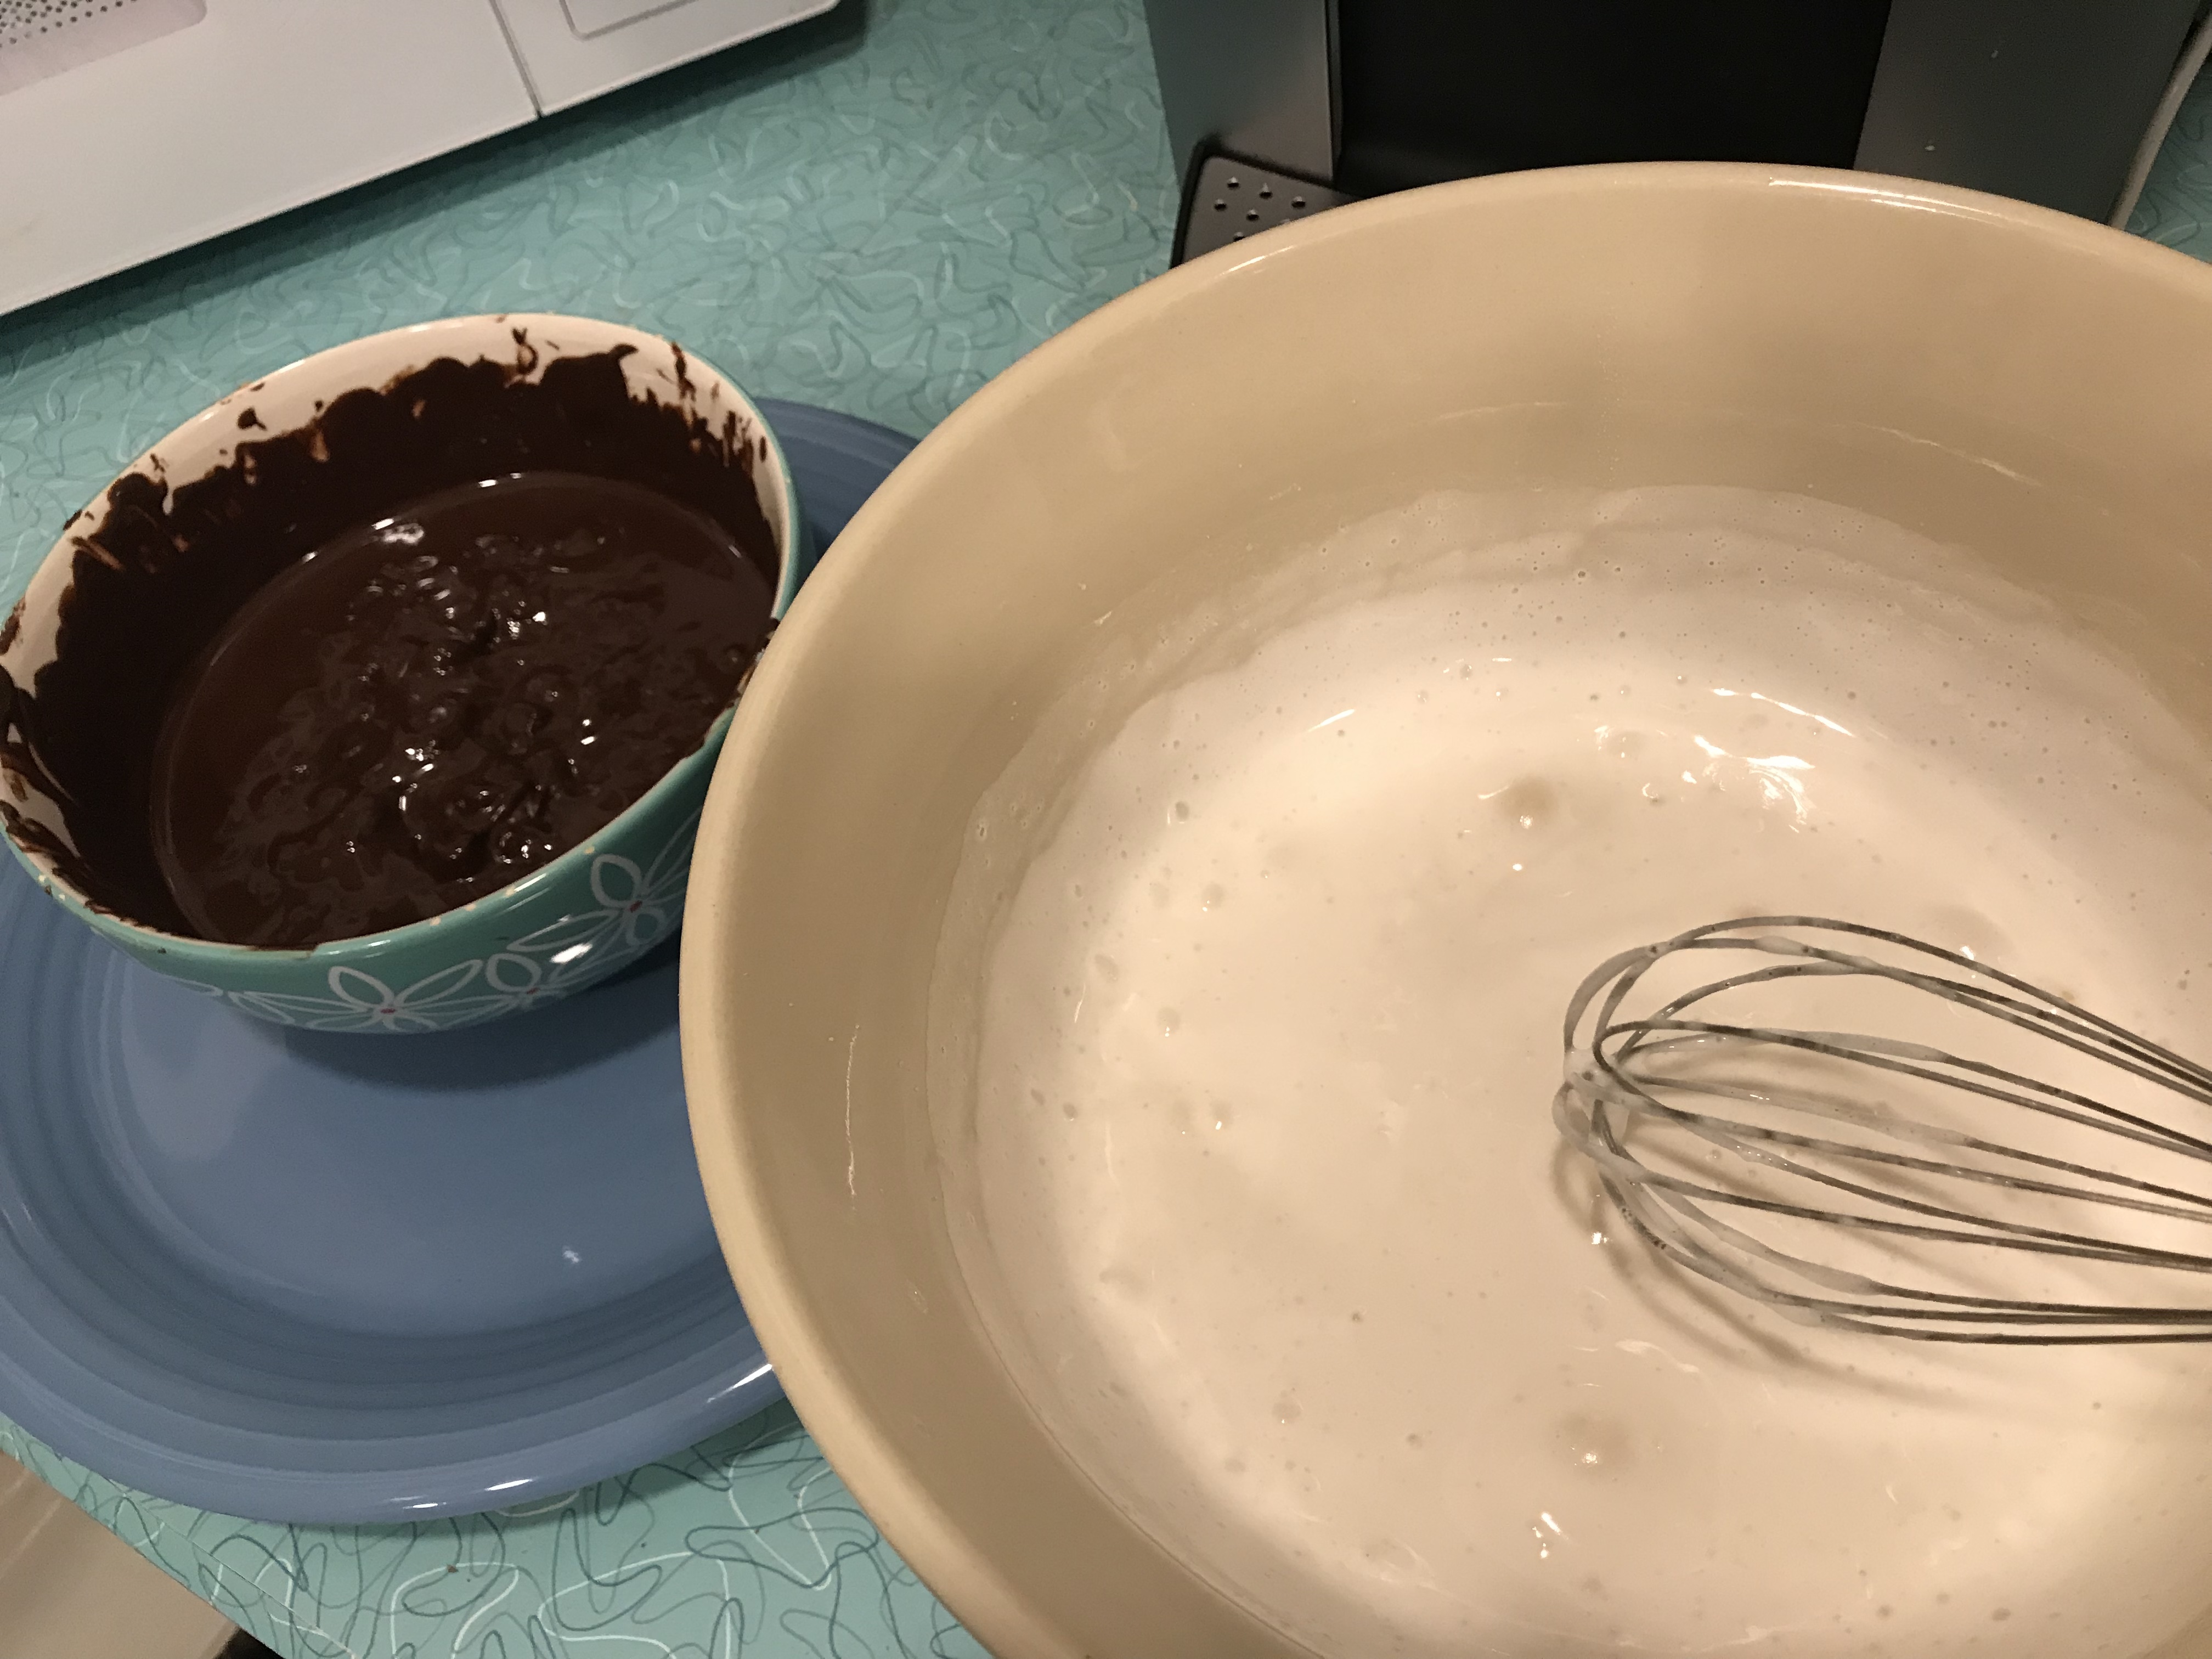
  • MELT the chocolate morsels, either in a double boiler or microwave. I microwave mine on medium-high (50% power) for 1 minute, then stir, then repeat on medium-high for 20 to 30 seconds at a time, again and again until melted and smooth. Set aside to cool.  
  • COMBINE egg whites, lemon juice, vanilla and salt in a large, clean bowl. (A grease-free bowl is a must when making meringue. Also, make sure there is no yolk in your egg whites or it can keep them from fluffing nicely.)
  • Using an electric hand mixer, or a stand mixer, fitted with the whisk attachment, BEAT the mixture on low speed until foamy.
  • Increase mixer speed and GRADUALLY ADD sugar, a little at a time, until combined.
  • BEAT mixture on high until stiff peaks form. (Be patient this can take several minutes.)
  • Using a spatula, FOLD in the cooled chocolate, chopped walnuts, and the dried cherries. Make sure not to over combine as you don’t want to lose the airiness of the meringue.
  • FILL a pastry piping bag, or improvise with a large zip-lock plastic bag*, with half of the meringue mixture.
    • If using a plastic bag, cut a 3/4 inch hole in one corner.
    • If using a pastry bag, use a large star tip. 
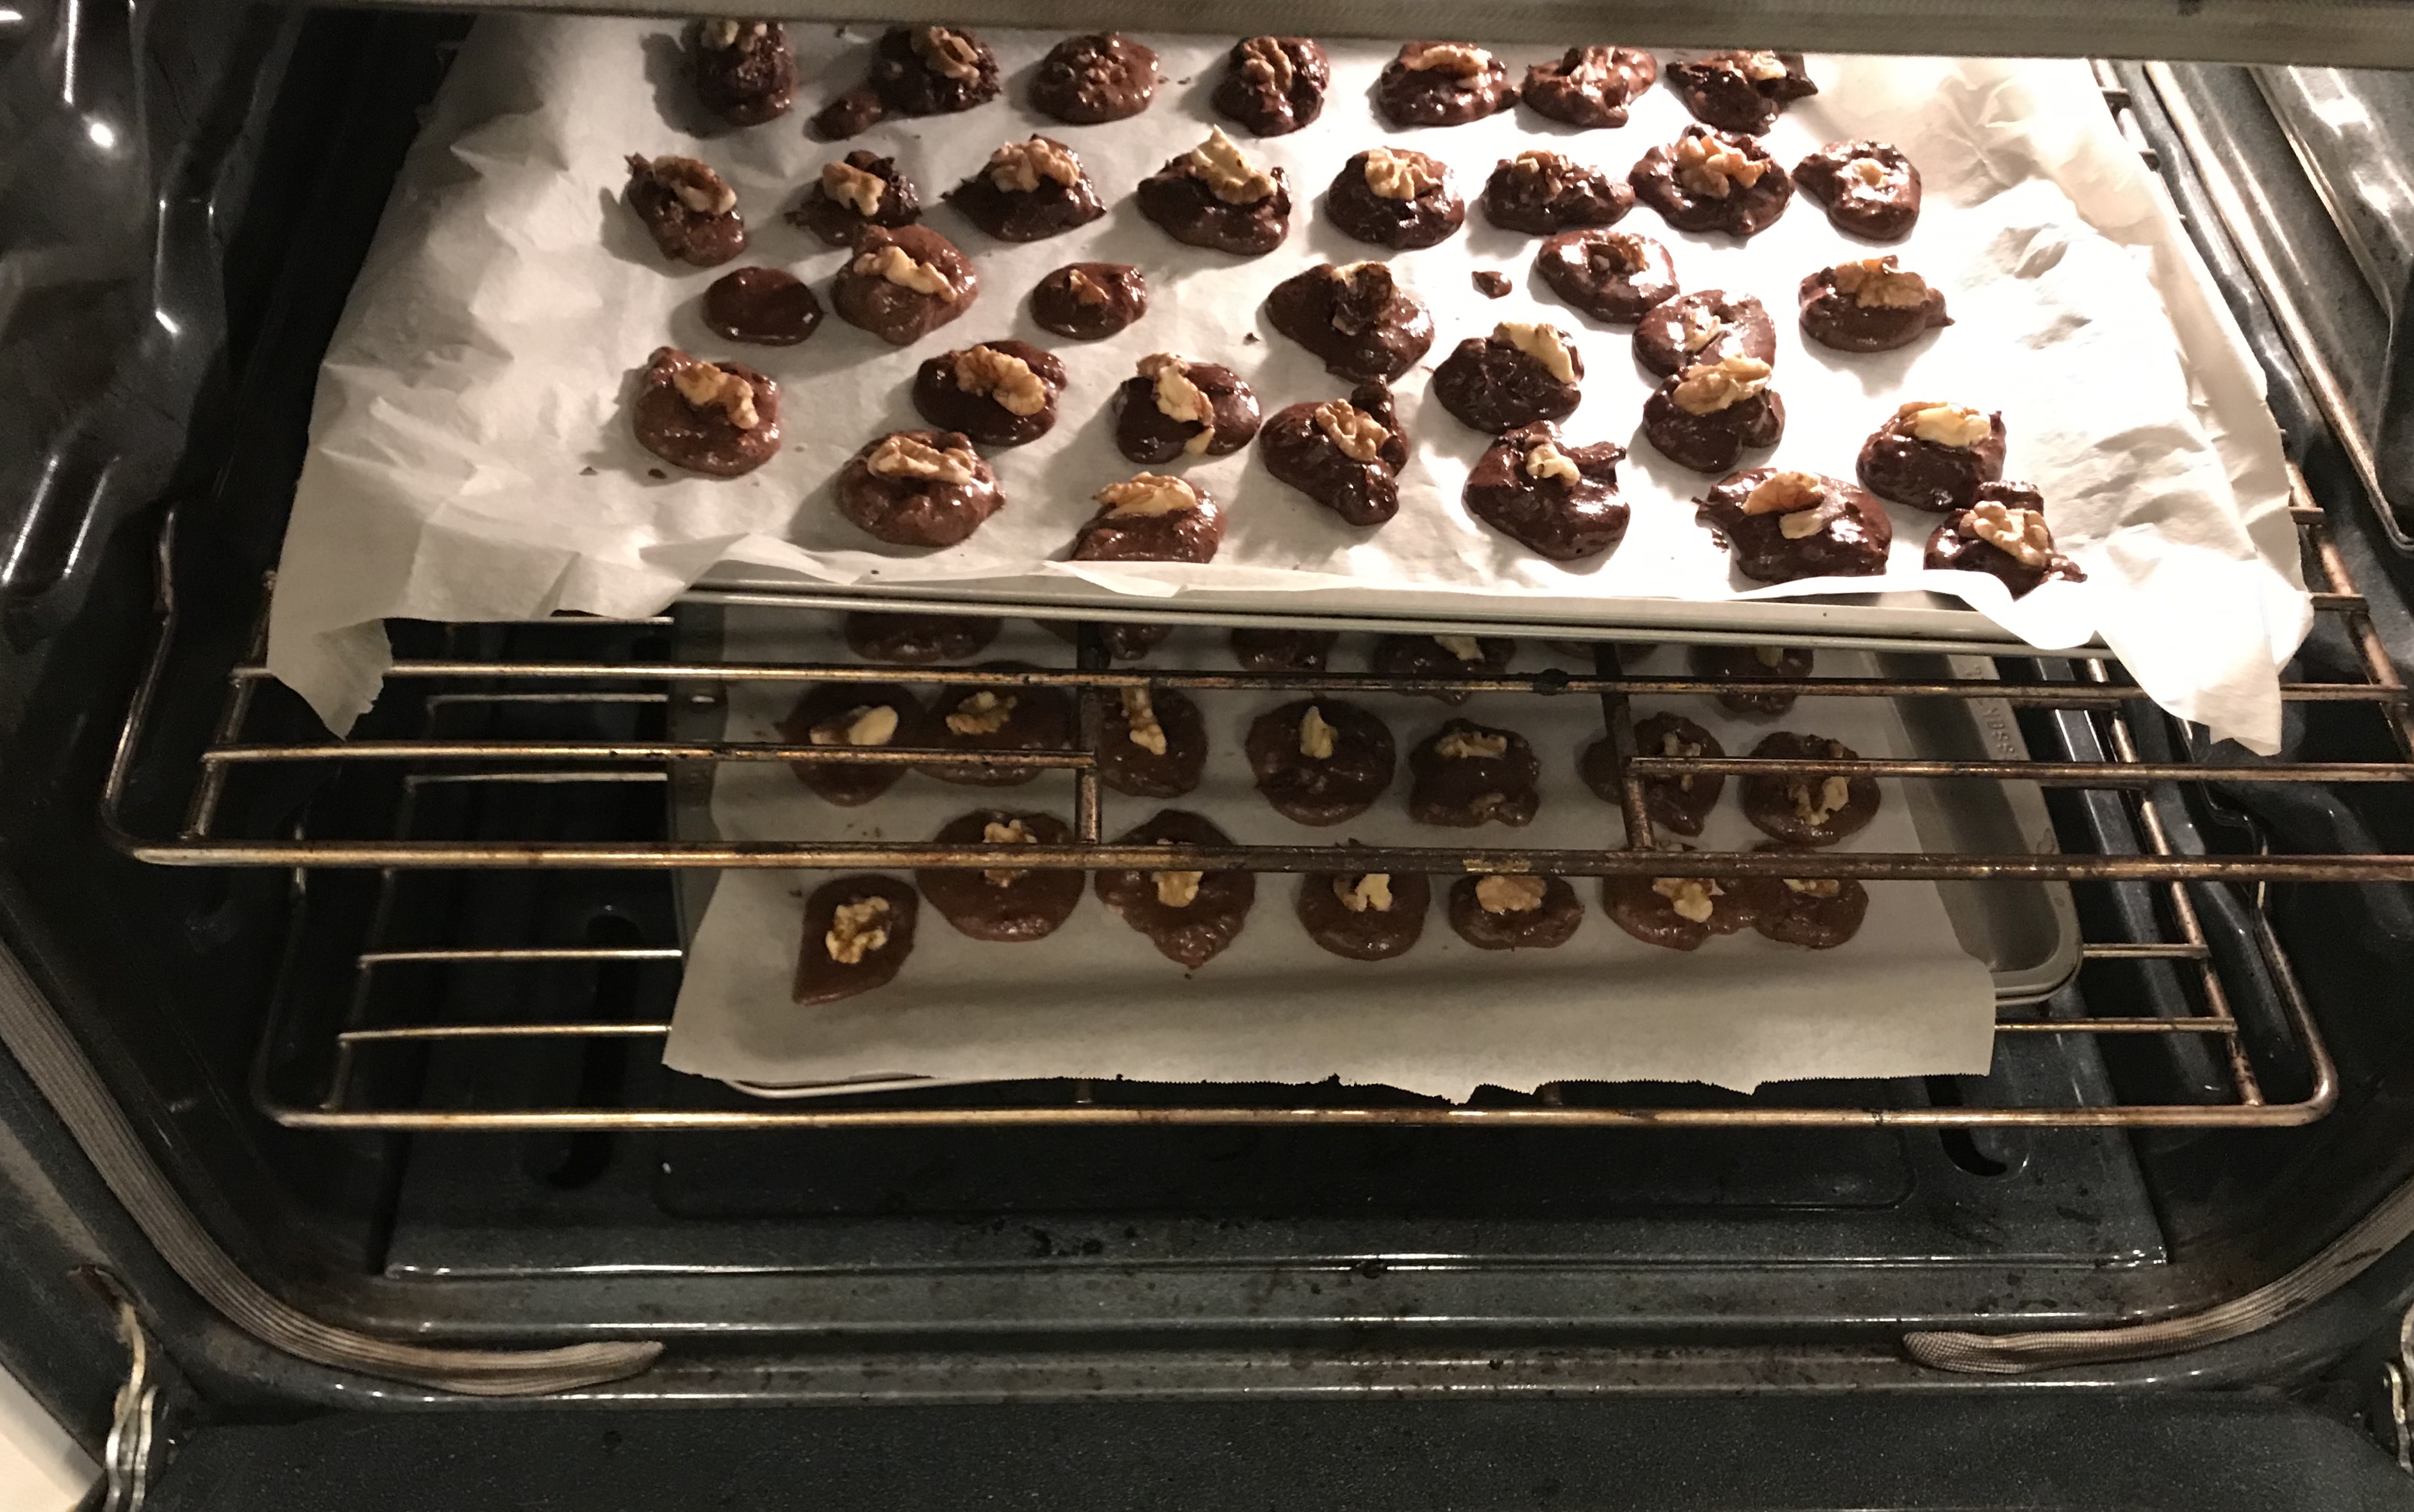
  • PIPE cookies (about 2″ each) on to the prepared parchment covered cookie sheets.
  • REPEAT the process with the other half of the meringue.
  • TOP each cookie with a half of a walnut.
  • BAKE for 12 minutes and then check on them. The cookies are done when they are set and dry looking. This can take 15 to 20 minutes. 
  • REMOVE cookie sheets from the oven and allow the cookies to COOL completely on the sheets. 
  • STORE in an airtight container for 1 week. 

*Piping is not always easy for those of us with arthritis in our hands. My alternative is to drop the batter onto the parchment covered baking sheets in evenly spaced slightly rounded teaspoons of goo.  

Inspired by Alison Ashton who was inspired by Gail Simmons