
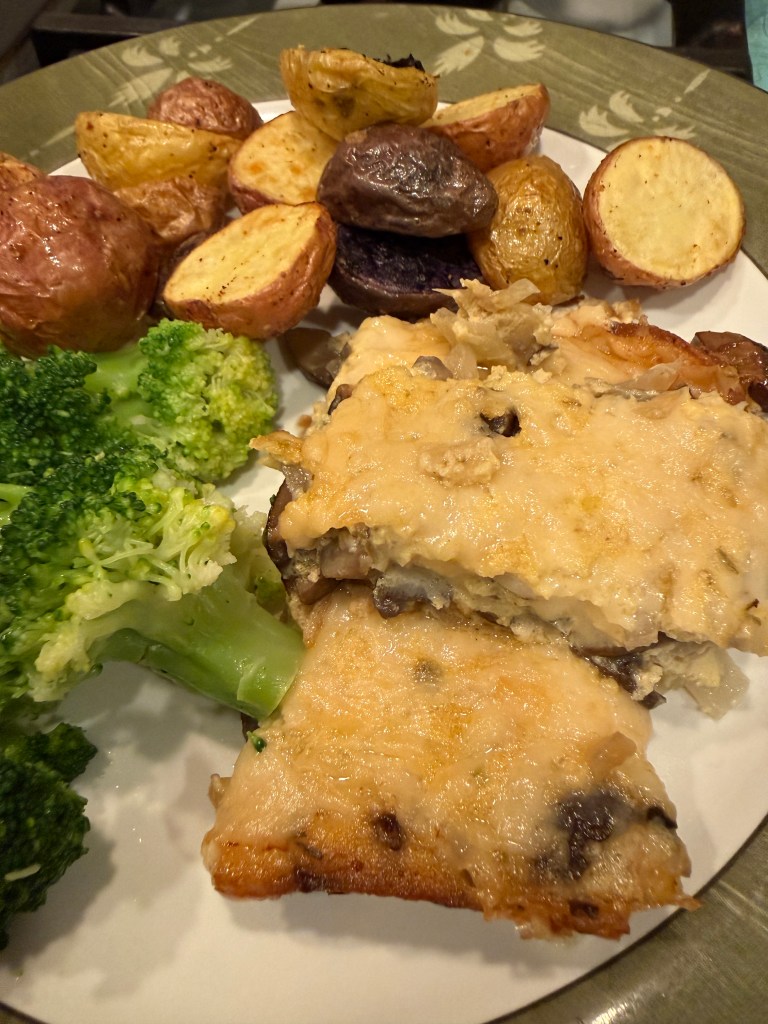
The truth is, I’m a little intimidated by making pie crusts. So instead, I created this crustless spinach and mushroom quiche — and honestly, I may never go back. It’s incredibly easy to make, wonderfully delicious, and perfect for brunch, breakfast, or even a simple dinner.
Despite being crustless, dairy-free, gluten-free, and vegetarian, it still has the rich, comforting flavor of a classic quiche. One of my favorite things about this recipe is how versatile it is. I’ve made versions with just spinach, others with mushrooms and cheese, and each one turns out beautifully. It’s the kind of recipe you can easily adapt to whatever you have on hand.
Preparation Time: 15-20 minutes depending on options
Cooking Time: 30 minutes
Overall Time:: 45 minutes
Servings: 6 Slices
Ingredients
2 tablespoons extra-virgin olive oil (or whatever you have on hand)
8 ounces sliced fresh mushrooms
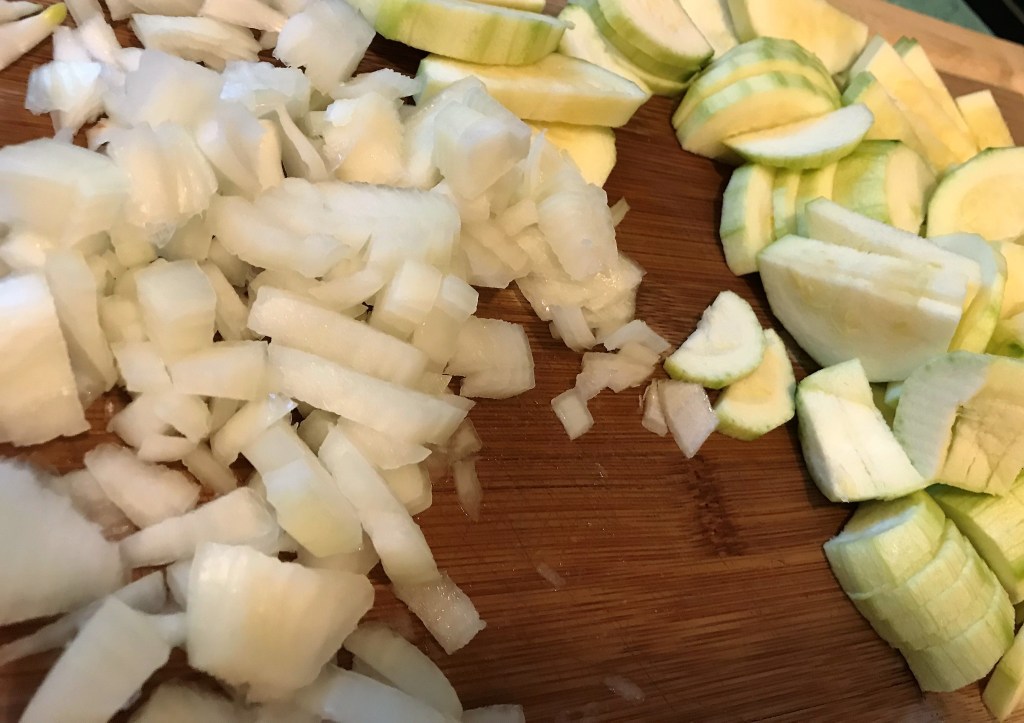
1-1/2 cups sliced sweet onion
1 tablespoon sliced garlic
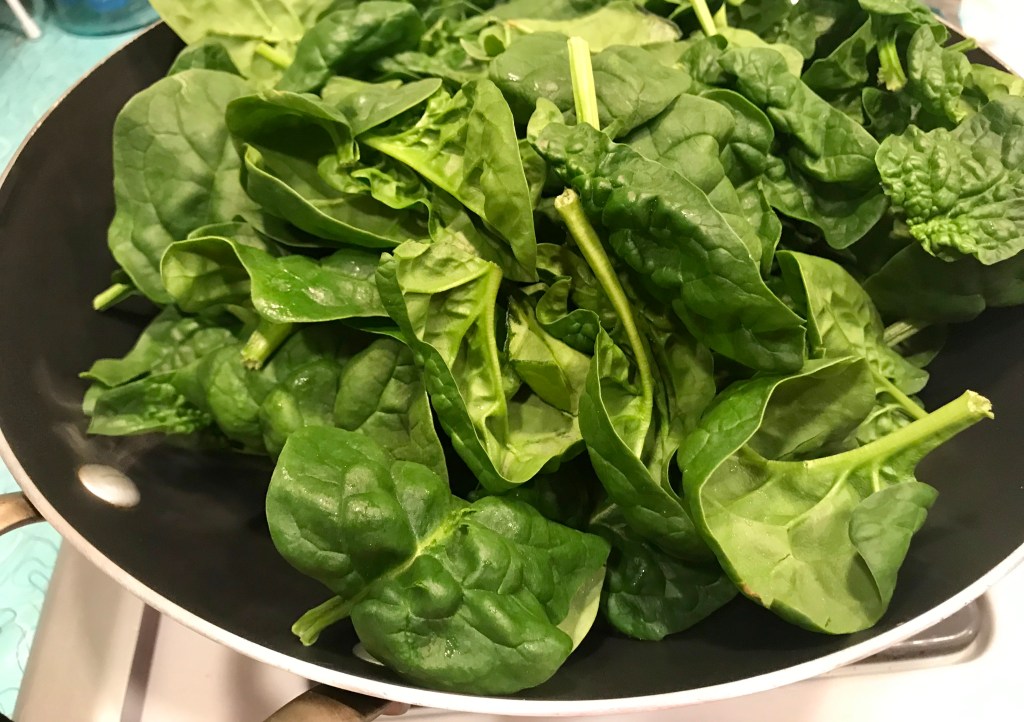
8 cups roughly chopped fresh spinach
4 large eggs (add an extra egg if using small or medium)
1-1/2 cups alternative milk (I used unsweetened Almond milk) Note: 1/2 cup if adding cheese
1 tableshppon Dijon mustard
1 tablespoon thyme
3/4 tablespoon salt (unless using dairy-free cheese, which can be salty)
1/8 tablespoon black pepper
1-1/2 cups shredded dairy-free mozzarella cheese (or flavor of choice - like cheeder)
3/4 cup veggie bacon, pre-cooked and crumbled (optional)
Directions
- PREHEAT: Preheat oven to 400F. Spray a 9-inch pie plate with non-stick cooking spray. Set aside. Place oven shelf in the middle position.
- SAUTE MUSHROOMS: In a 12-inch skillet, heat 2 tablespoons of oil over medium-high heat. Stir in 8 ounces of mushrooms and saute, stirring frequently, until soft (about 7 minutes).
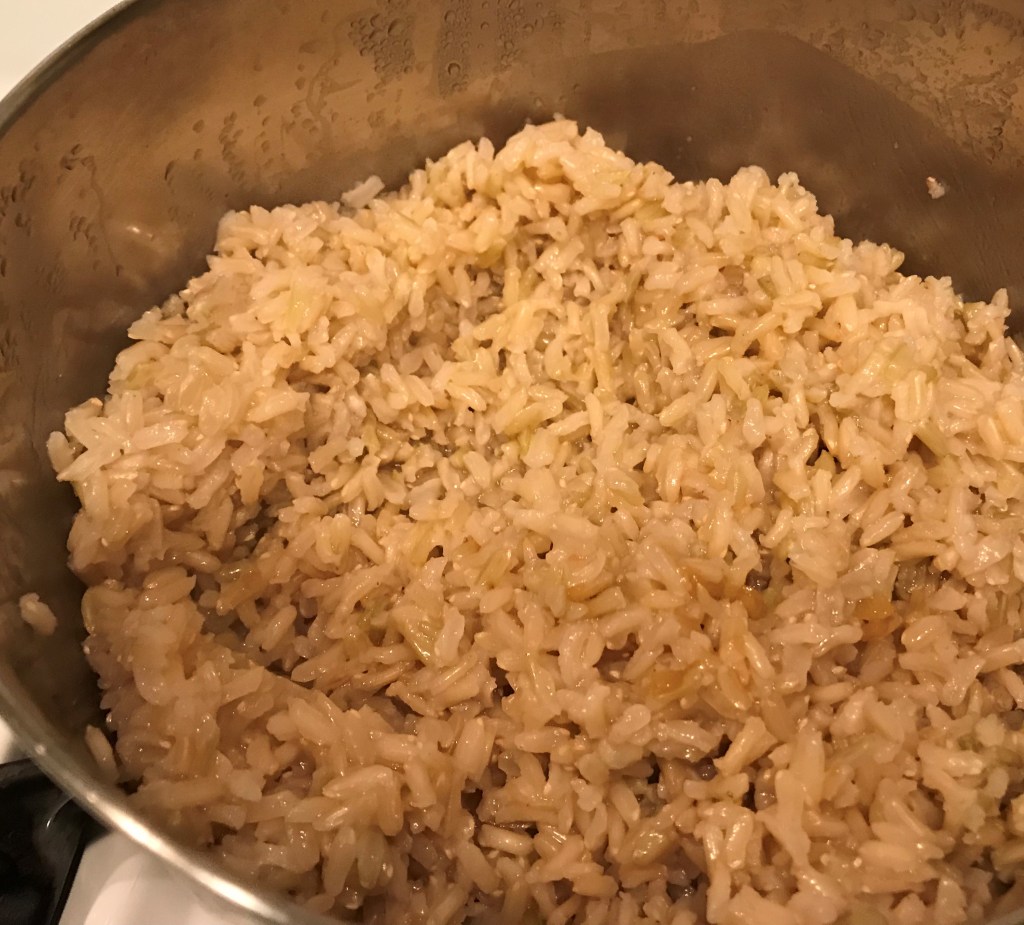
- SAUTE ONIONS: Stir in 1-1/2 cups of onion and 1 tablespoon of garlic and continue to saute, stiring frequently, until translucent (about 5 minutes).
- STIR IN SPINACH; Stir in 8 cups of fresh spinach and continue to saute, turning frequently, until spinach is wilted (about 2 minutes). Remove skillet from heat and set aside to cool slightly.
- NOTE: Make sure the sauteed mixture is dry before continuing. Otherwise the quiche could be wet, and you don’t want a soggy quiche.
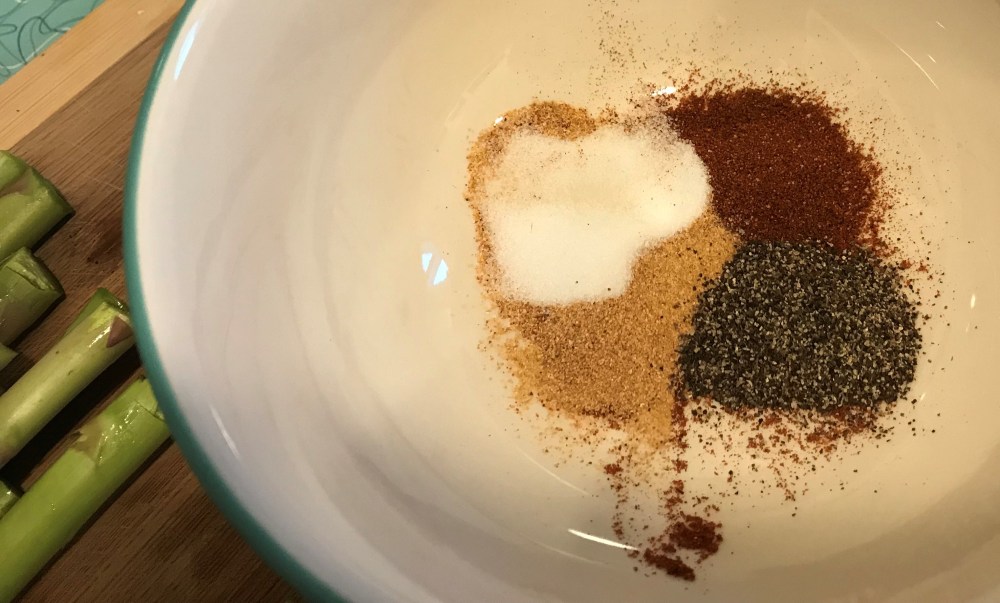
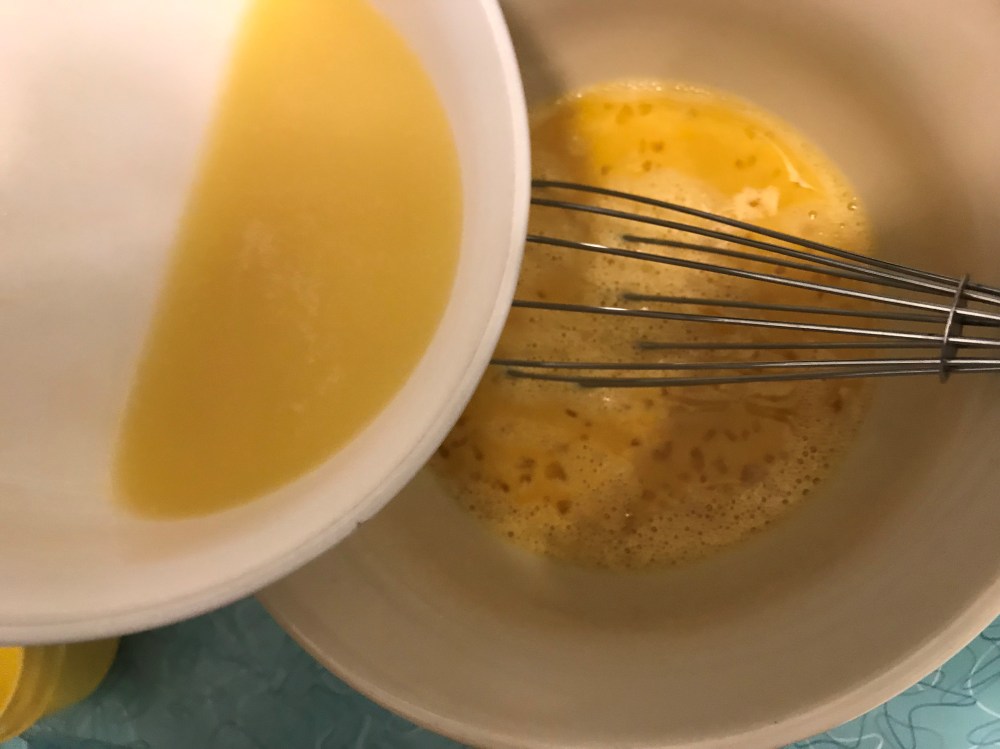
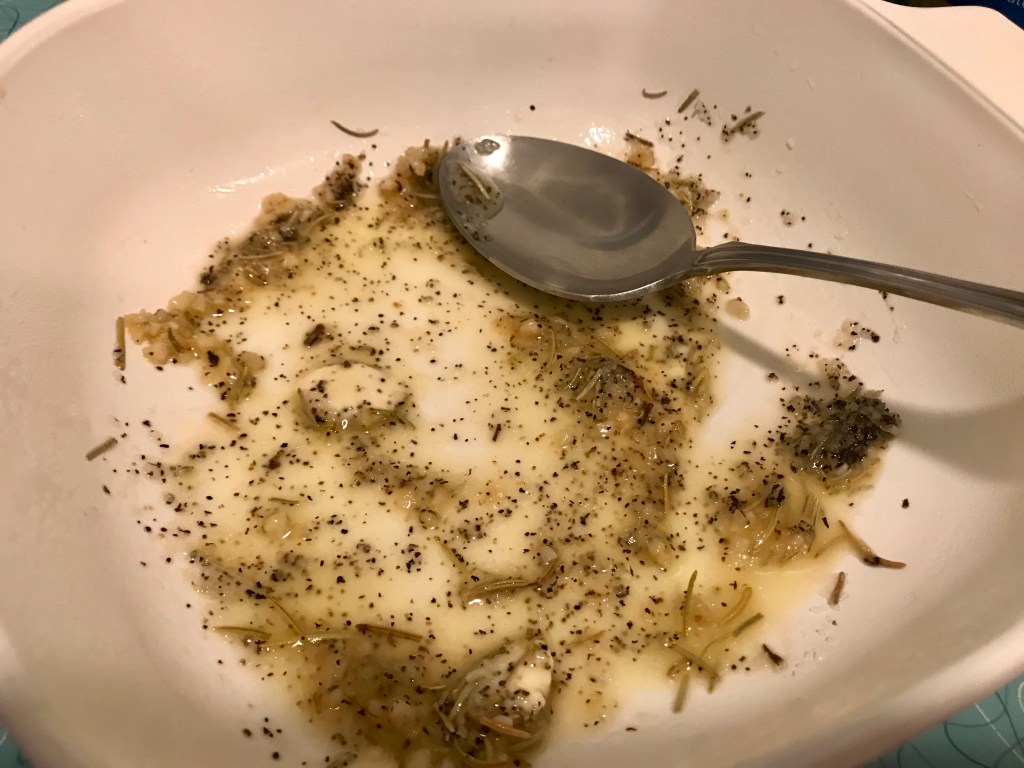
- WHISKS EGGS & MILK: In a large bowl, whisk 4 large eggs and 1-1/2 cups alternative milk together. Add 1 tablespoon of Dijon mustard, 1 tablespoon thyme, 3/4 tablespoon salt, and 1/8 tablespoon black pepper, then whisk everything well.
- COMBINE: Fold the cooled mushroom/onion/spinach mixture into the eggs & milk mix. Add 1-1/2 cups of dairy-free cheese and combine well. Mix in the veggie bacon at this point, if using.
- BAKE: Pour the mixture into the prepared pie plate. Place the pie plate on a rimmed baking sheet. Place in pre-heated oven. Bake about 30 minute until top is set and quiche starts to brown.
- REST: Let the quiche rest for 10 minutes before slicing. If the top is wet (or oily from the cheese), place a paper towel on it to soak up some of the moisture. Garnish with more thyme or parley before serving.
- STORING; In an airtight container, quiche will keep in the refrigerator for about 5 days. After cooled, you can freeze it in a freezer-safe container for about 2 months. Thaw the quiche overnight and reheat in the oven.

Inspired by Dish by Dish and Gonnawantseconds