
If you like flavor, this 30-minute easy to prepare gluten and dairy free restaurant-style dinner is my new go-to favorite. If you want to impress someone but don’t have much time, this is the perfect seafood dinner to do it with. The secret for the swordfish is my dairy-free seasoned compound butter which was inspired by Chef Dennis. Paired with garlic spinach and rosemary potatoes, you can’t get much more flavorful in 30 minutes. Let me know what you think.
Preparation time: 15 minutes
Cooking time: 15 minutes
Servings: 2
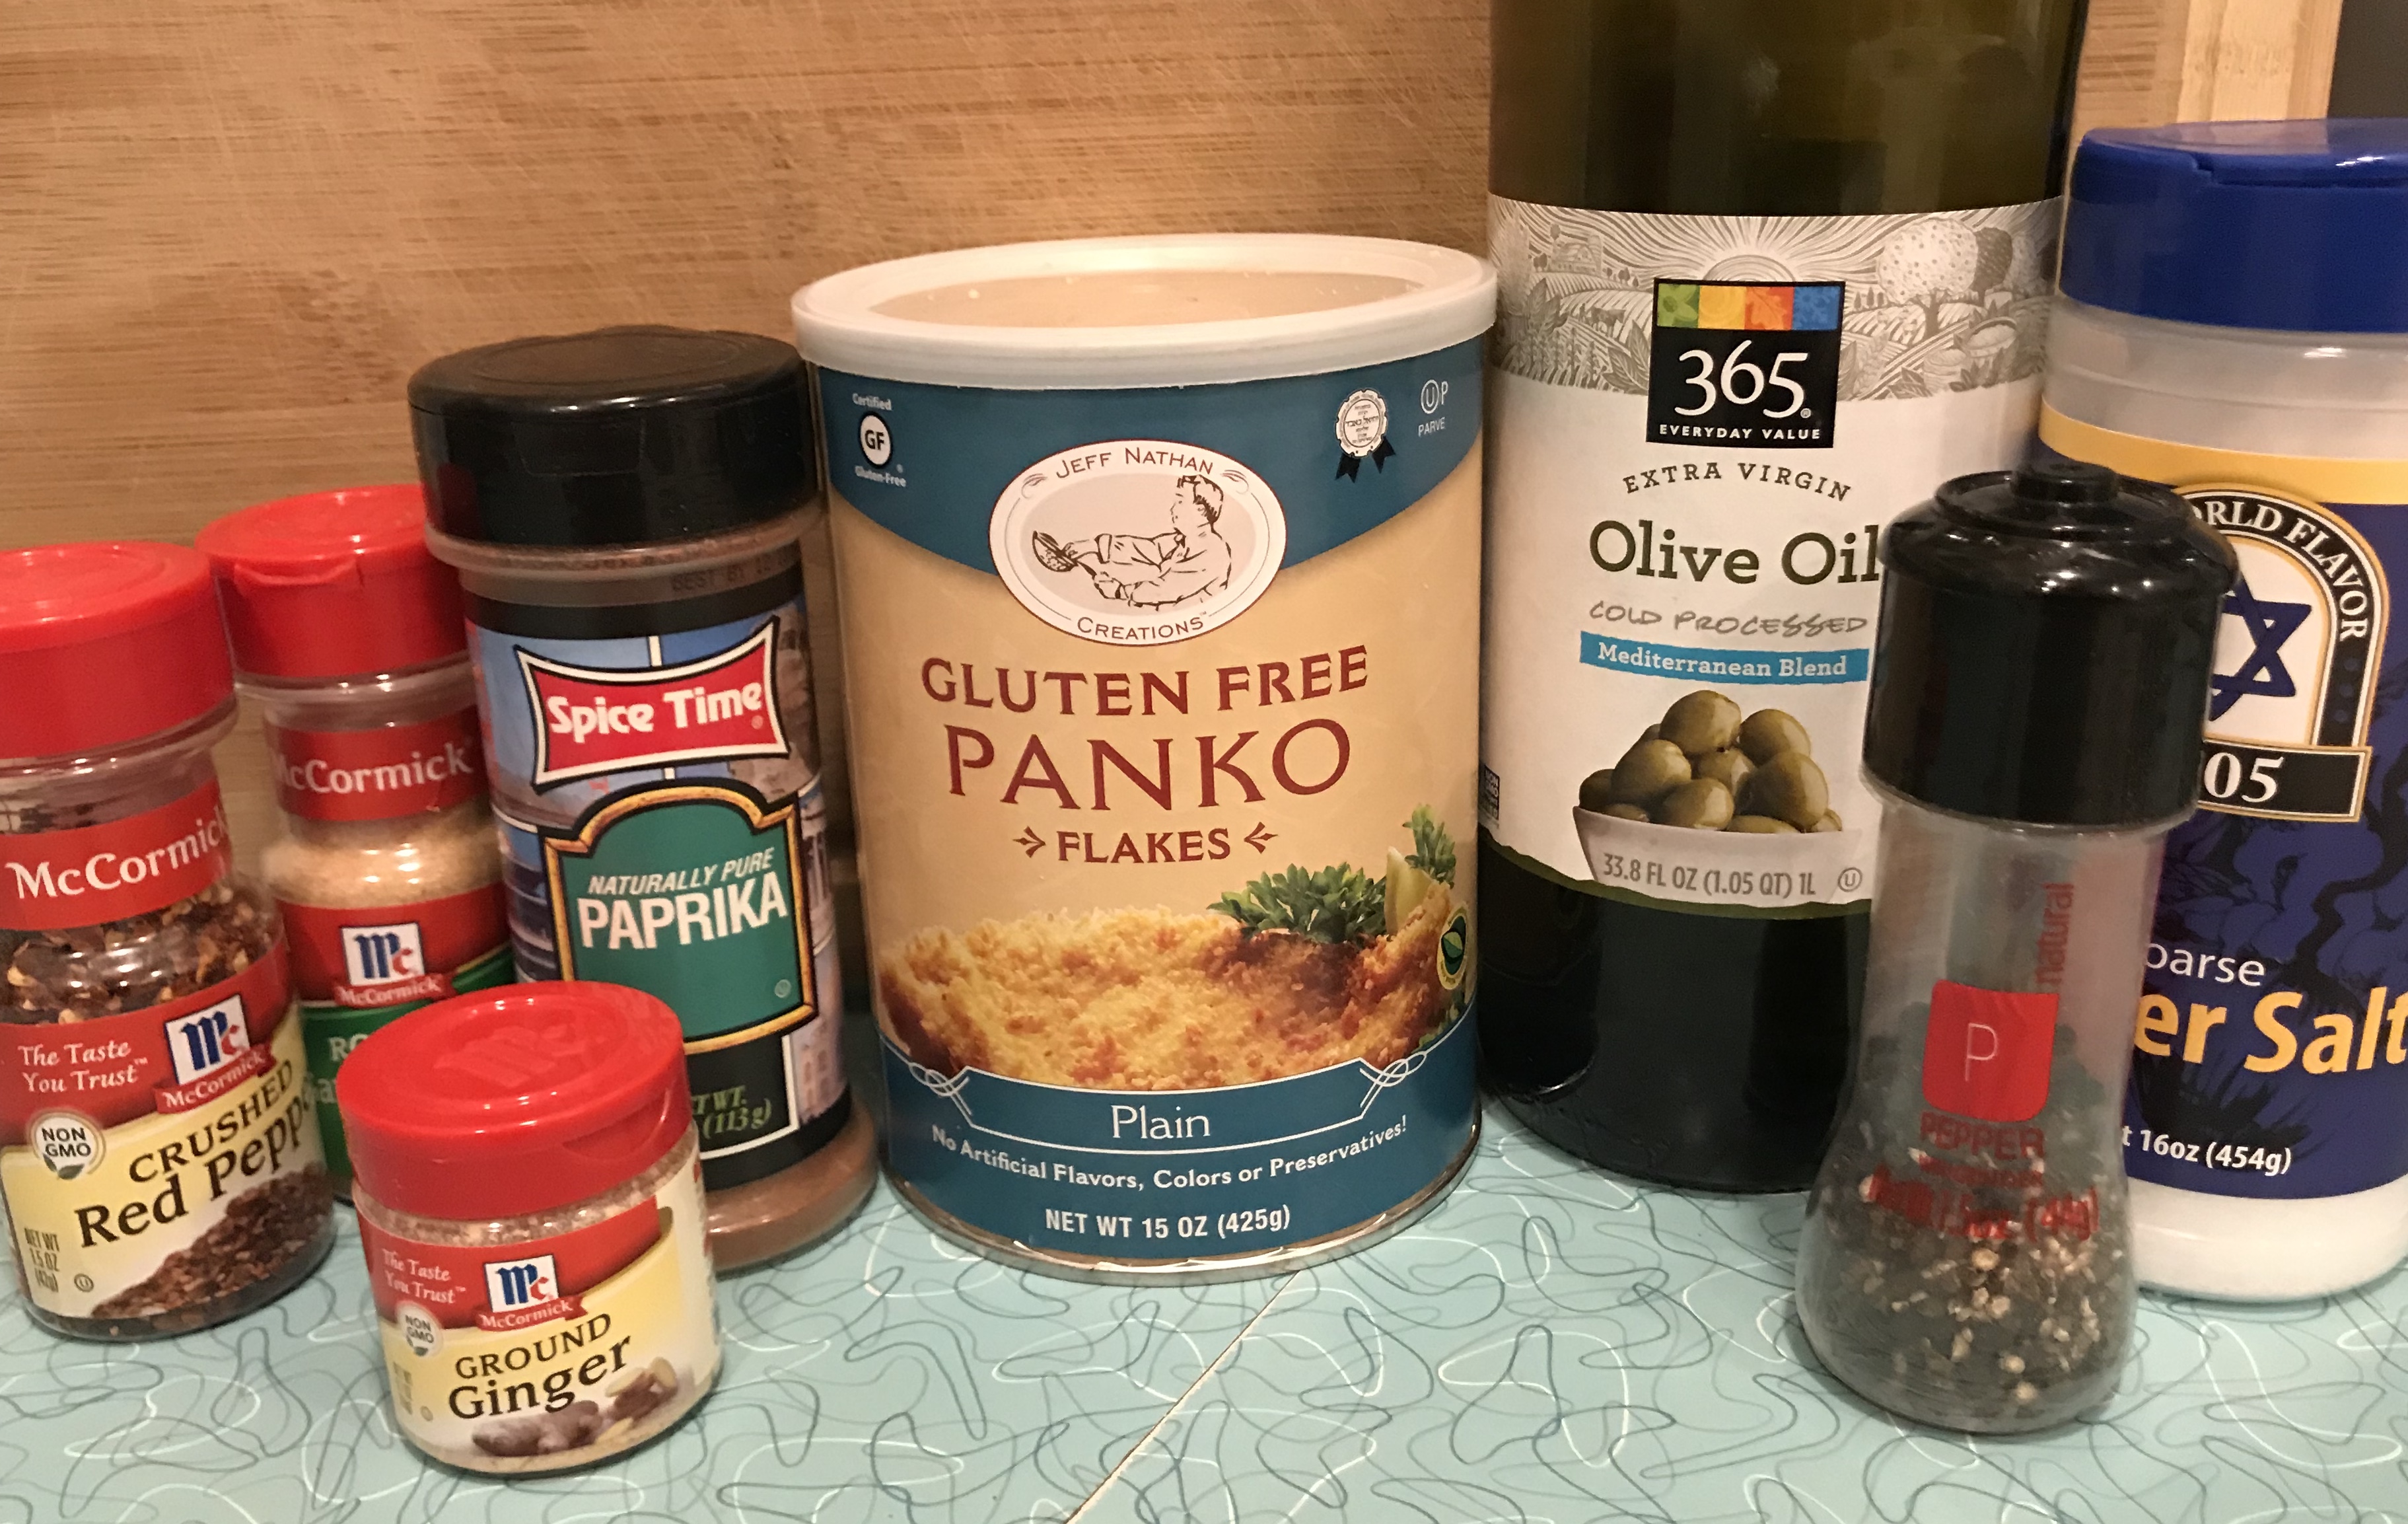
Ingredients
SWORDFISH
1 tablespoon EXTRA VIRGIN OLIVE OIL
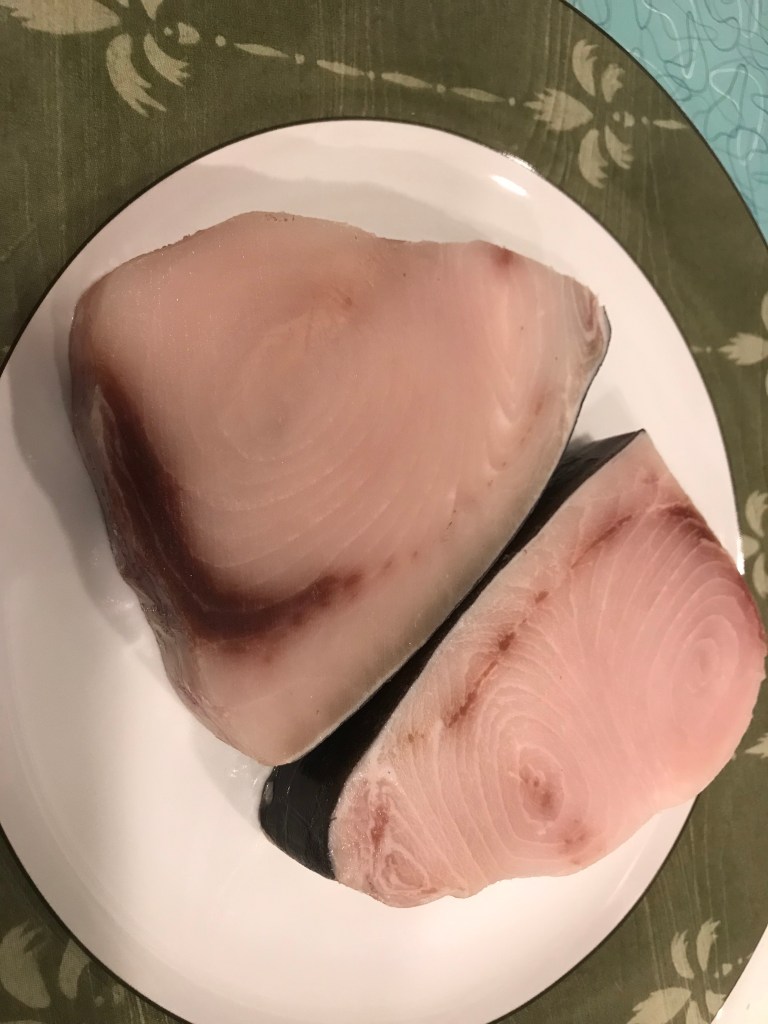
2 6-ounce SWORDFISH fillets
Pinch SEA SALT
2 tablespoons VEGAN BUTTER, room temperature
1 1/2 teaspoons dried PARSLEY
1 clove GARLIC, minced
1/2 teaspoon GINGER, ground
1/8 teaspoon crushed RED PEPPER
1/4 teaspoon LEMON JUICE
POTATOES
4 cups RED POTATOES, cubed
1 tablespoon VEGAN BUTTER, melted
1 clove GARLIC, minced
1 teaspoon dried ROSEMARY
SALT & PEPPER to taste
SPINACH
1 10-ounce bag of SPINACH (4 cups fresh)
1 tablespoon EXTRA VIRGIN OLIVE OIL
1/2 teaspoon GARLIC SALT
Sprinkle of VEGAN PARMESAN CHEESE
Directions
- PREPARE SWORDFISH
- PREHEAT over to 400 degrees F
- SEASON the swordfish with sea salt to taste
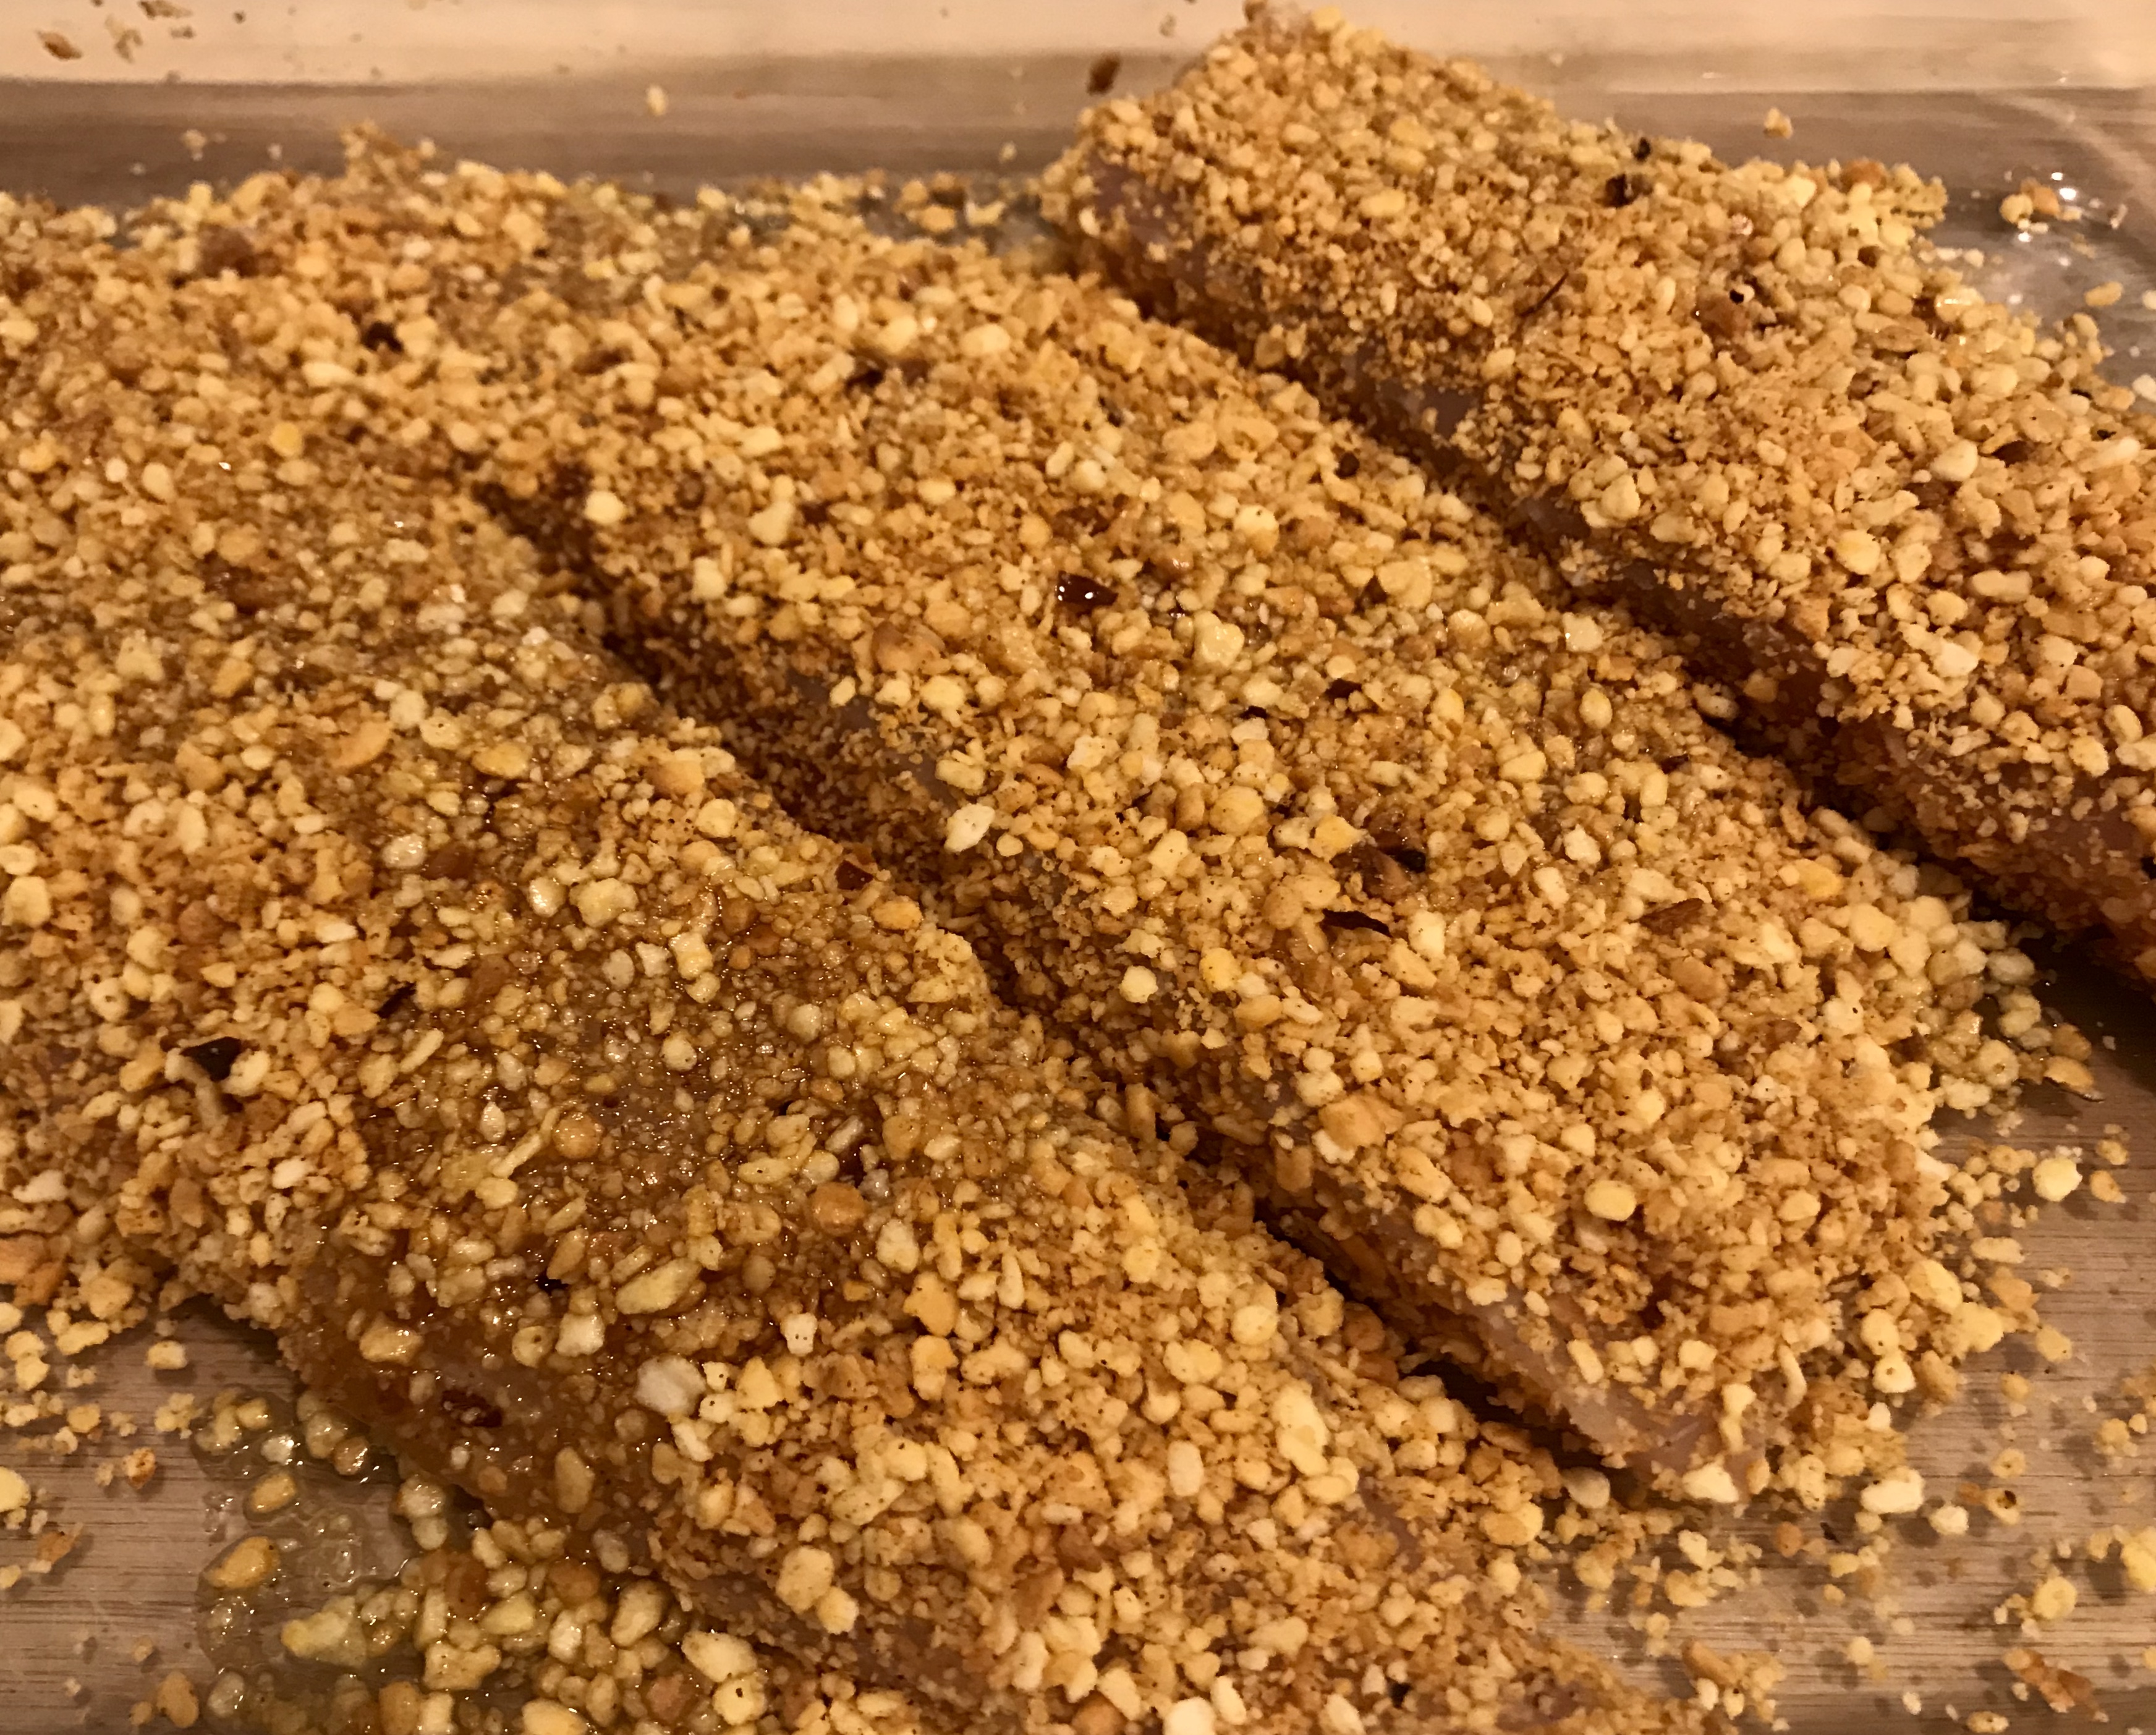
- HEAT the oil in an ovenproof frying pan over medium-high heat
- PLACE the swordfish in the frying pan and COOK for 3 minutes, until browned
- FLIP the swordfish over and MOVE the frying pan to the oven
- BAKE for 10 minutes until swordfish is done.
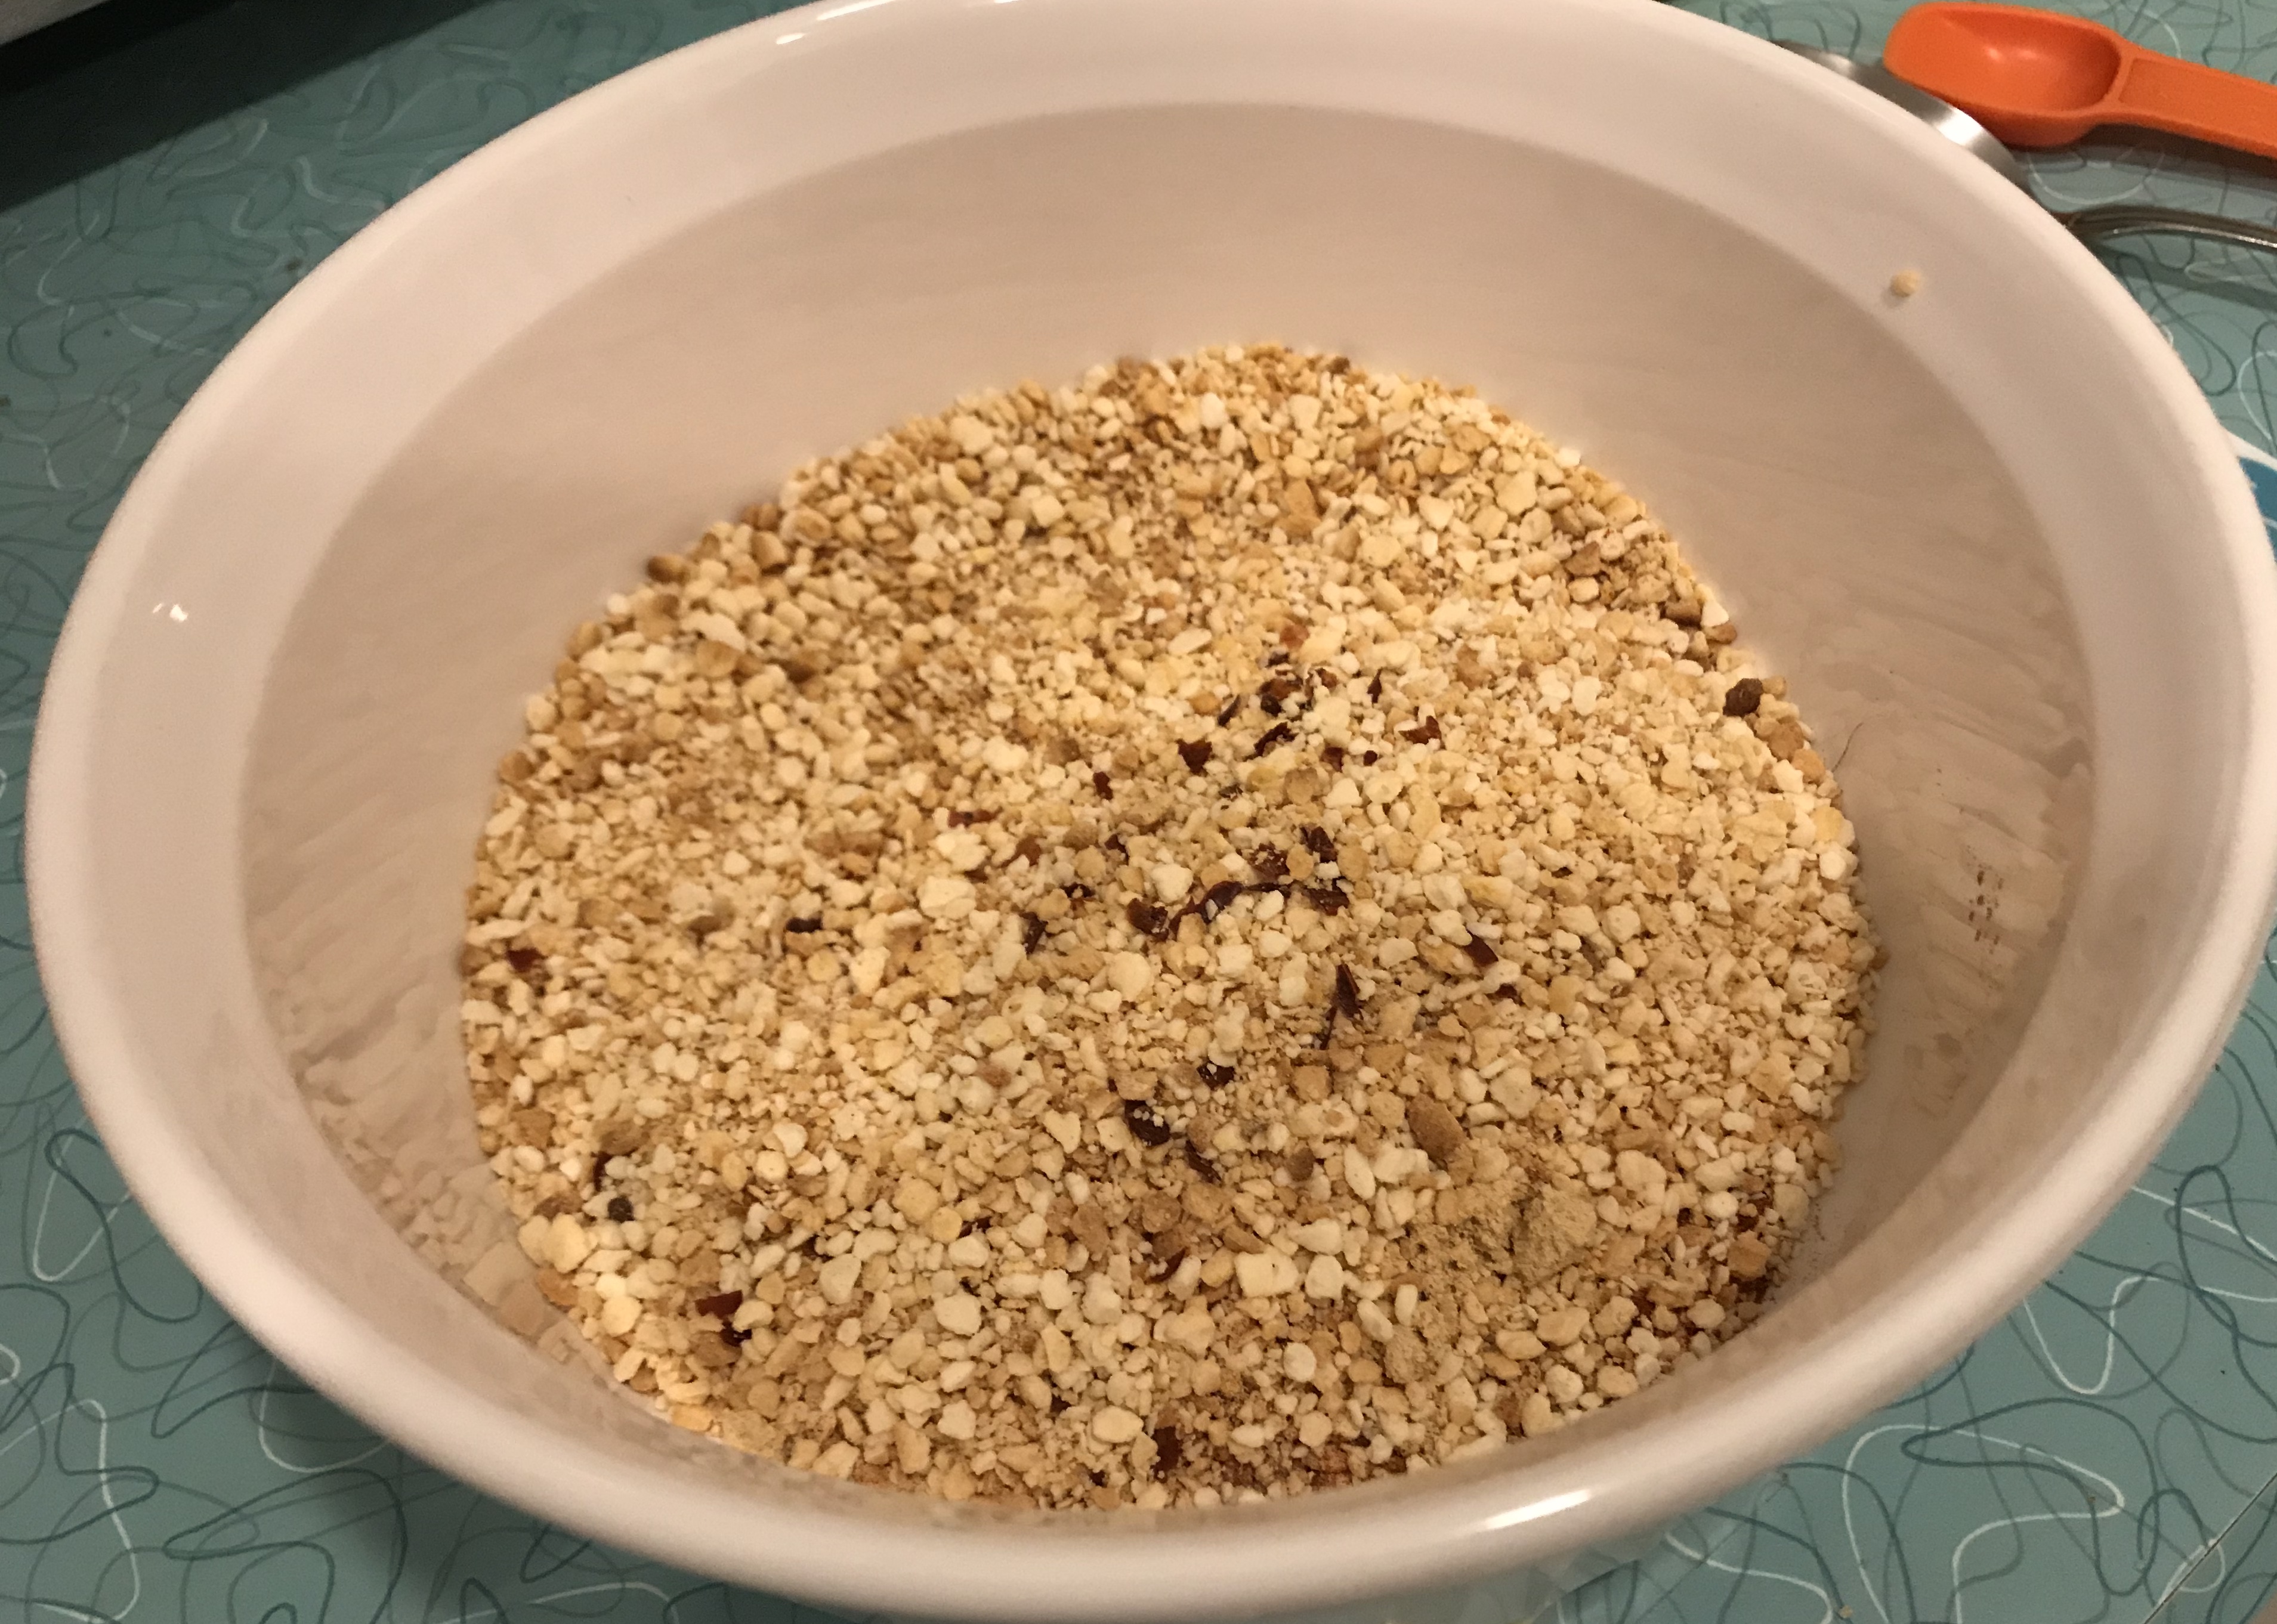
- In a small bowl, prepare the compound butter by mashing the room temperature butter with the parsley, garlic, ginger, crushed red pepper, and the lemon juice until well blended. Set aside.
- While fish is in the oven prepare the spinach and the potatoes
- When fish is cooked, CAREFULLY REMOVE the frying pan from the oven (use oven mitt because the handle will be very hot) and RETURN to the stove on medium-high heat
- ADD the compound butter to the frying pan and MELT until bubbling, SPOONING butter on top of fish to flavor both sides
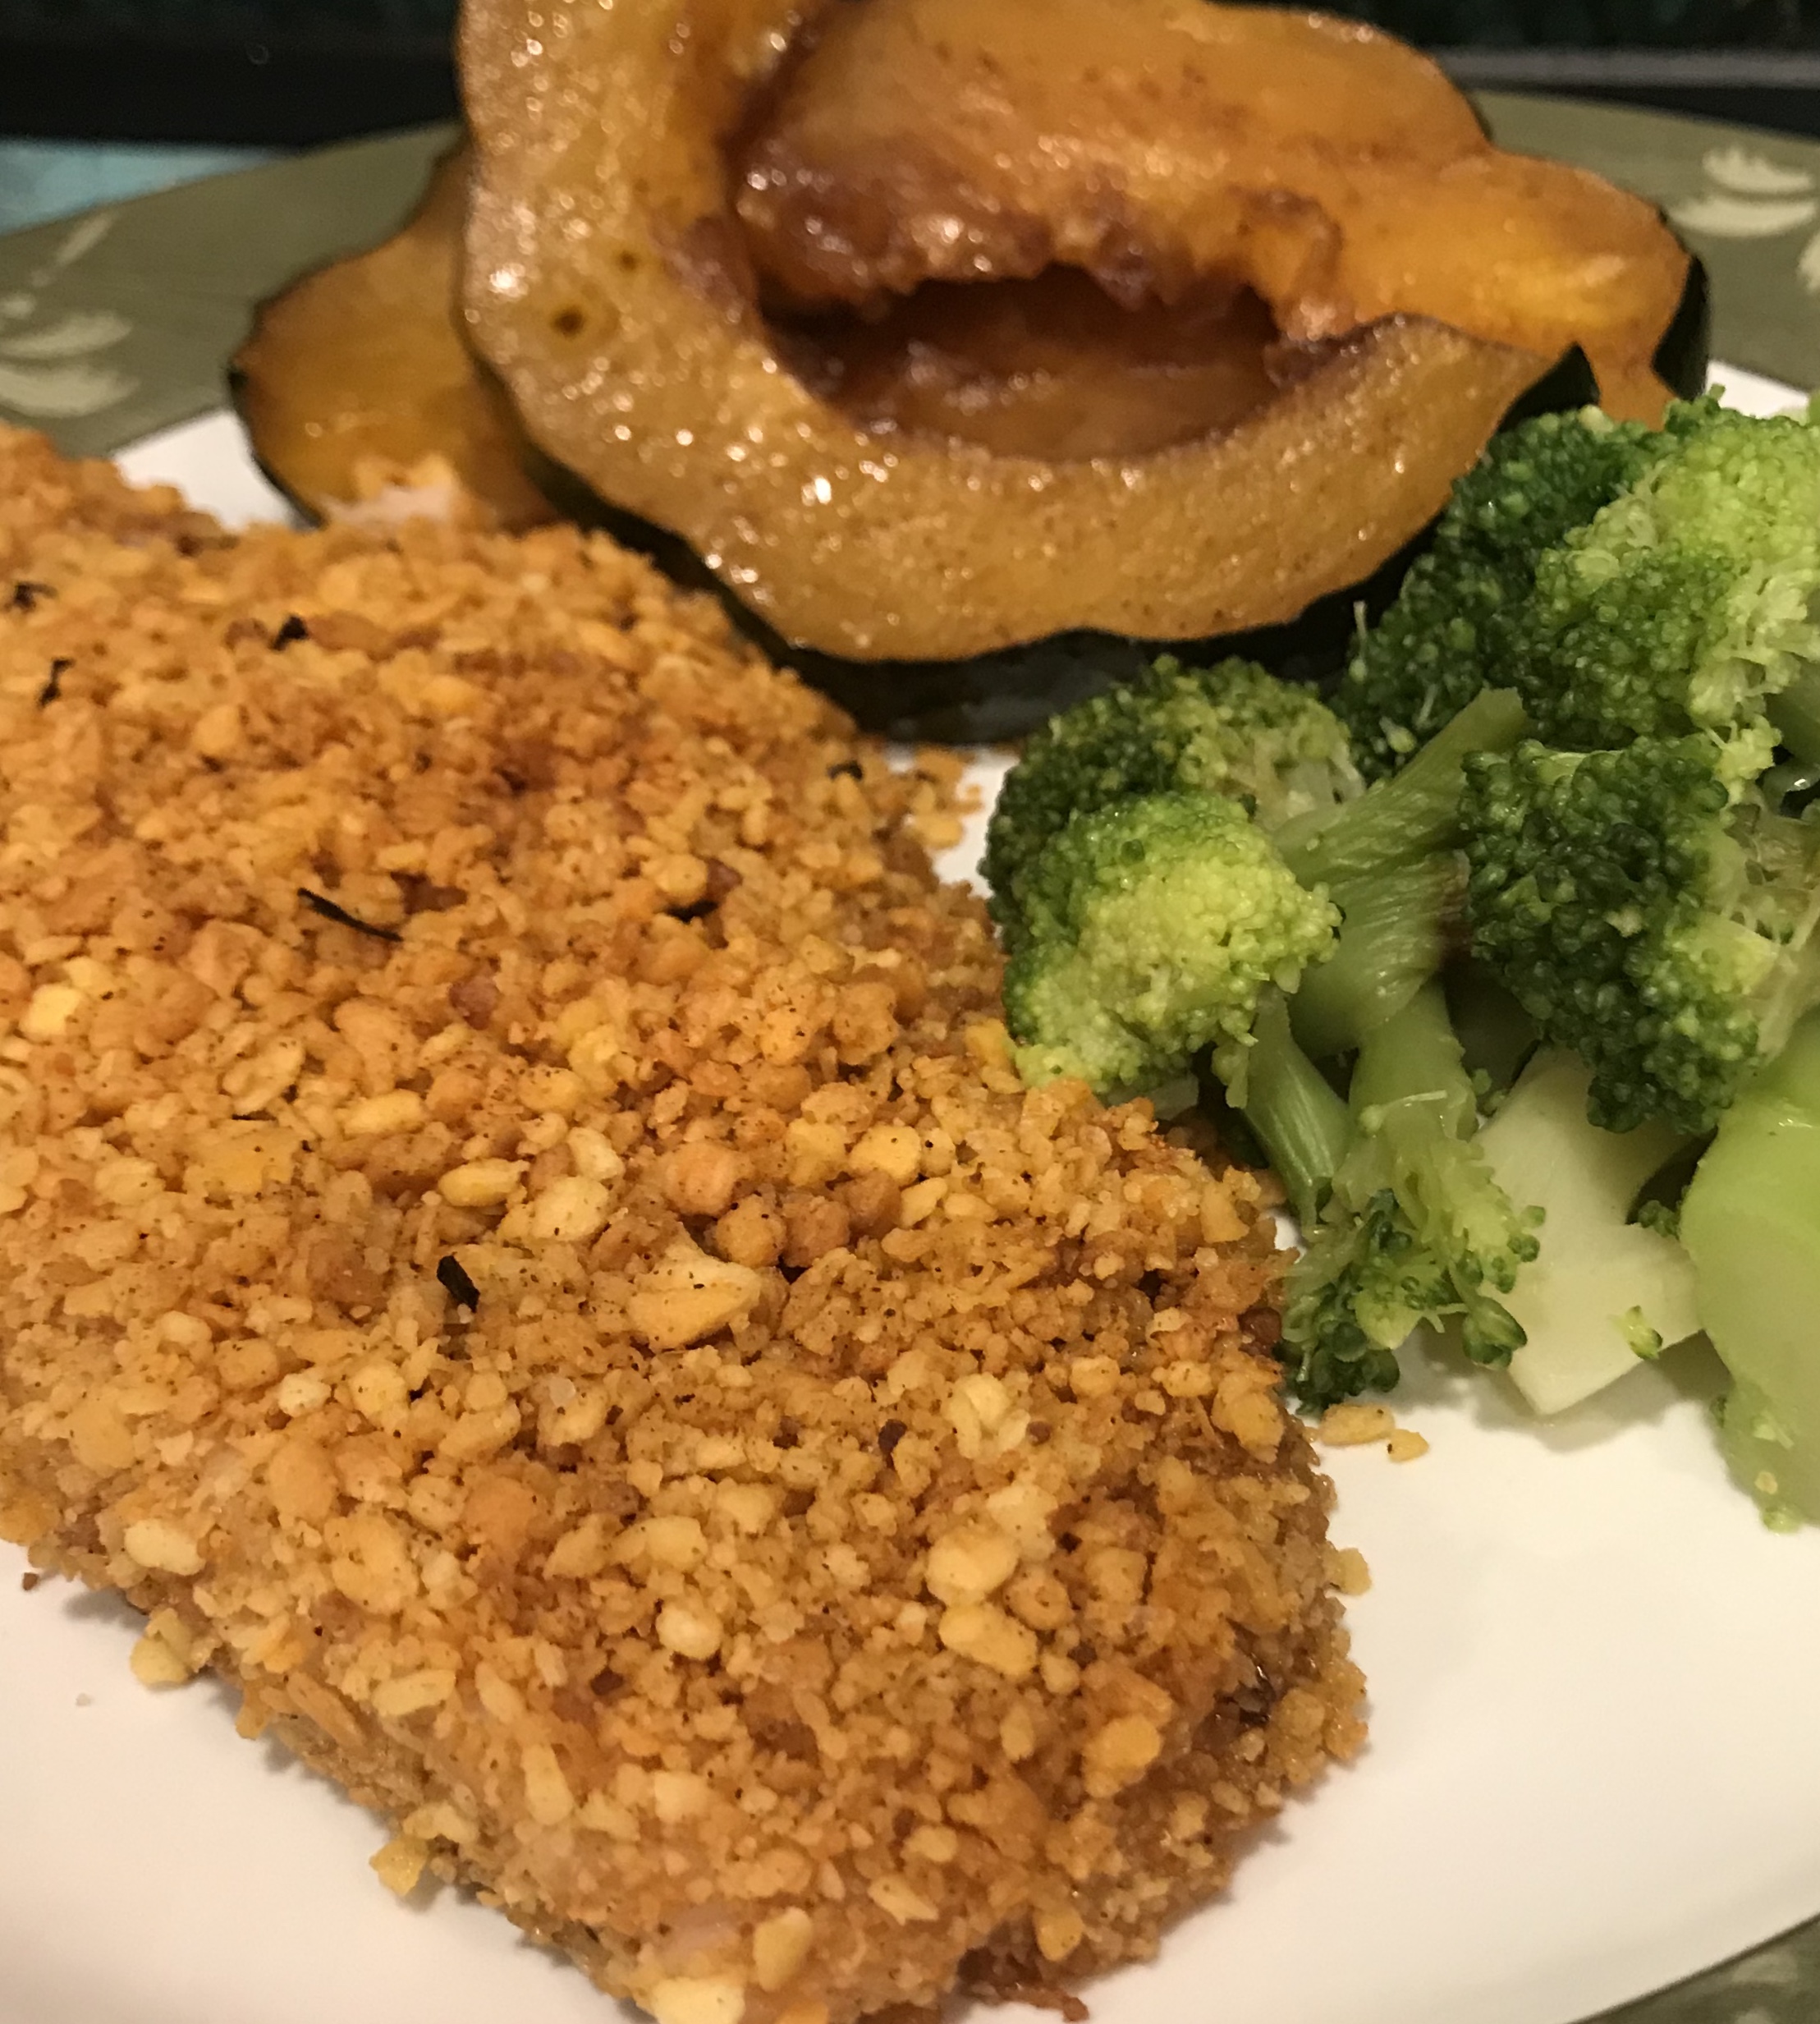
- SERVE swordfish on a plate and SPOON more butter on top
- PREPARE SPINACH
- HEAT oil in a frying pan or wok
- ADD spinach and COVER tightly for 5 minutes to steam spinach
- SPRINKLE garlic salt on spinach, COVER and continue to COOK for 5 more minutes, or until spinach has wilted to the desired level
- SERVE with a SPRINKLE of vegan parmesan cheese, if desired
- PREPARE POTATOES
- In a medium (8-inch) microwave-safe baking dish, MELT the butter (1 minute at 50% power usually works for me, but microwaves vary)
- MIX to combine the garlic and rosemary into the melted butter
- ADD the potatoes and TOSS well with butter mixture
- COVER and MICROWAVE for 8 minutes or until the potatoes are fork-tender (it really depends on how small you cut them)
- SERVE swordfish, spinach, and potatoes together and enjoy
Salt swordfish fillets 
Brown in frying pan 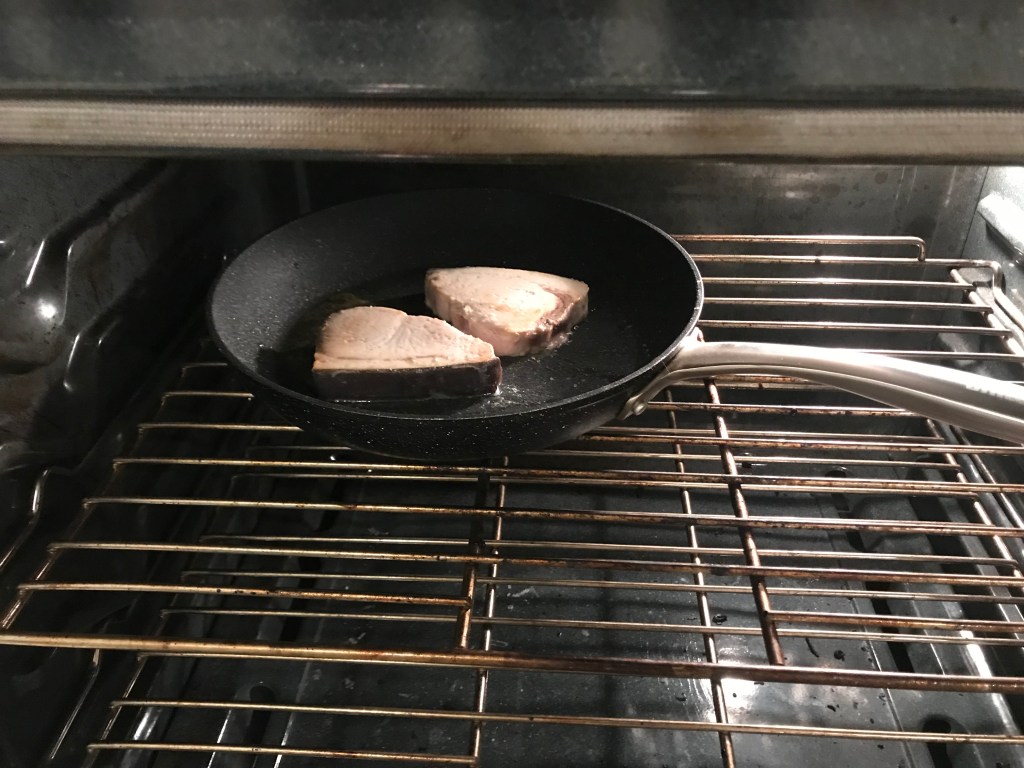
Then roast for 10 minutes in oven 
Make compound butter 
Steam 4 cups spinach 
Cover tightly 
Add garlic salt and keep steaming 
Chop potatoes bitesize 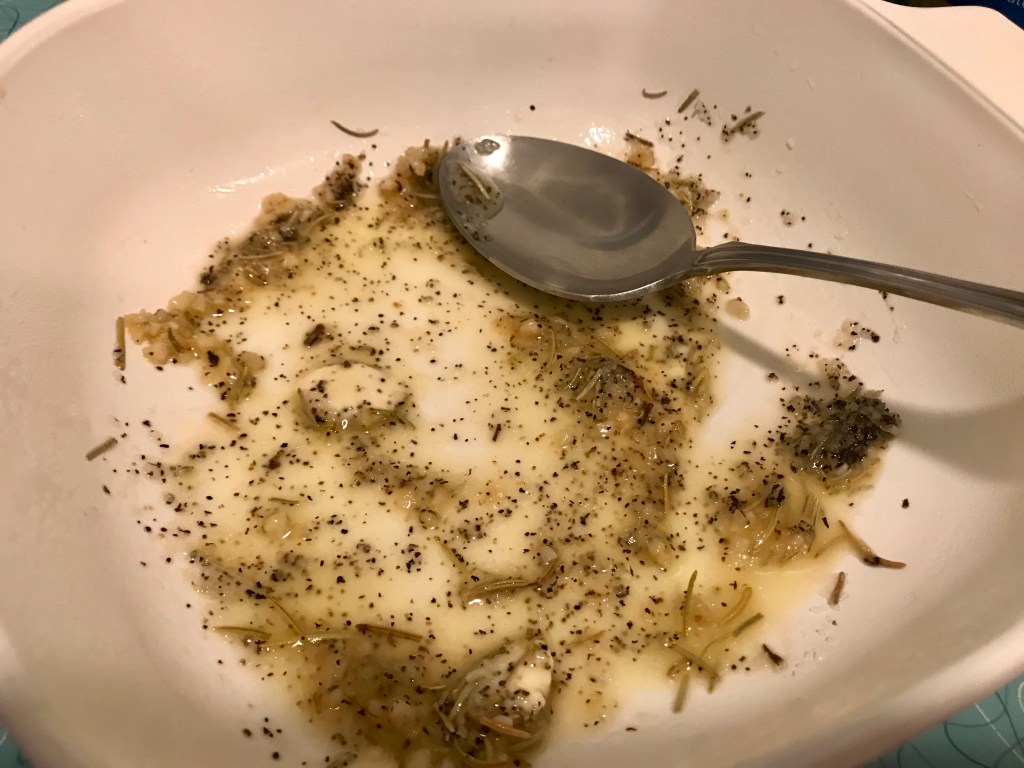
Make rosemary butter 
Toss potatoes with rosemary butter 
Microwave until tender 
Return swordfile to stove 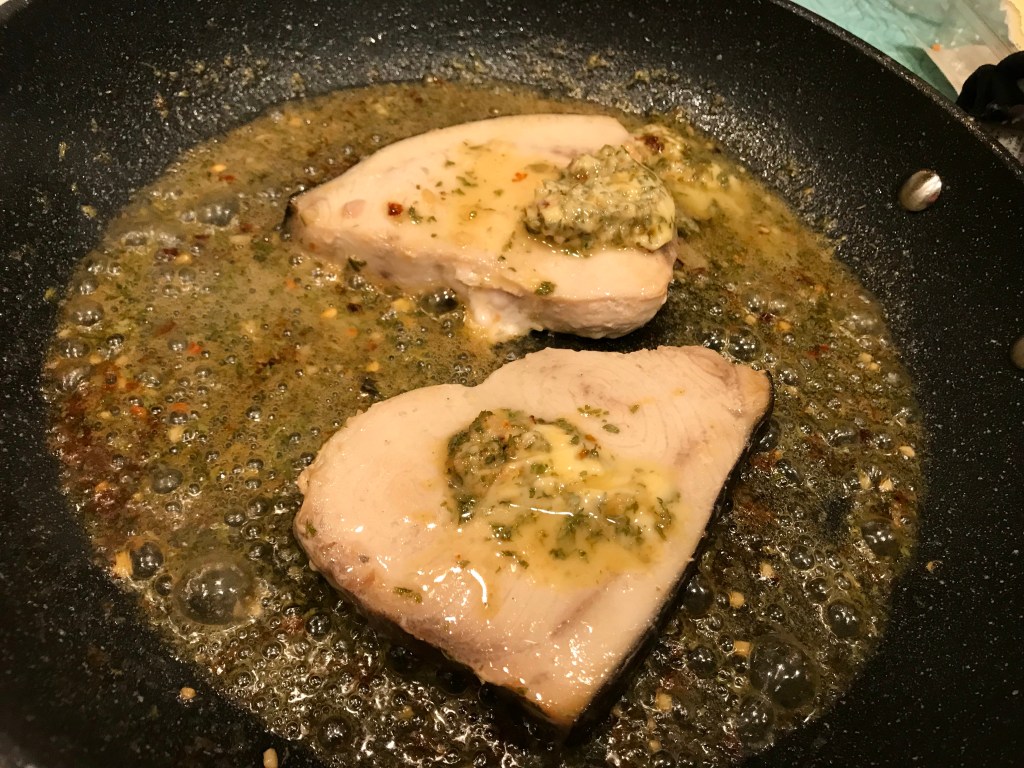
Melt with compound butter 
Make sure to get both sides 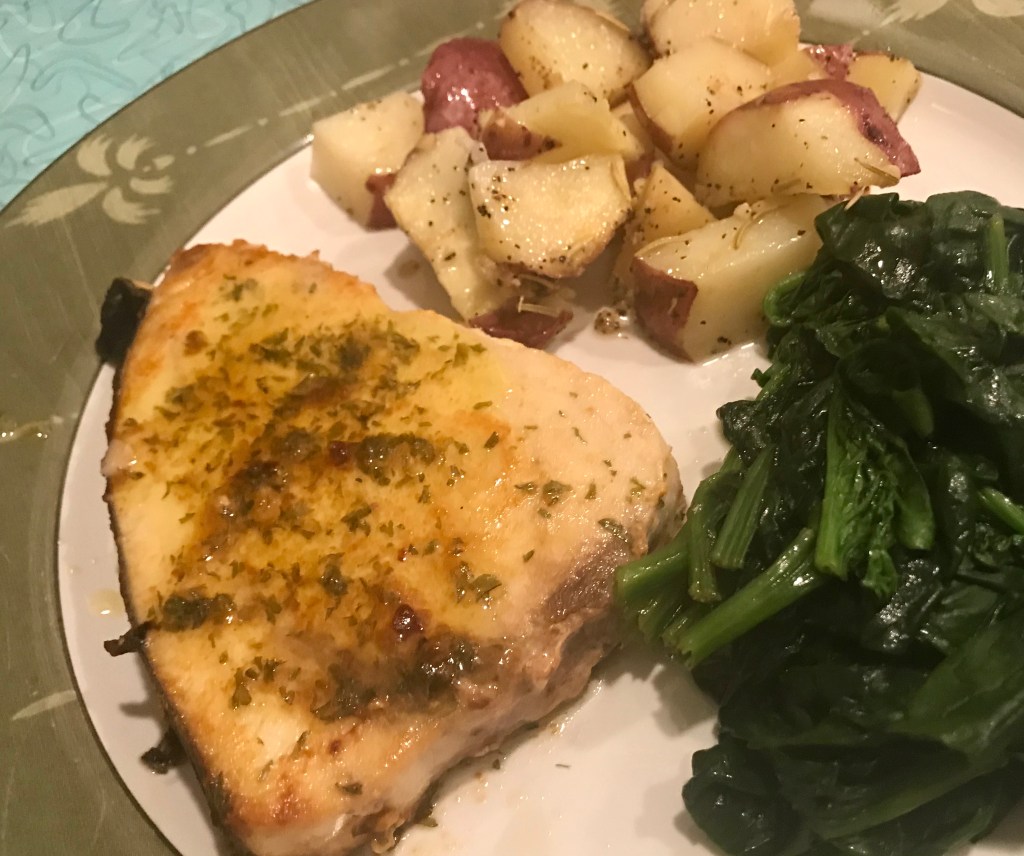
Serve and enjoy