
Shrimp is my quick and easy dinner protein, especially because I can use frozen, peeled and deveined shrimp in only 10 minutes. This sauce is sweet and tangy and sticks perfectly to the shrimp, making it just right for licking your fingers. I buy a 2 lb bag of frozen large shrimp when I find it on sale so that I always have some on hand. If you have time, make the sauce about 30 minutes before and let the shrimp marinate in the refrigerator allowing for a more robust flavor. I served the shrimp over vegetable infused quinoa with steamed seasonal vegetables.
Preparation Time: 12 minutes
Cooking Time: 6-8 minutes
Servings: 4
Ingredients
1 lb of SHRIMP, peeled and deveined (I like tail-on)
1/2 cup MAPLE SYRUP
2 tablespoons of LEMON JUICE
2 tablespoons of GLUTEN FREE SOY SAUCE
2 teaspoons DIJON MUSTARD
1 teaspoons GINGERROOT, minced
1 tablespoons of extra virgin OLIVE OIL
Dried PARSLEY
Sides:
   Stovetop Quinoa (15-20 minutes)
   Frozen seasonal vegetables (6-7 minutes)
Directions
- PREPARE SHRIMP
- If using frozen shrimp, you can quickly DEFROST them by placing the amount of shrimp you want to cook in a colander. Place the colander in a large bowl and run it under cold water until water covers the shrimp. Let the shrimp sit in the cold water for about 10 minutes. PULL the shrimp out of the water and RINSE with fresh water. DRAIN and PAT DRY before adding to marinade.
- If you use shell on shrimp, which adds more flavor to the dish, it can get messy to eat. I prefer to remove the shells prior to cooking or purchase already shelled shrimp. But I do leave the tails on. It’s a personal choice.
- DEVEIN the shrimp before cooking if you are taking the shell off
- PREPARE QUINOA or RICE per package directions (15-20 minutes)
- PREPARE MARINADE
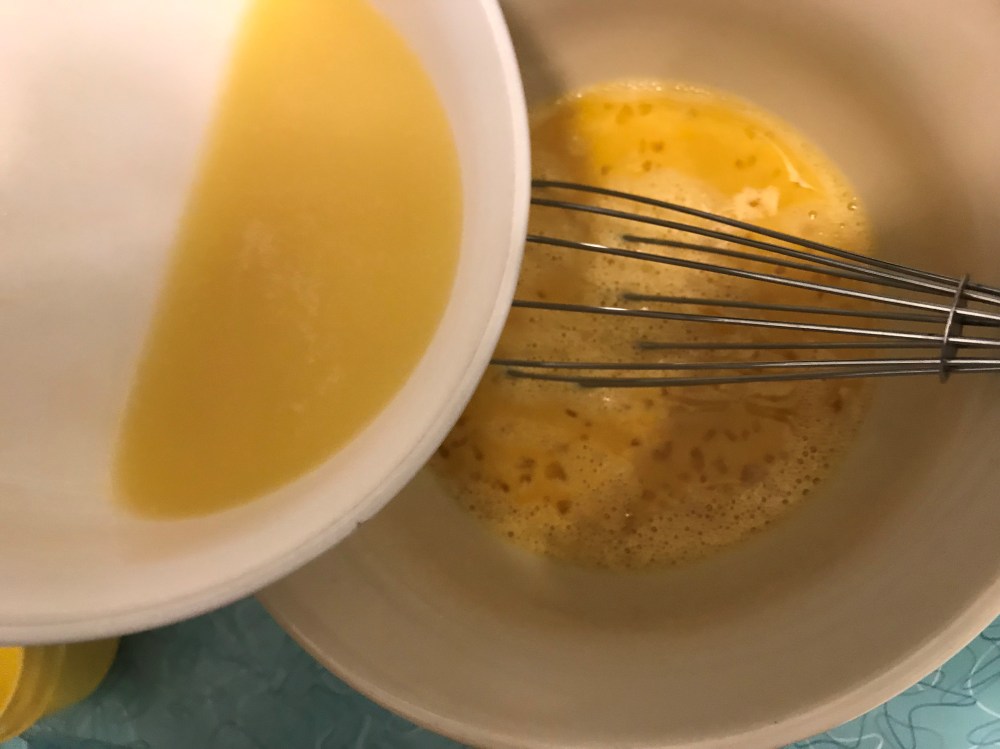
- In a large bowl (big enough for the shrimp), WHISK together maple syrup, lemon juice, gingerroot, gluten-free soy sauce, and mustard
- ADD the thawed shrimp and MIX well to cover
- If you have the time, REFRIGERATE for 30 minutes
- PREPARE VEGETABLES per package directions (~8 minutes)
- HEAT olive oil in a large skillet over medium-high heat
- ADD the marinated shrimp to the skillet, spreading the shrimp out evenly in the pan and add some leftover marinade as well to heat as additional sauce
- COOK the shrimp for 2 minutes and then TURN them over and cook another 2 minutes (this is mostly to heat them if using precooked shrimp). COOK 3-4 minutes a side if using uncooked shrimp, until they turn a nice pink.
- REMOVE from heat and SPRINKLE with dried parsley
- SERVE over quinoa or rice with a side of seasonal vegetables, using extra sauce if you like
- STORE in the refrigerator in an air-tight container for 2 days

Start your sides 
Thaw shrimp for 10 minutes 
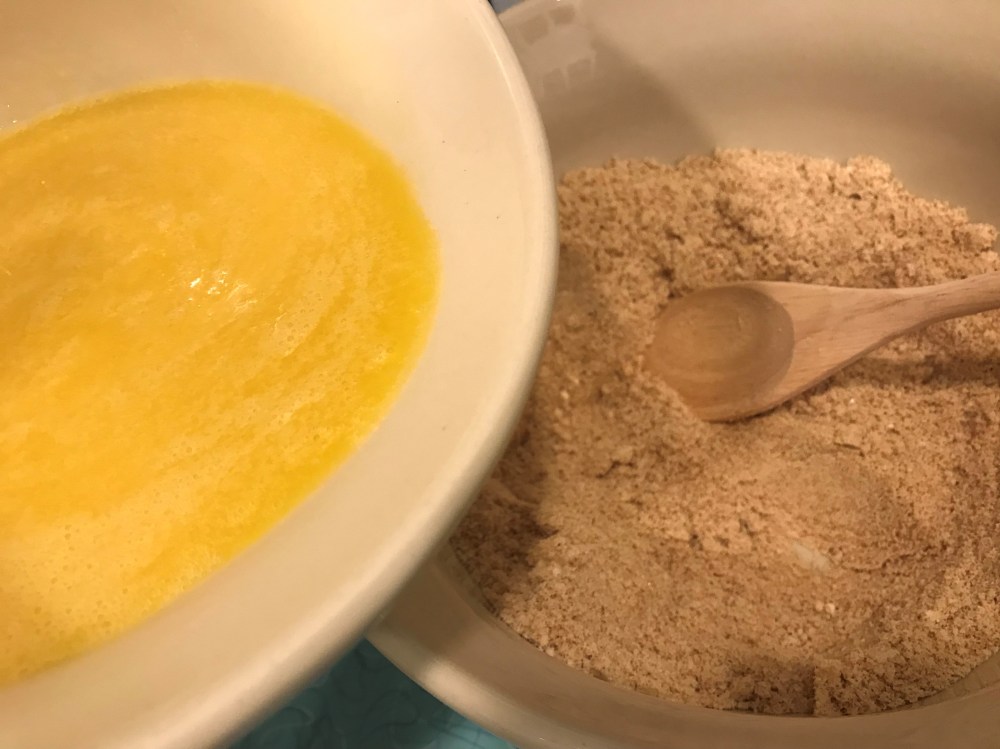
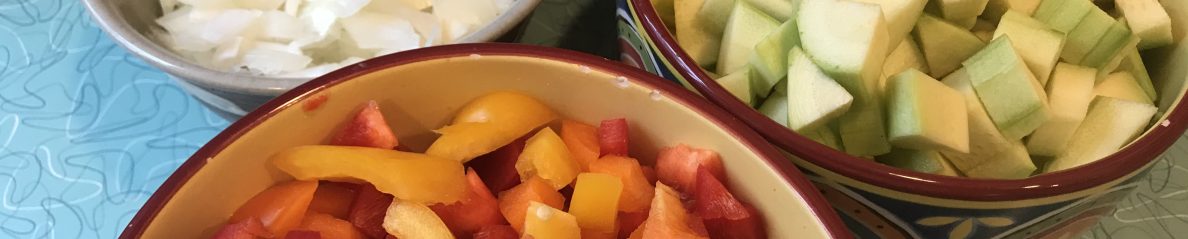
Gather ingredients 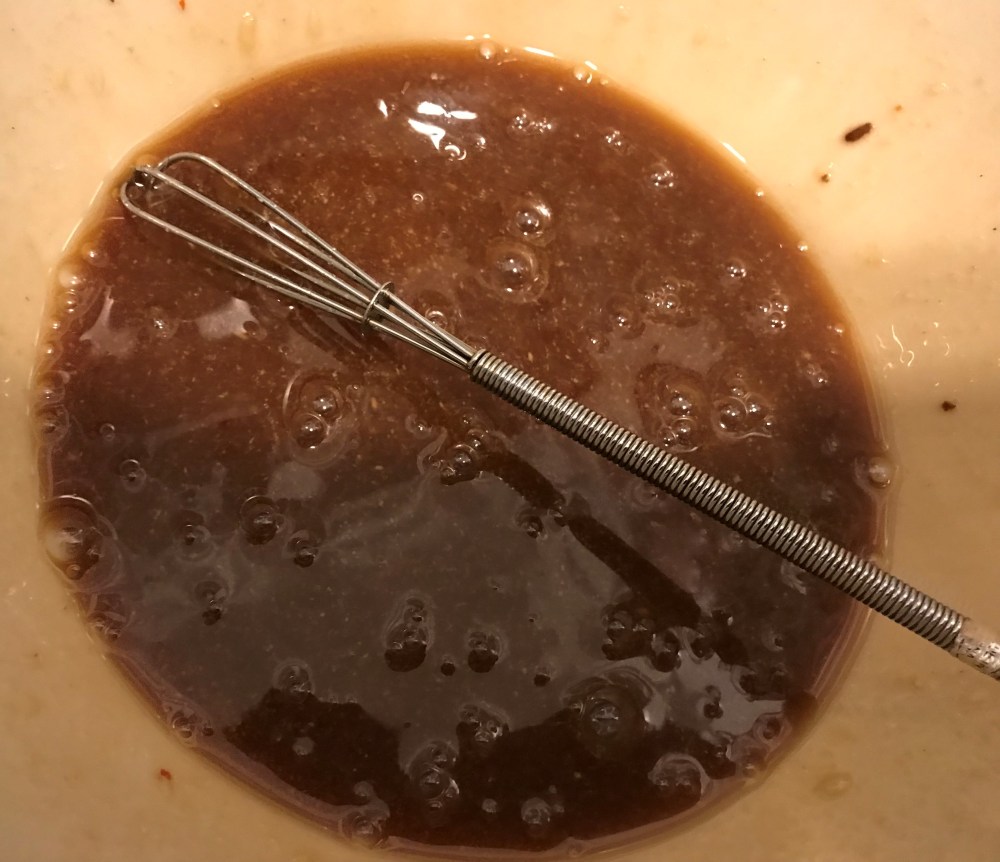
Whisk your marinade 
Cover shrimp with marinade 
Saute your shrimp 2 minutes a side 
Fluff quinoa 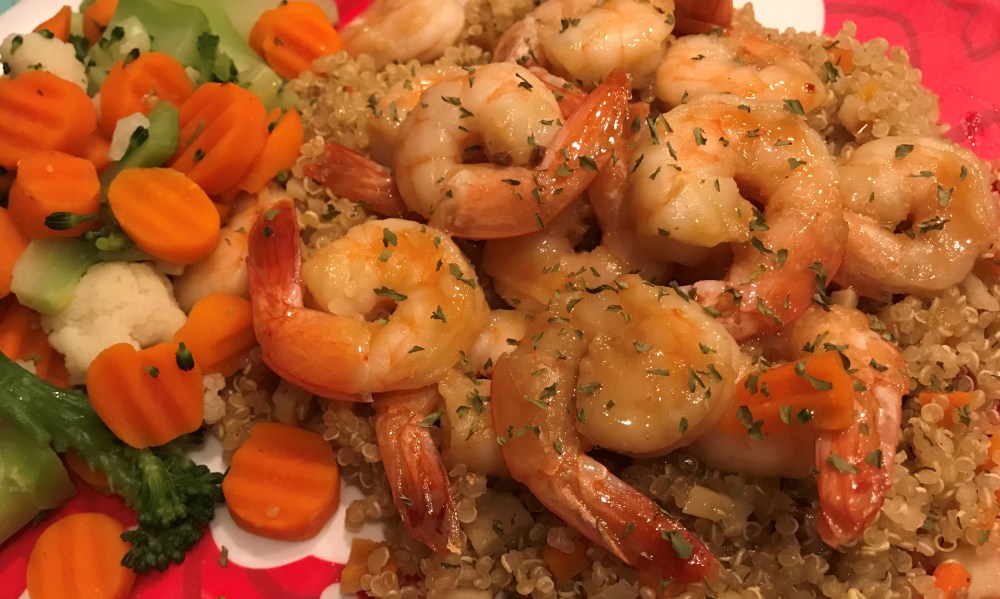
Serve over quinoa with seasonal vegetables