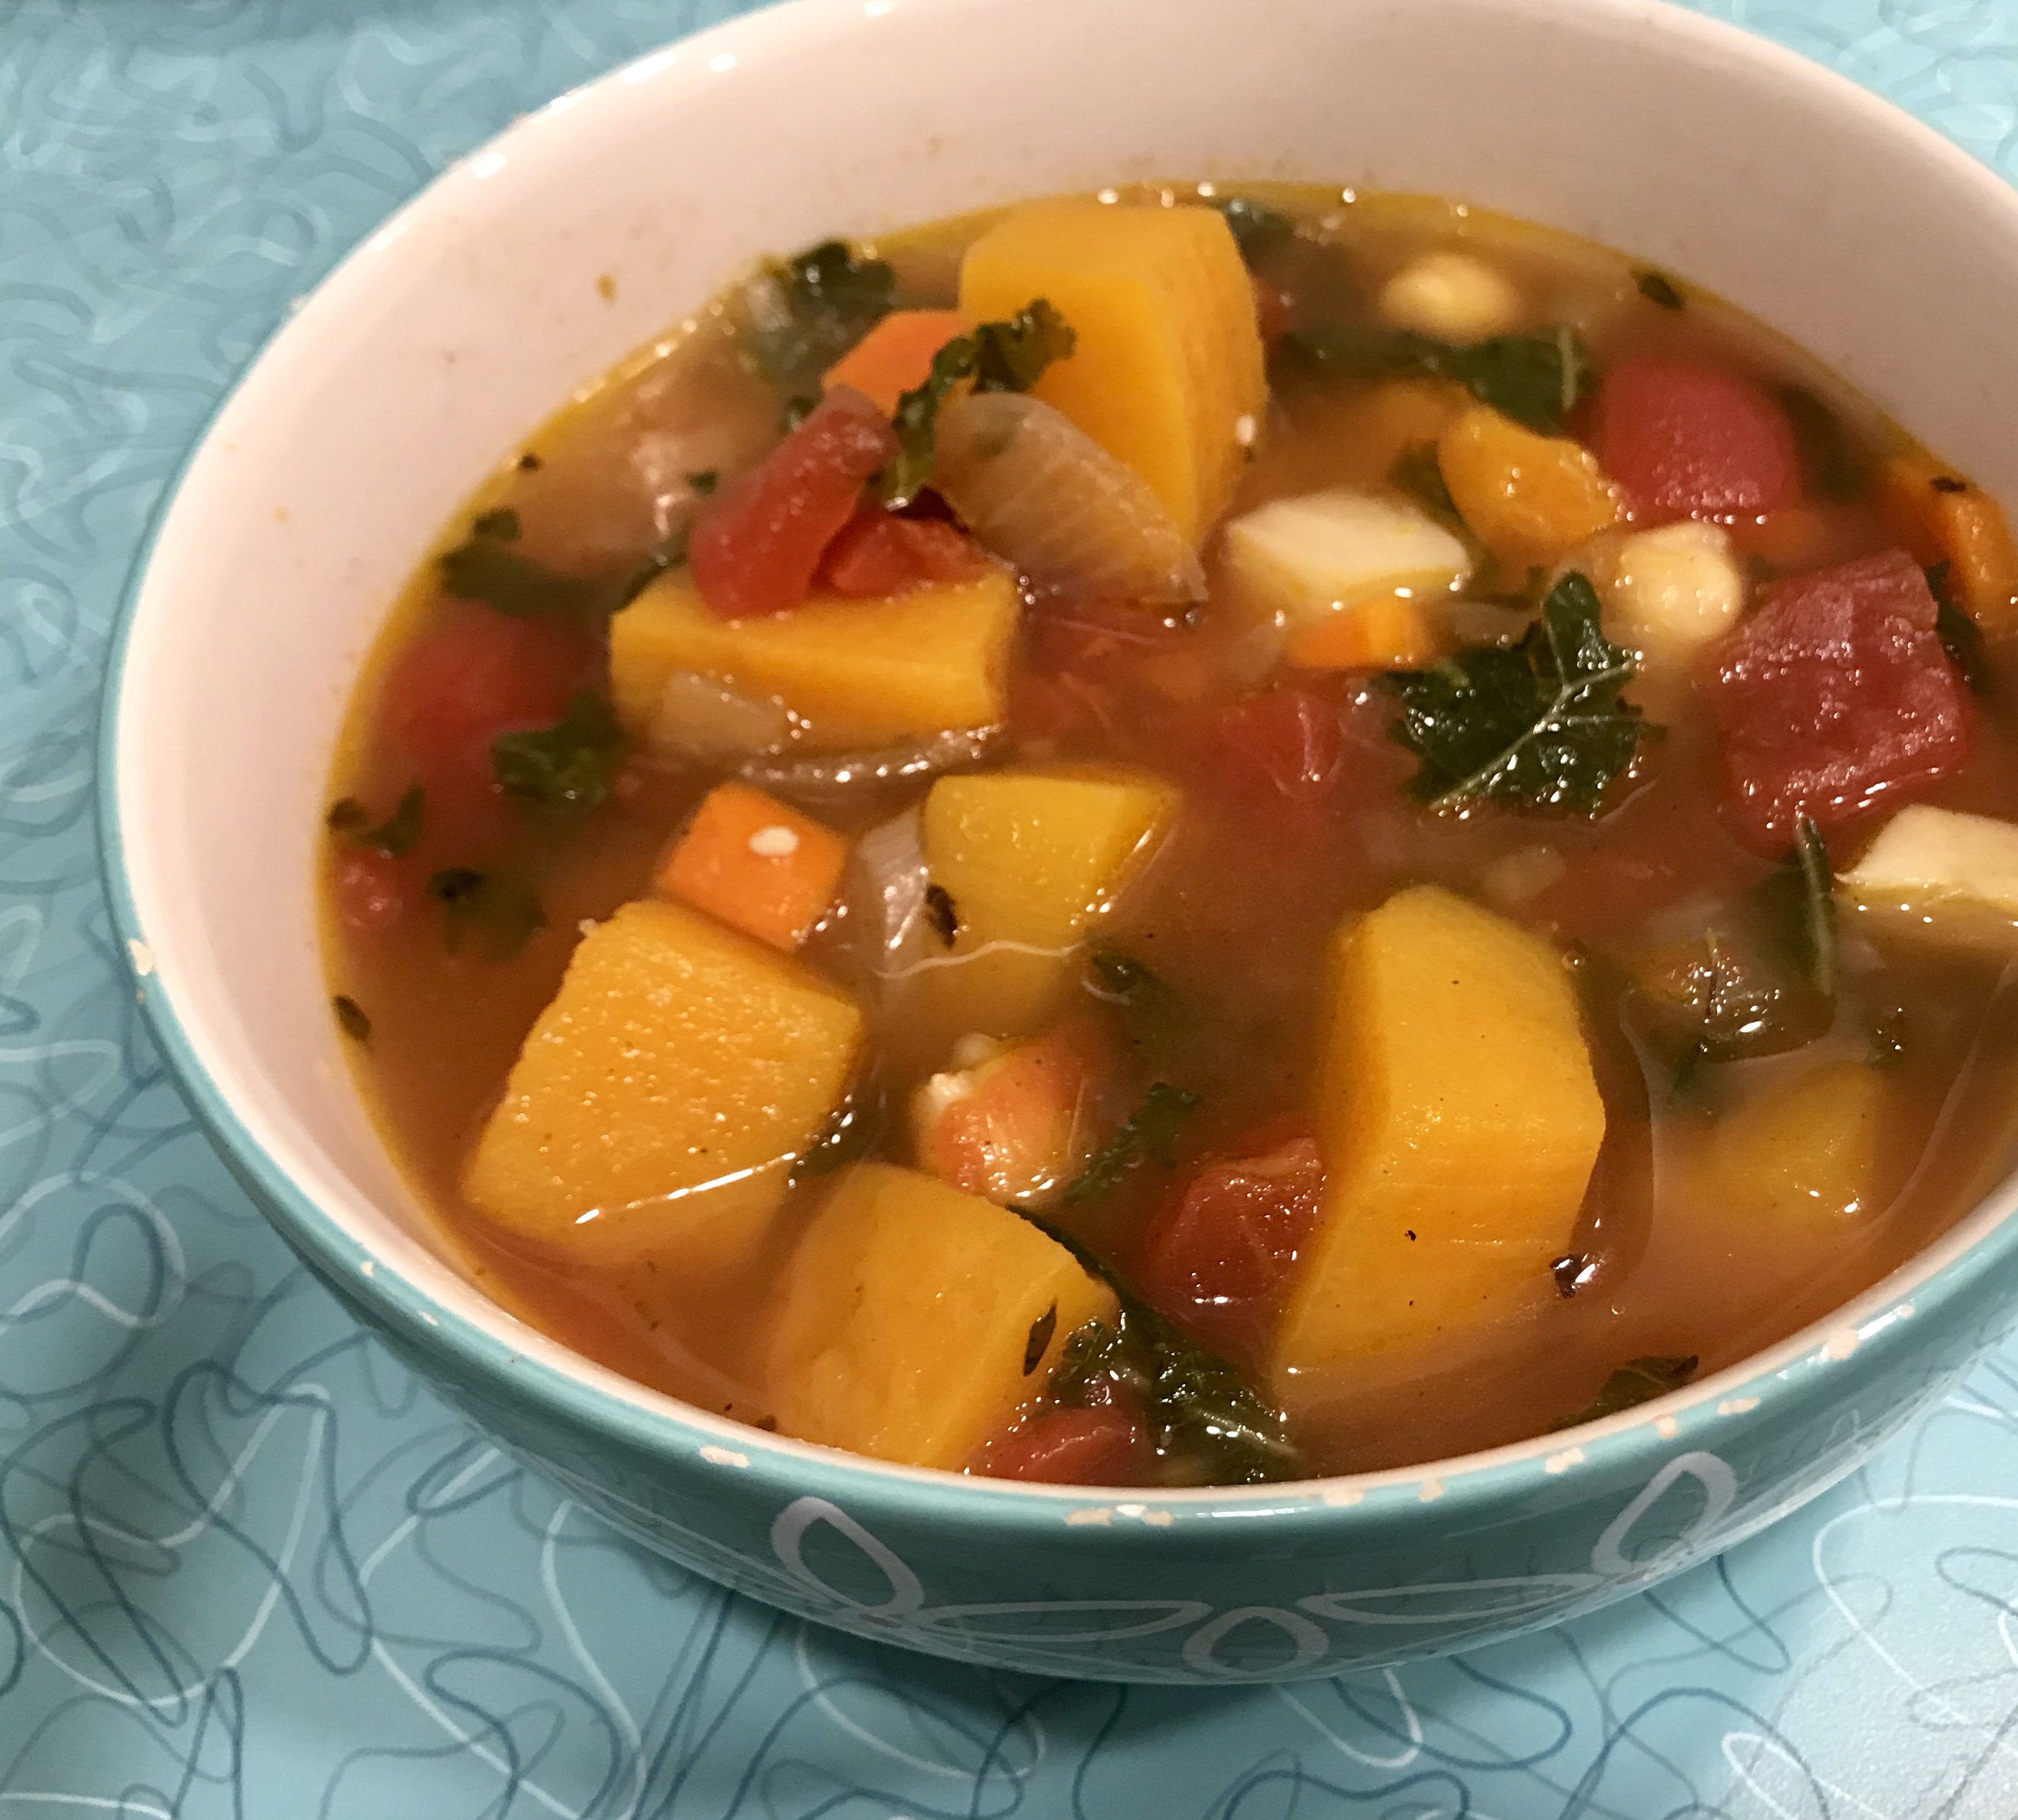

It has been snowing for the last 24 hours and it’s really accumulating out there (already about 8 inches). I needed something hearty and warm for when the shovelers came inside. My answer was a large pot of colorful, aromatic French vegetable stew over hearty quinoa. I make my Ratatouille in one pot on the stove and it is naturally gluten-free and vegan. For bread eaters, this might pair really well with some crusty French bread.
Preparation time: 30 minutes
Cook time: 25-30 minutes
Servings: 6-8
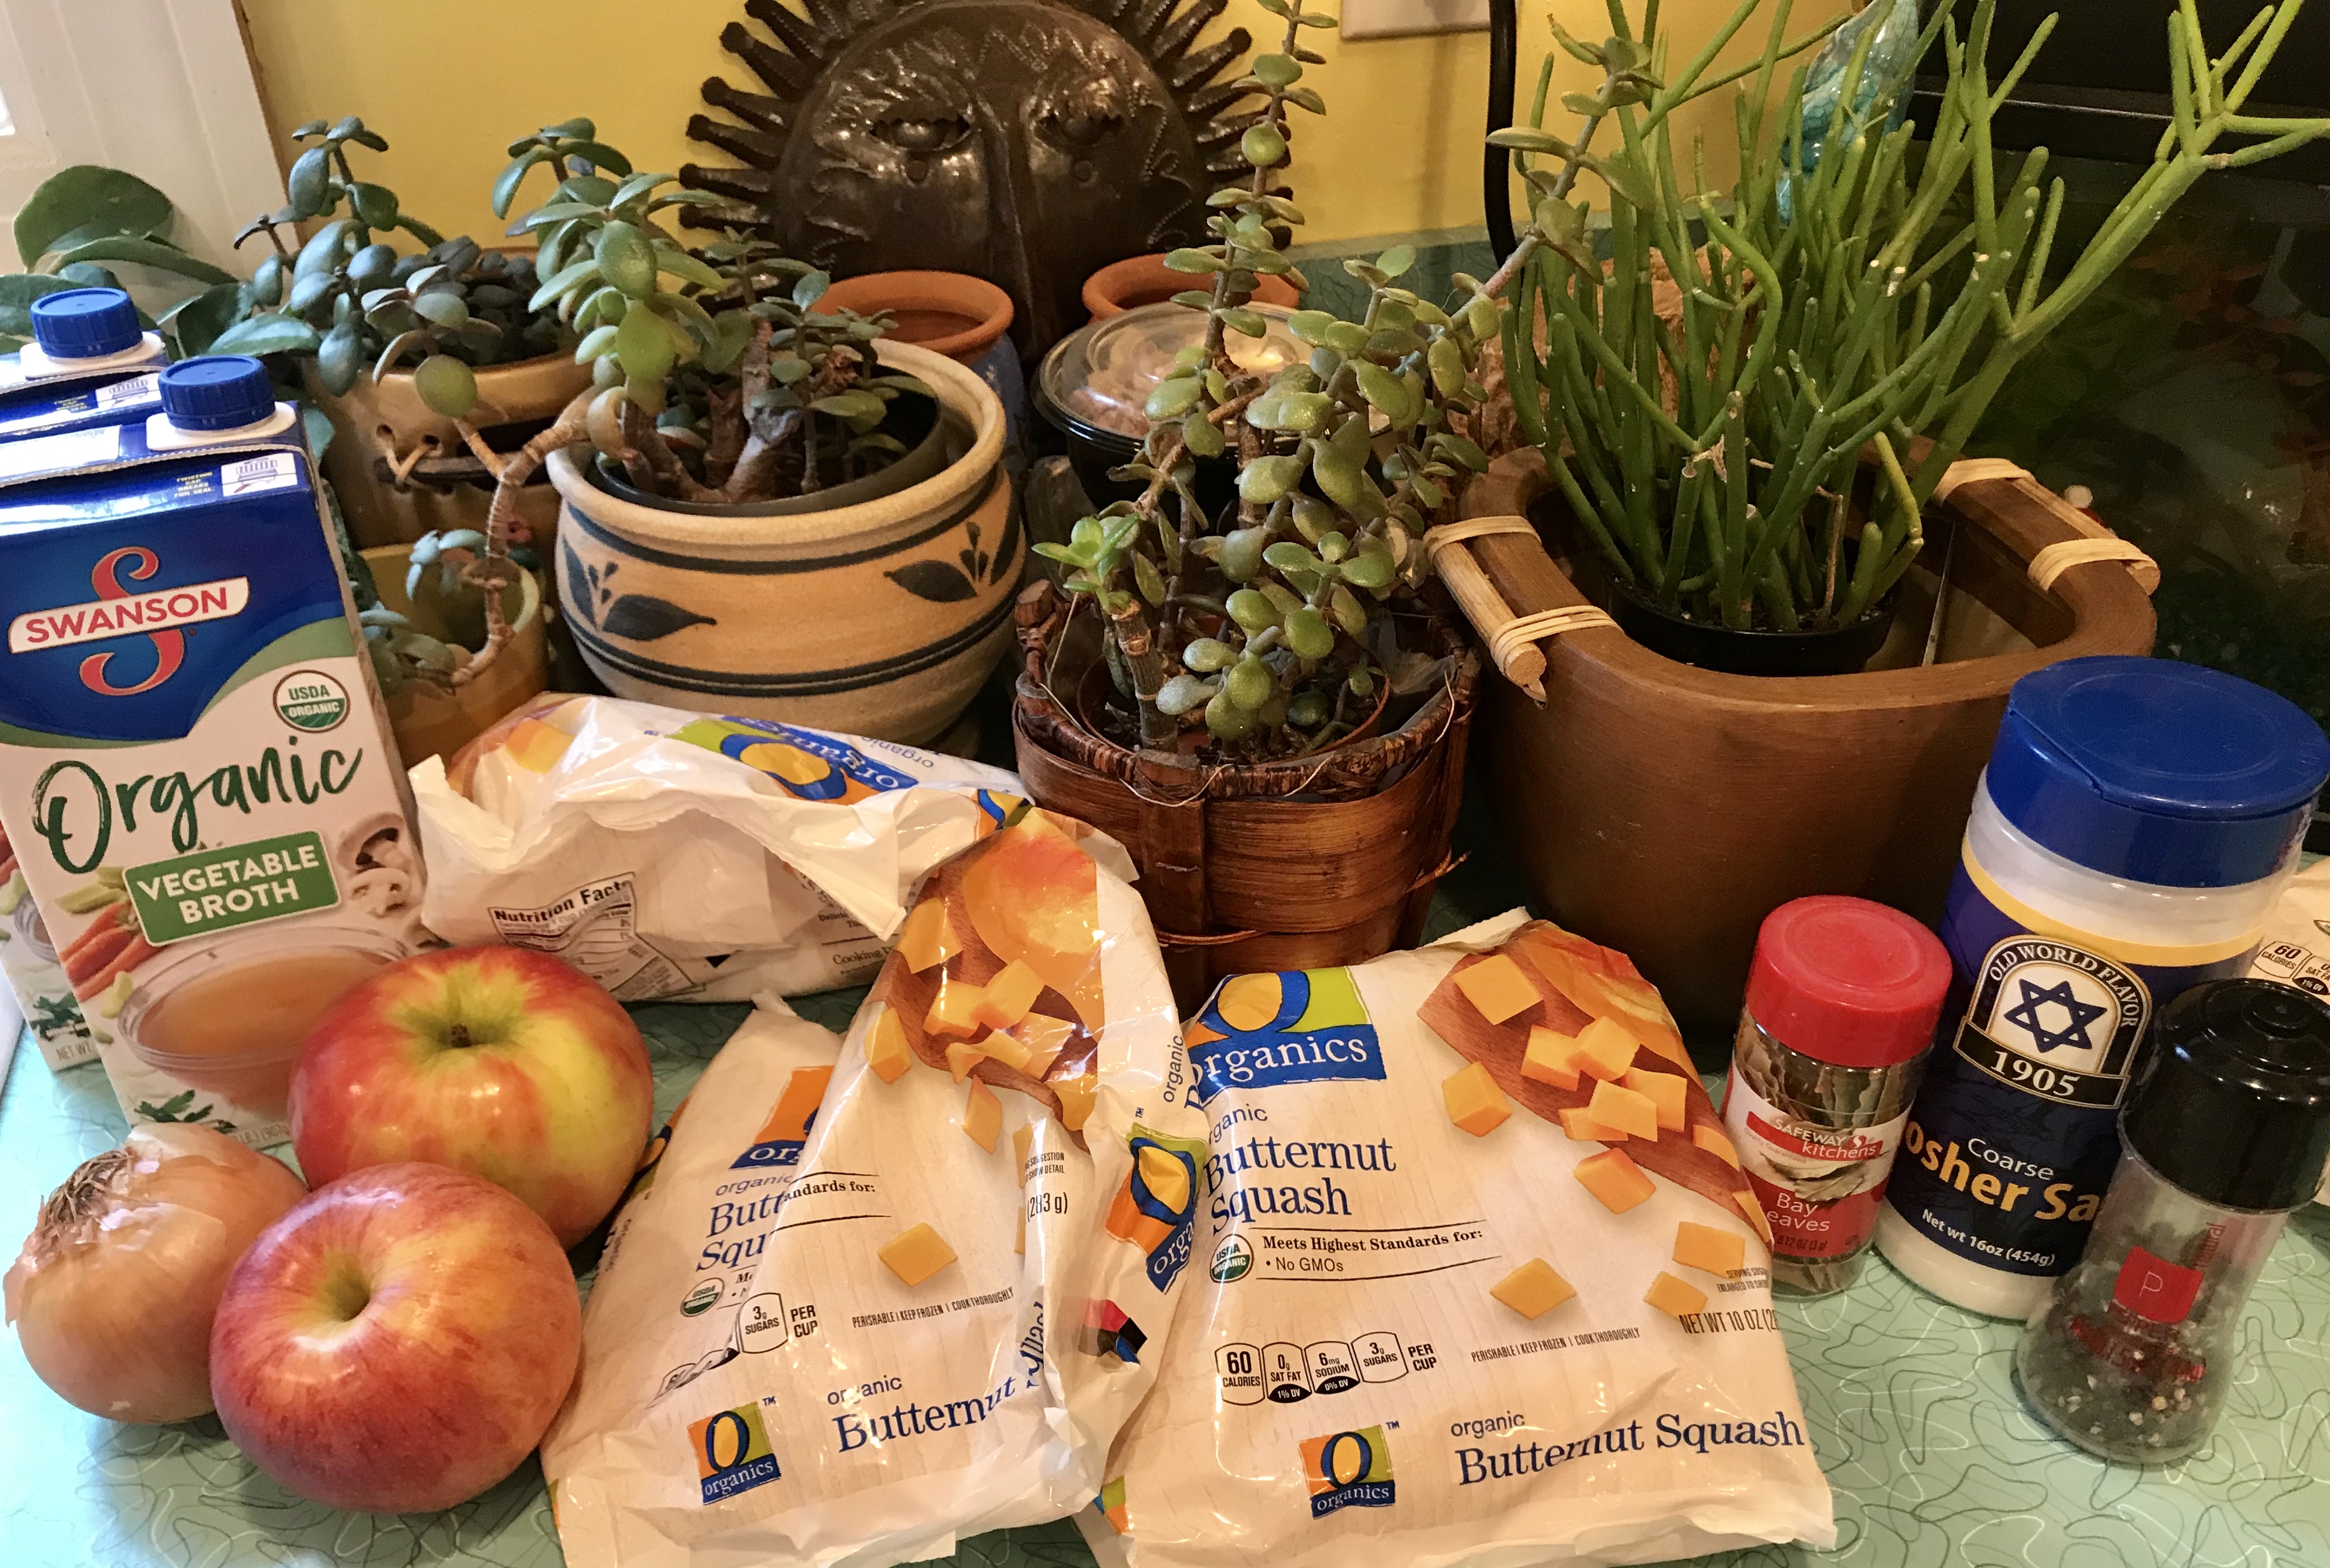
Ingredients
1 EGGPLANT, peeled and cut into bitesize cubes
1 tablespoon EXTRA VIRGIN OLIVE OIL
1 large ONION, diced
4 cloves GARLIC, minced
1/4 cup dry RED WINE
28 ounce can diced TOMATOES, with juice
1/2 cup WATER
1 BAY LEAF
1 teaspoon dried BASIL
1/2 teaspoon dried THYME
1/2 teaspoon dried OREGANO
1/2 teaspoon crushed RED PEPPER FLAKES
1/4 teaspoon ROSEMARY, ground
1 teaspoon SEA SALT, divided
1/2 teaspoon BLACK PEPPER, ground
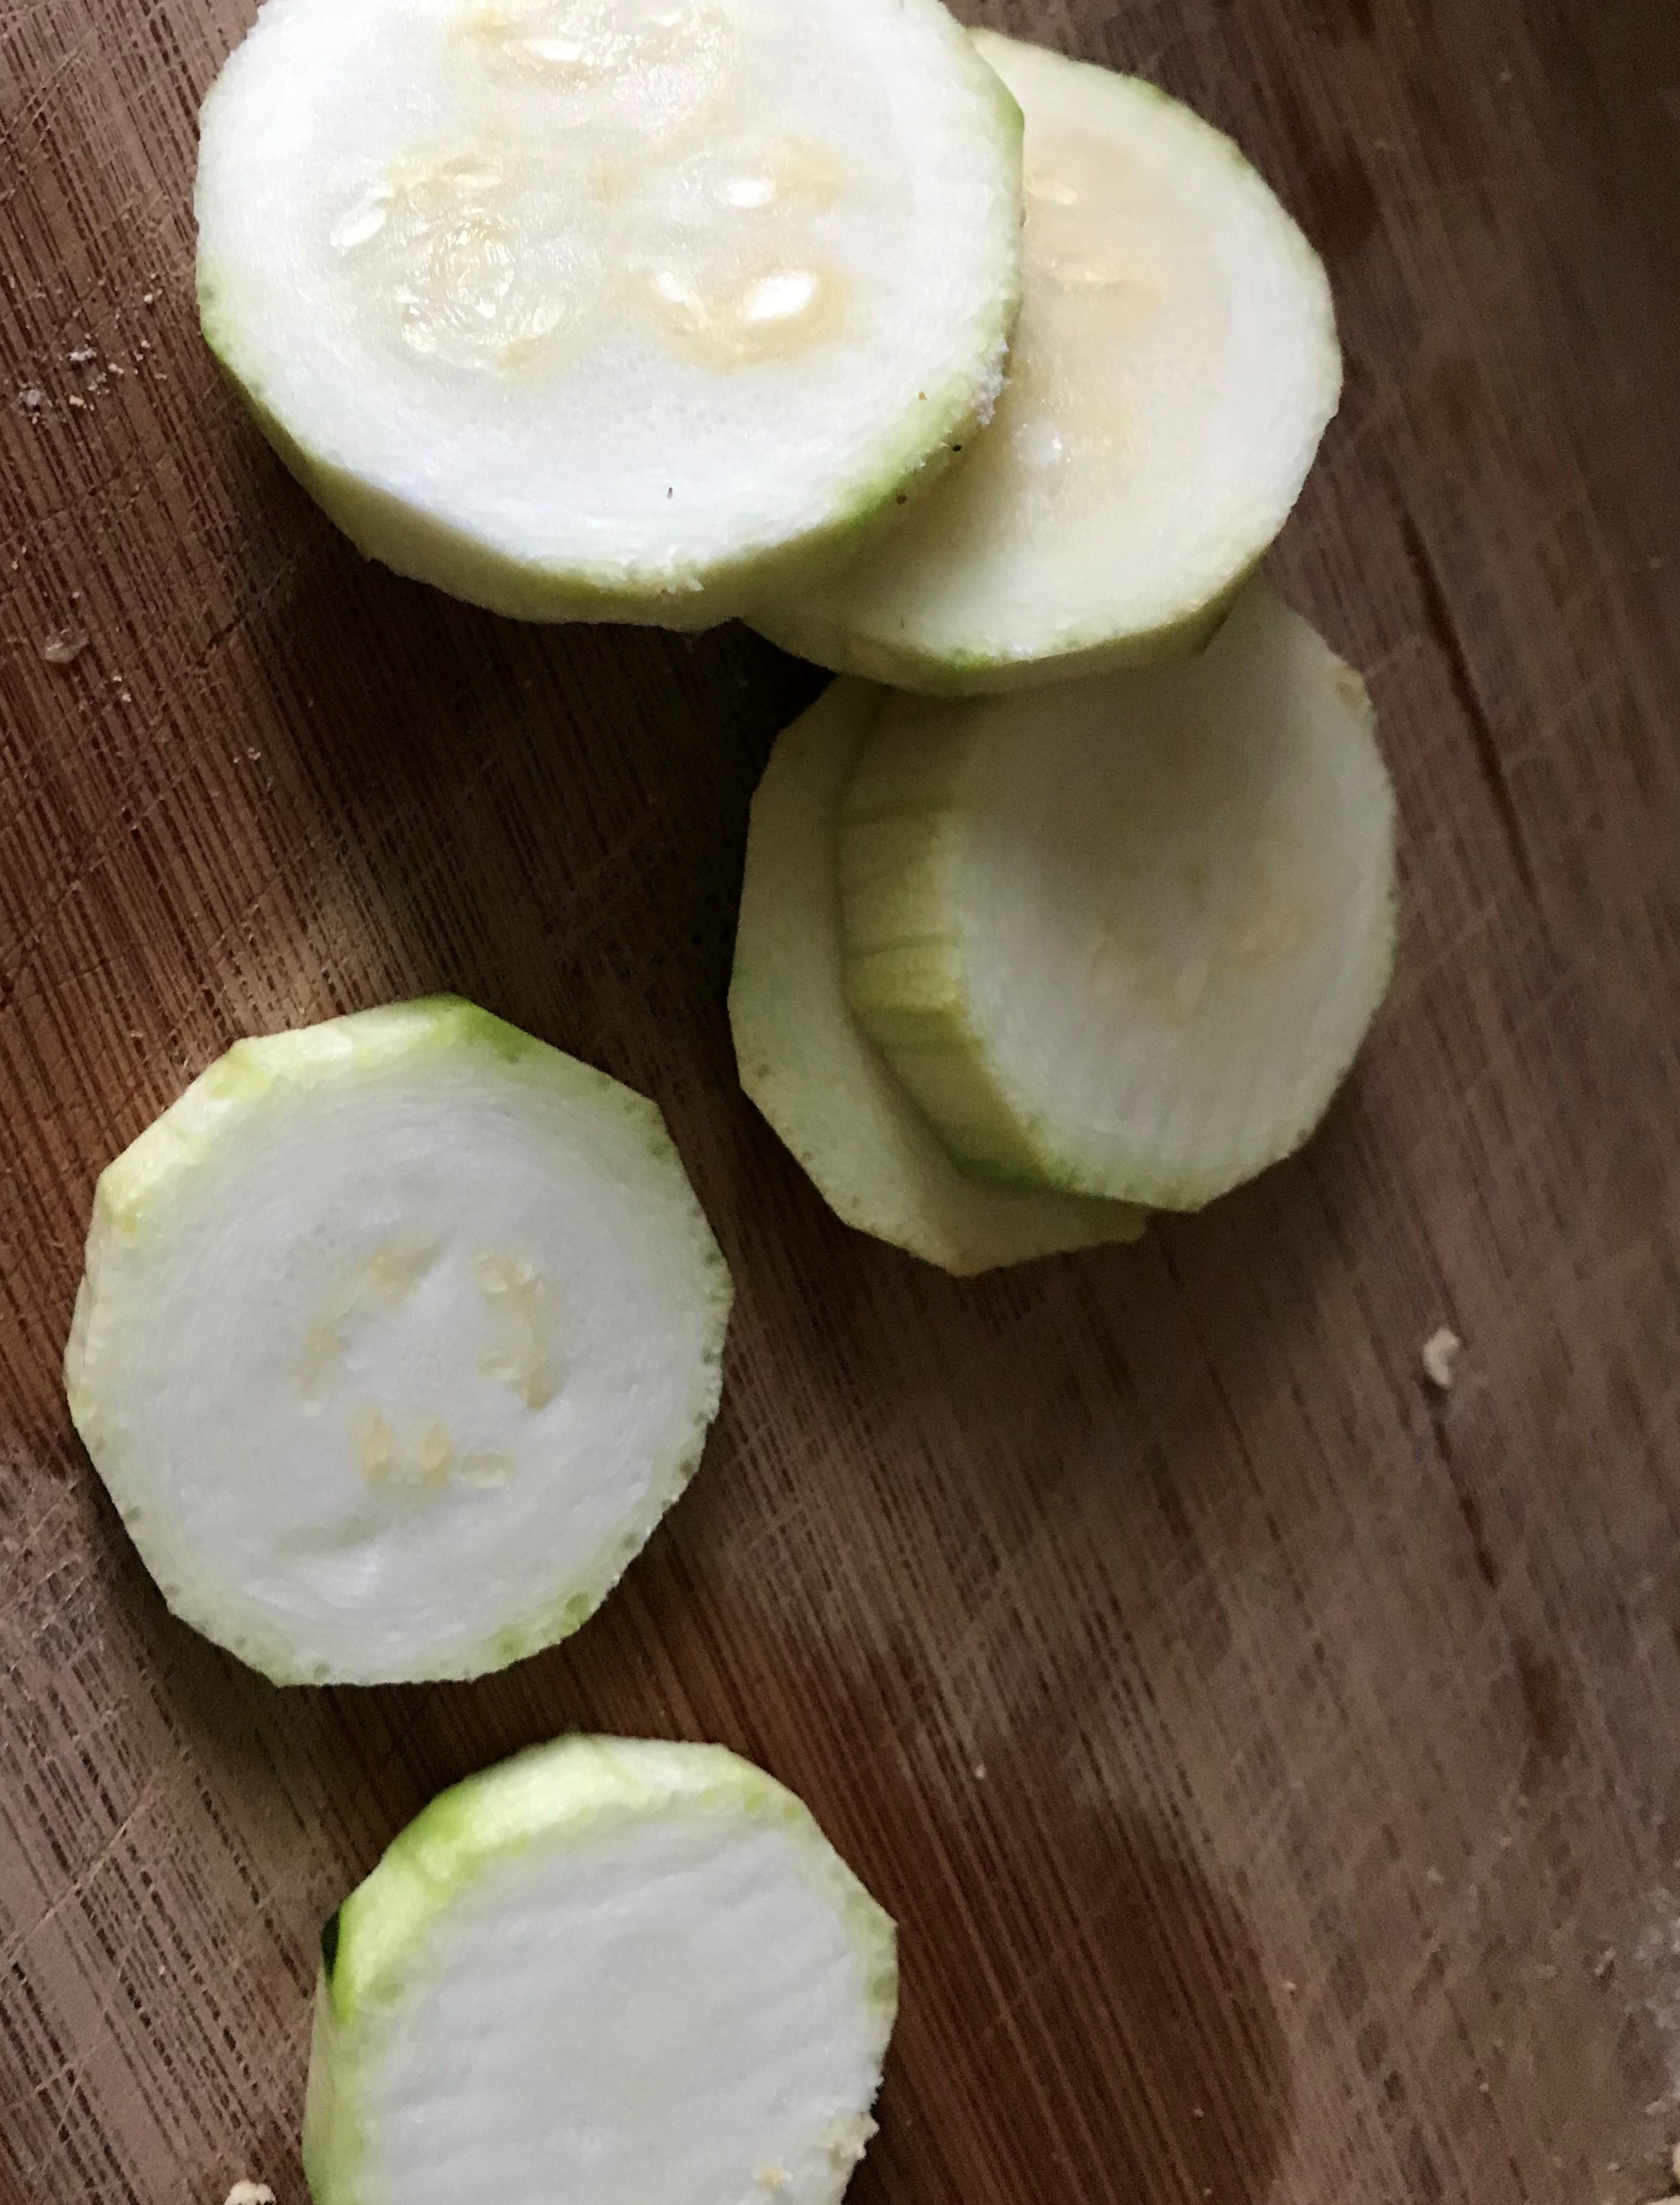
2 medium ZUCCHINI, peeled and cut bitesize
1 YELLOW SQUASH, peeled and cut bitesize
1 RED BELL PEPPER, cut bitesize
1 YELLOW BELL PEPPER, cut bitesize
2 cups QUINOA, rinsed (plus 4 cups water to cook)
Pinch of PARSLEY
Directions
- PREPARE EGGPLANT
- PEEL eggplant
- CUT off both ends and CUT the eggplant into bitesize cubes
- PLACE the eggplant cubes into a colander and TOSS with 1/2 teaspoon of sea salt to express excess water. SET ASIDE for about 20 minutes while preparing the other ingredients.
- RINSE before using
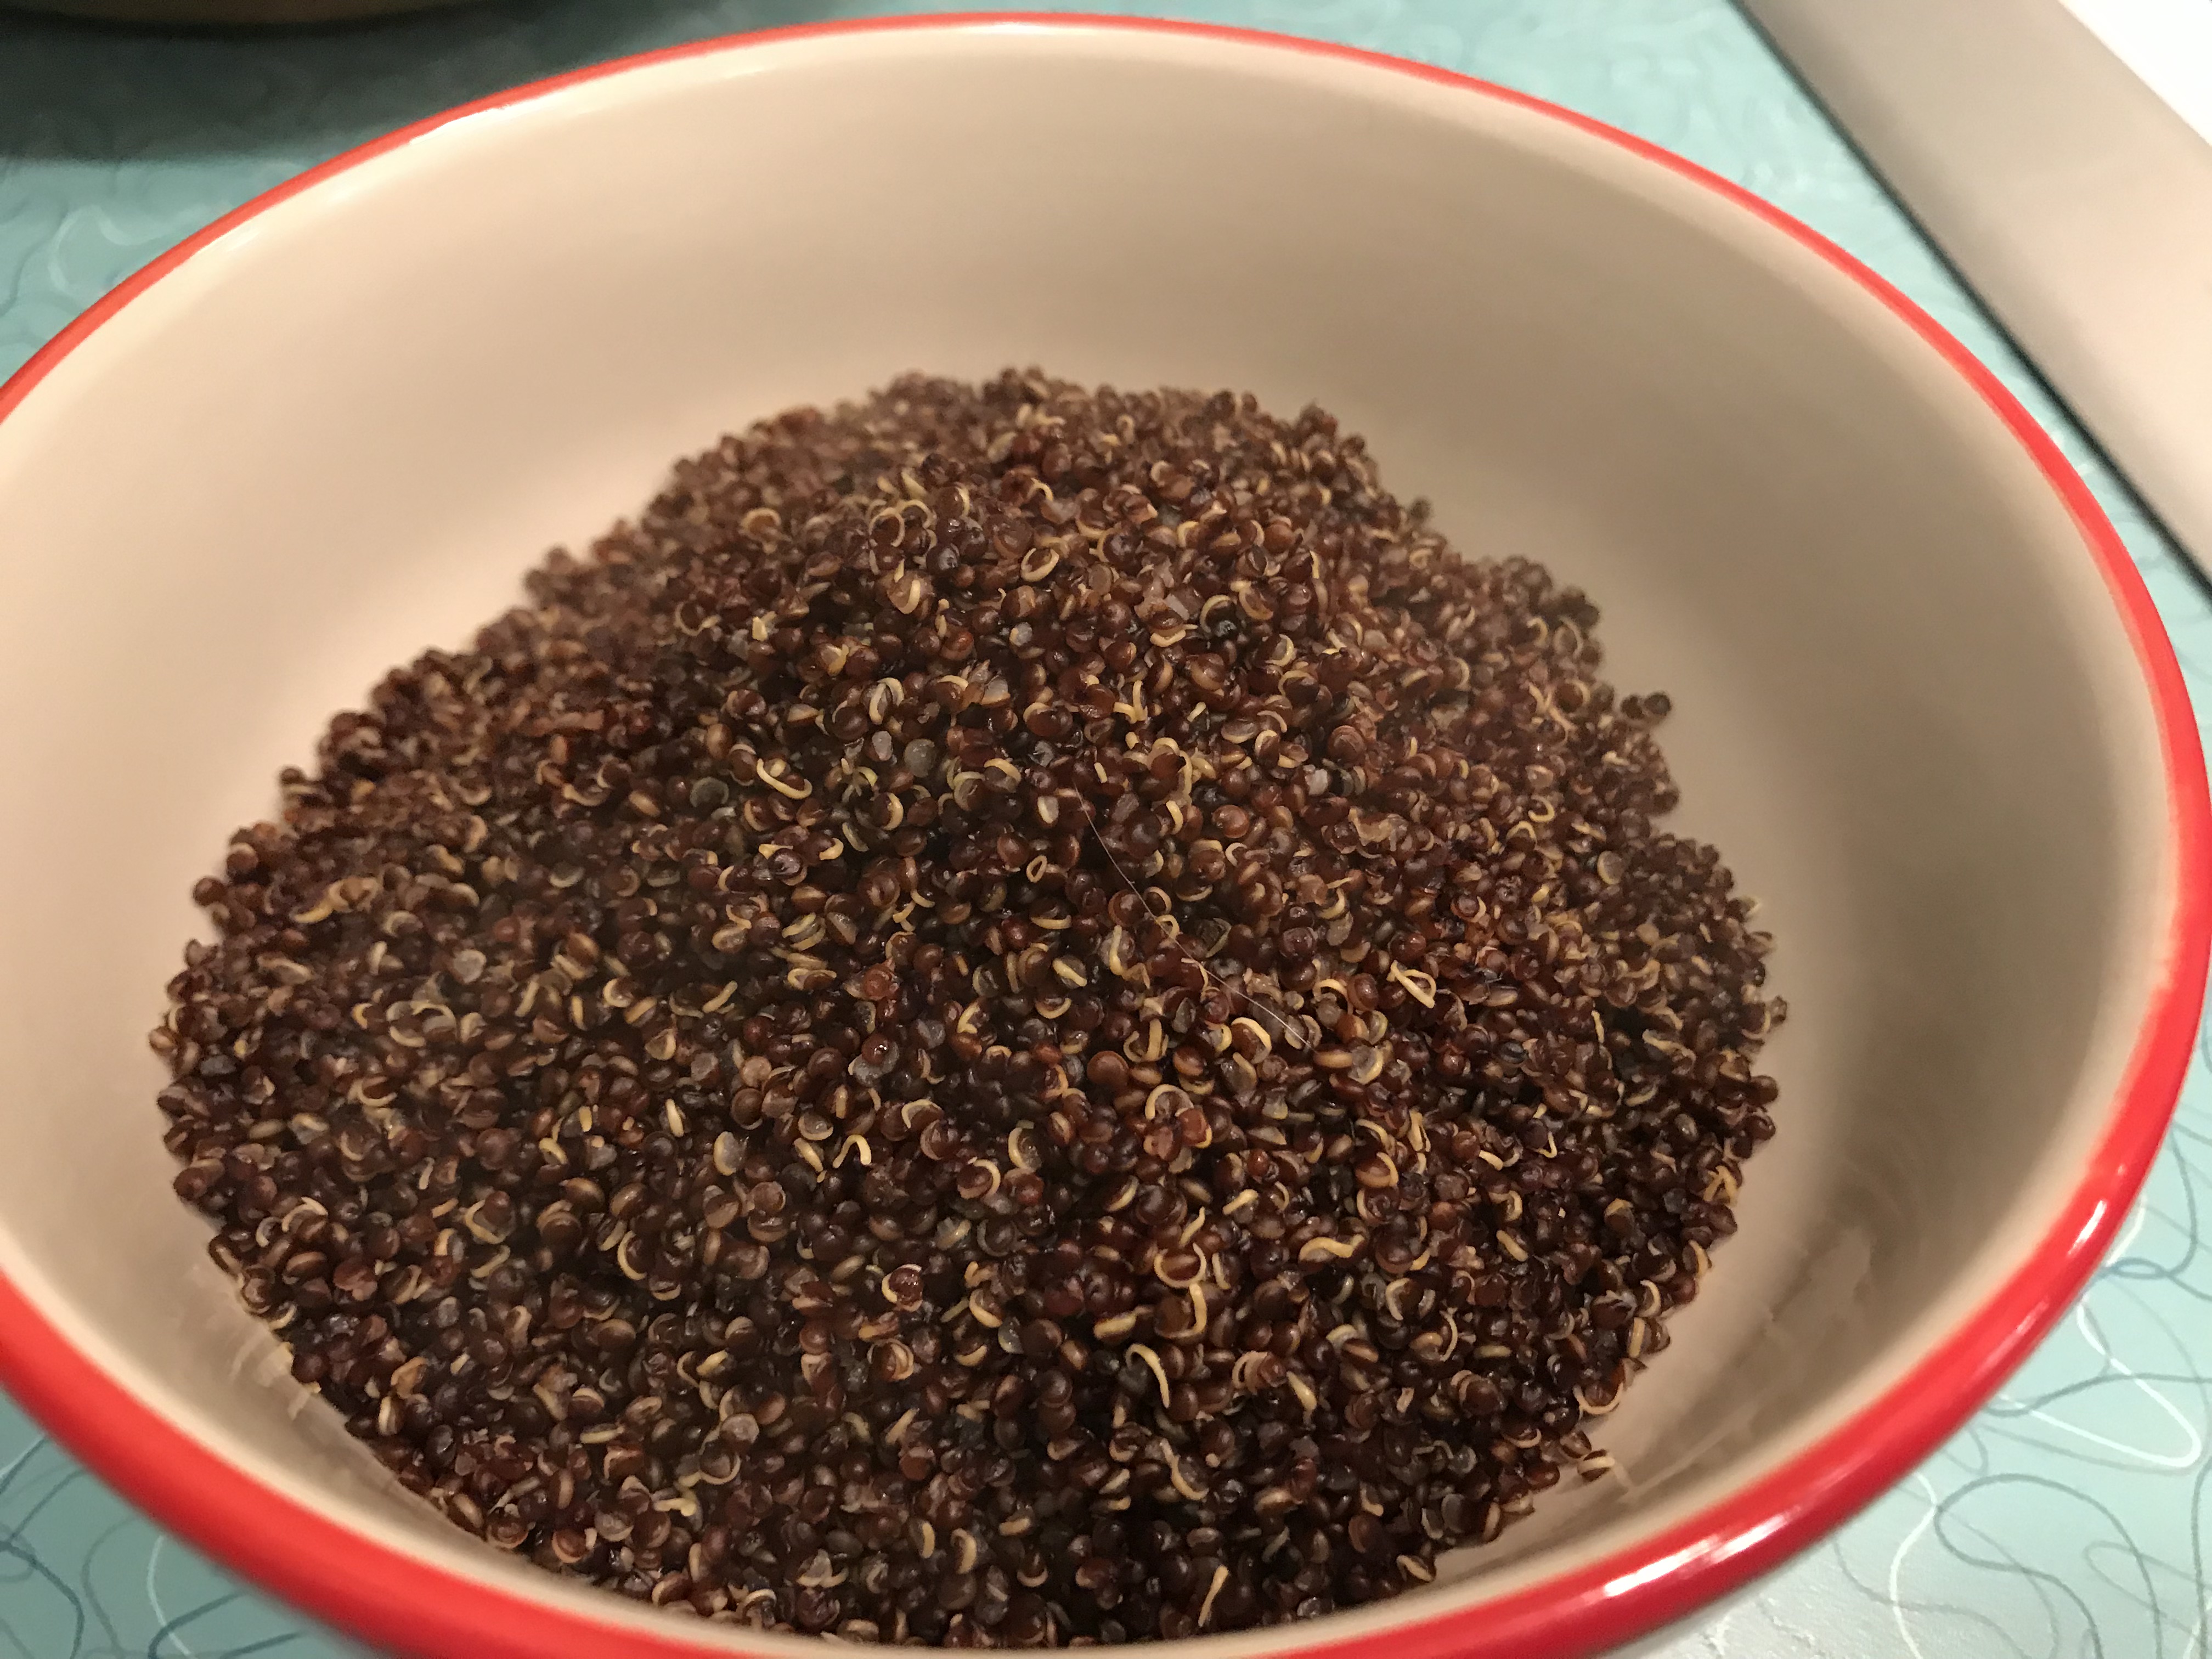
- PREPARE QUINOA
- RINSE 2 cups of quinoa in a mesh strainer under cold water
- ADD rinsed quinoa to 4 cups water in a saucepan and bring to a boil.
- REDUCE heat and simmer for 15-20 minutes until there is no more water
- Fluff before serving
- HEAT olive oil in a large saucepan over medium-high heat
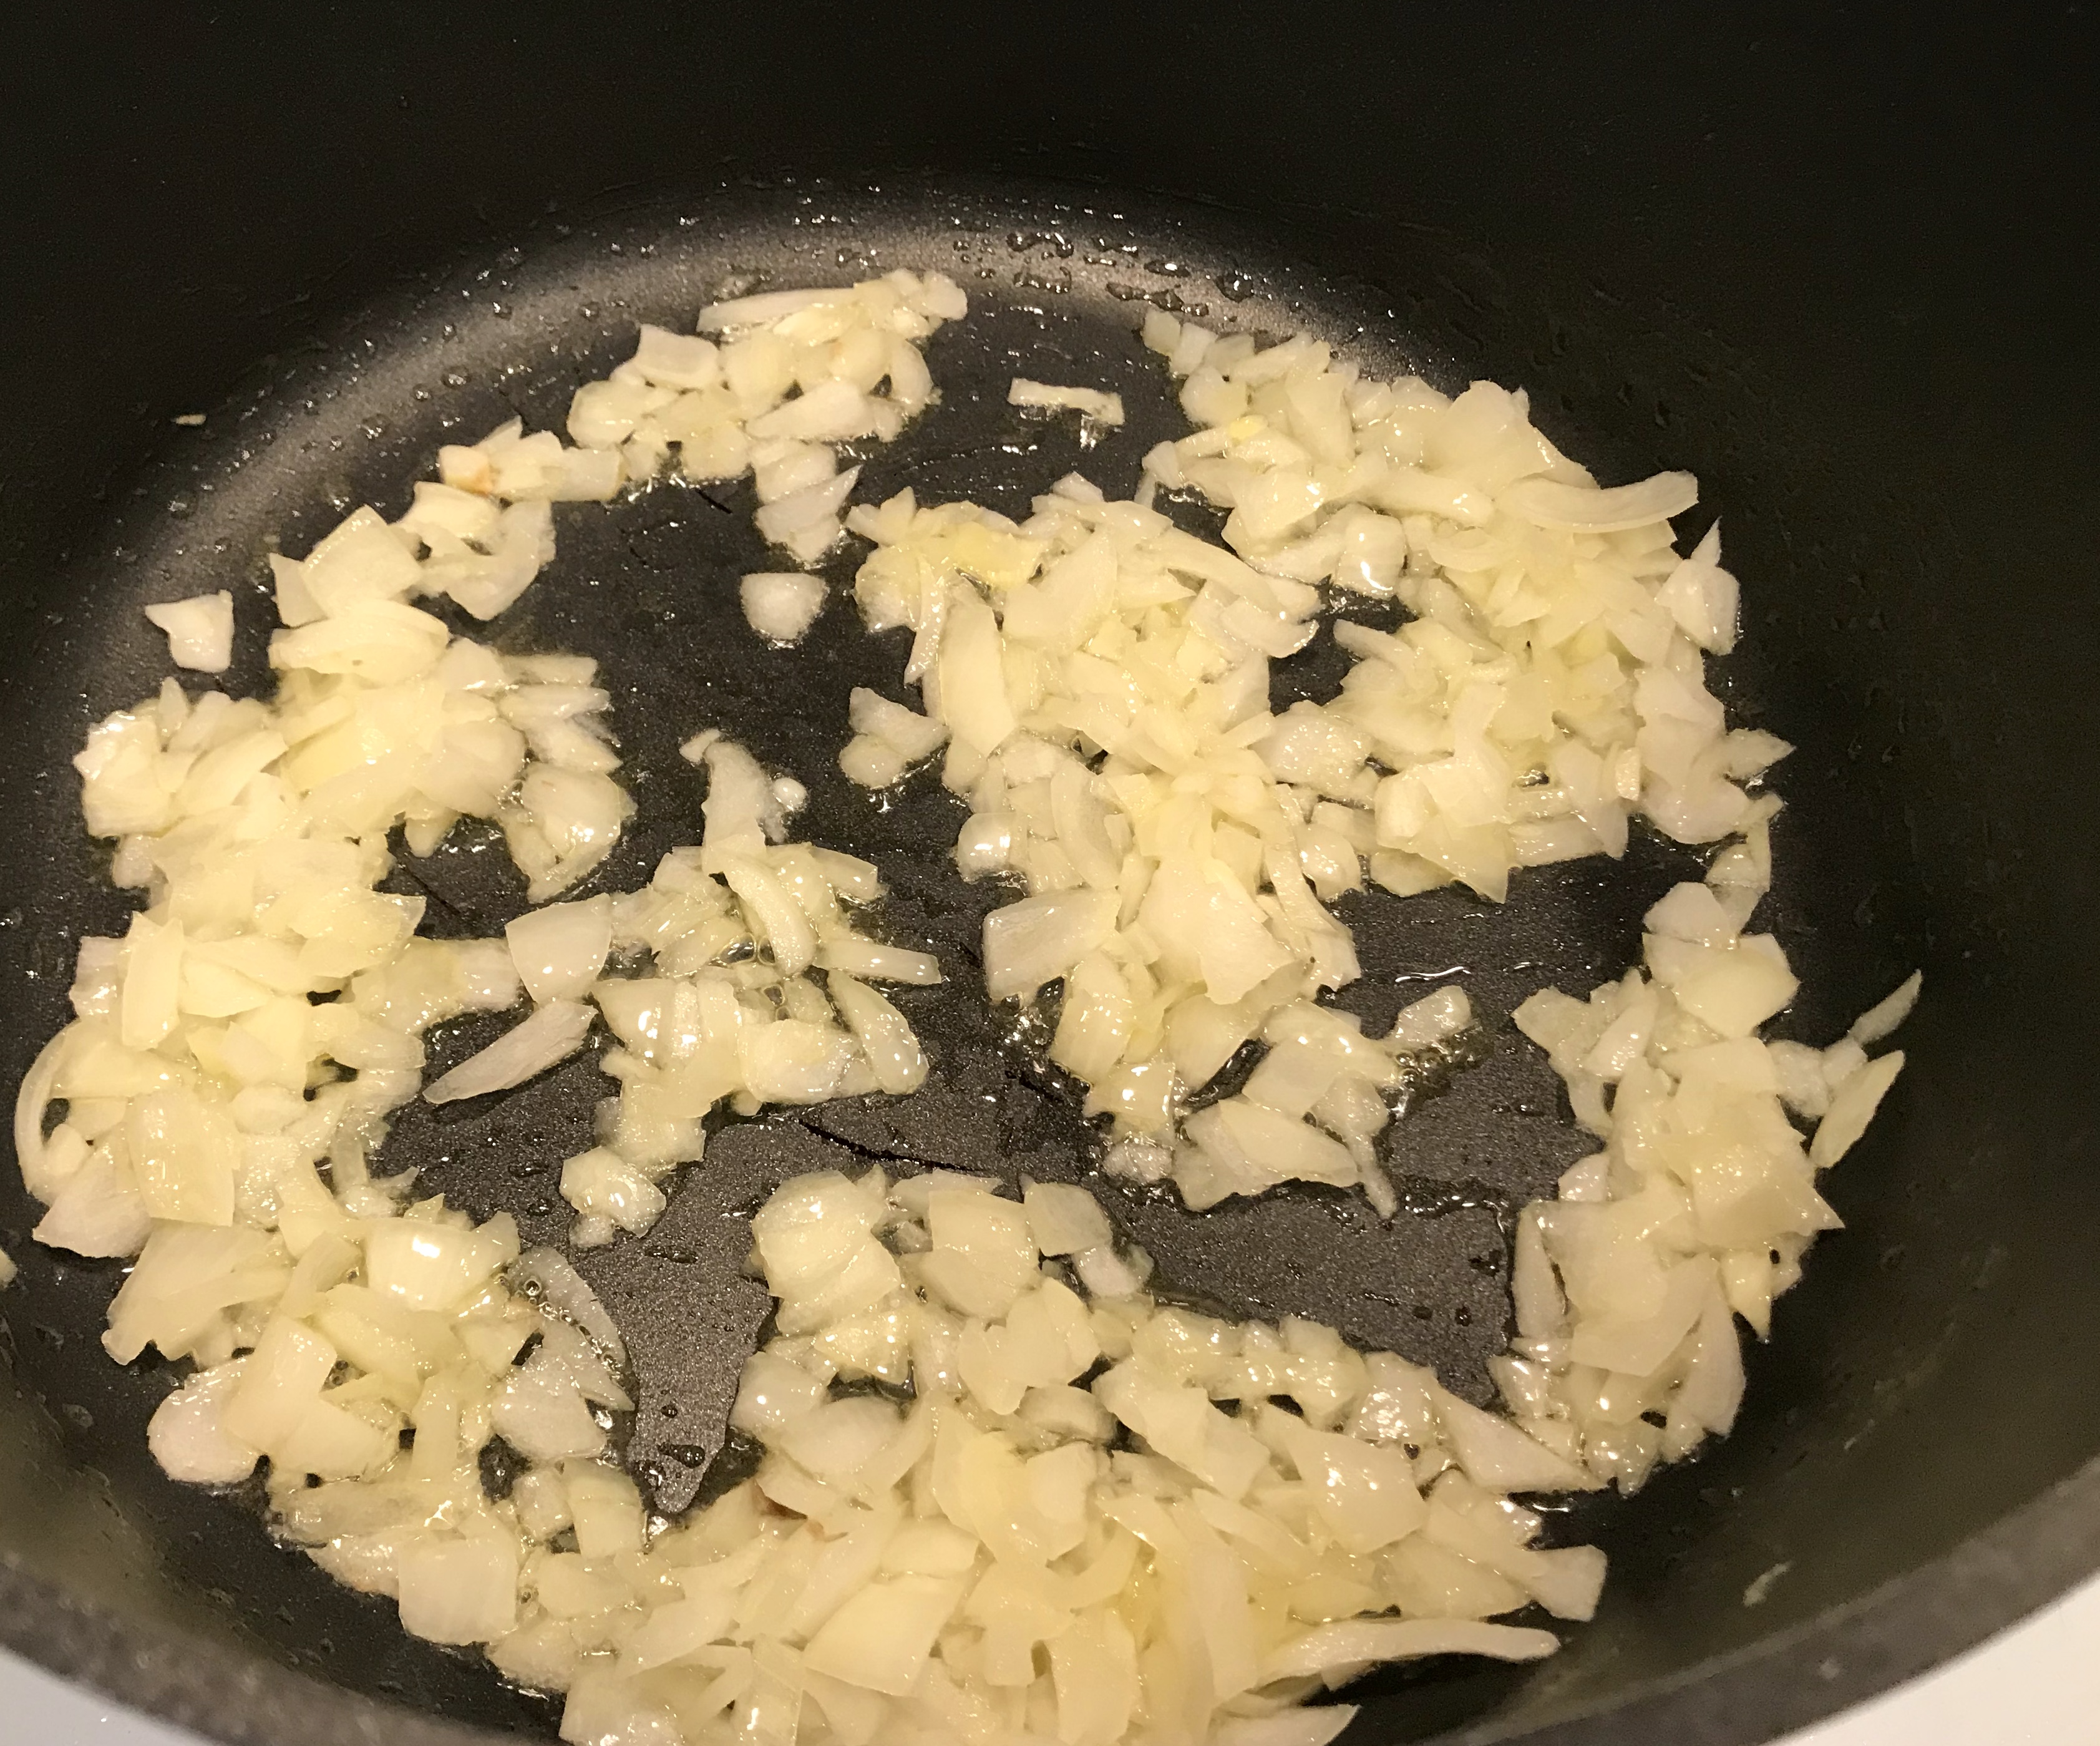
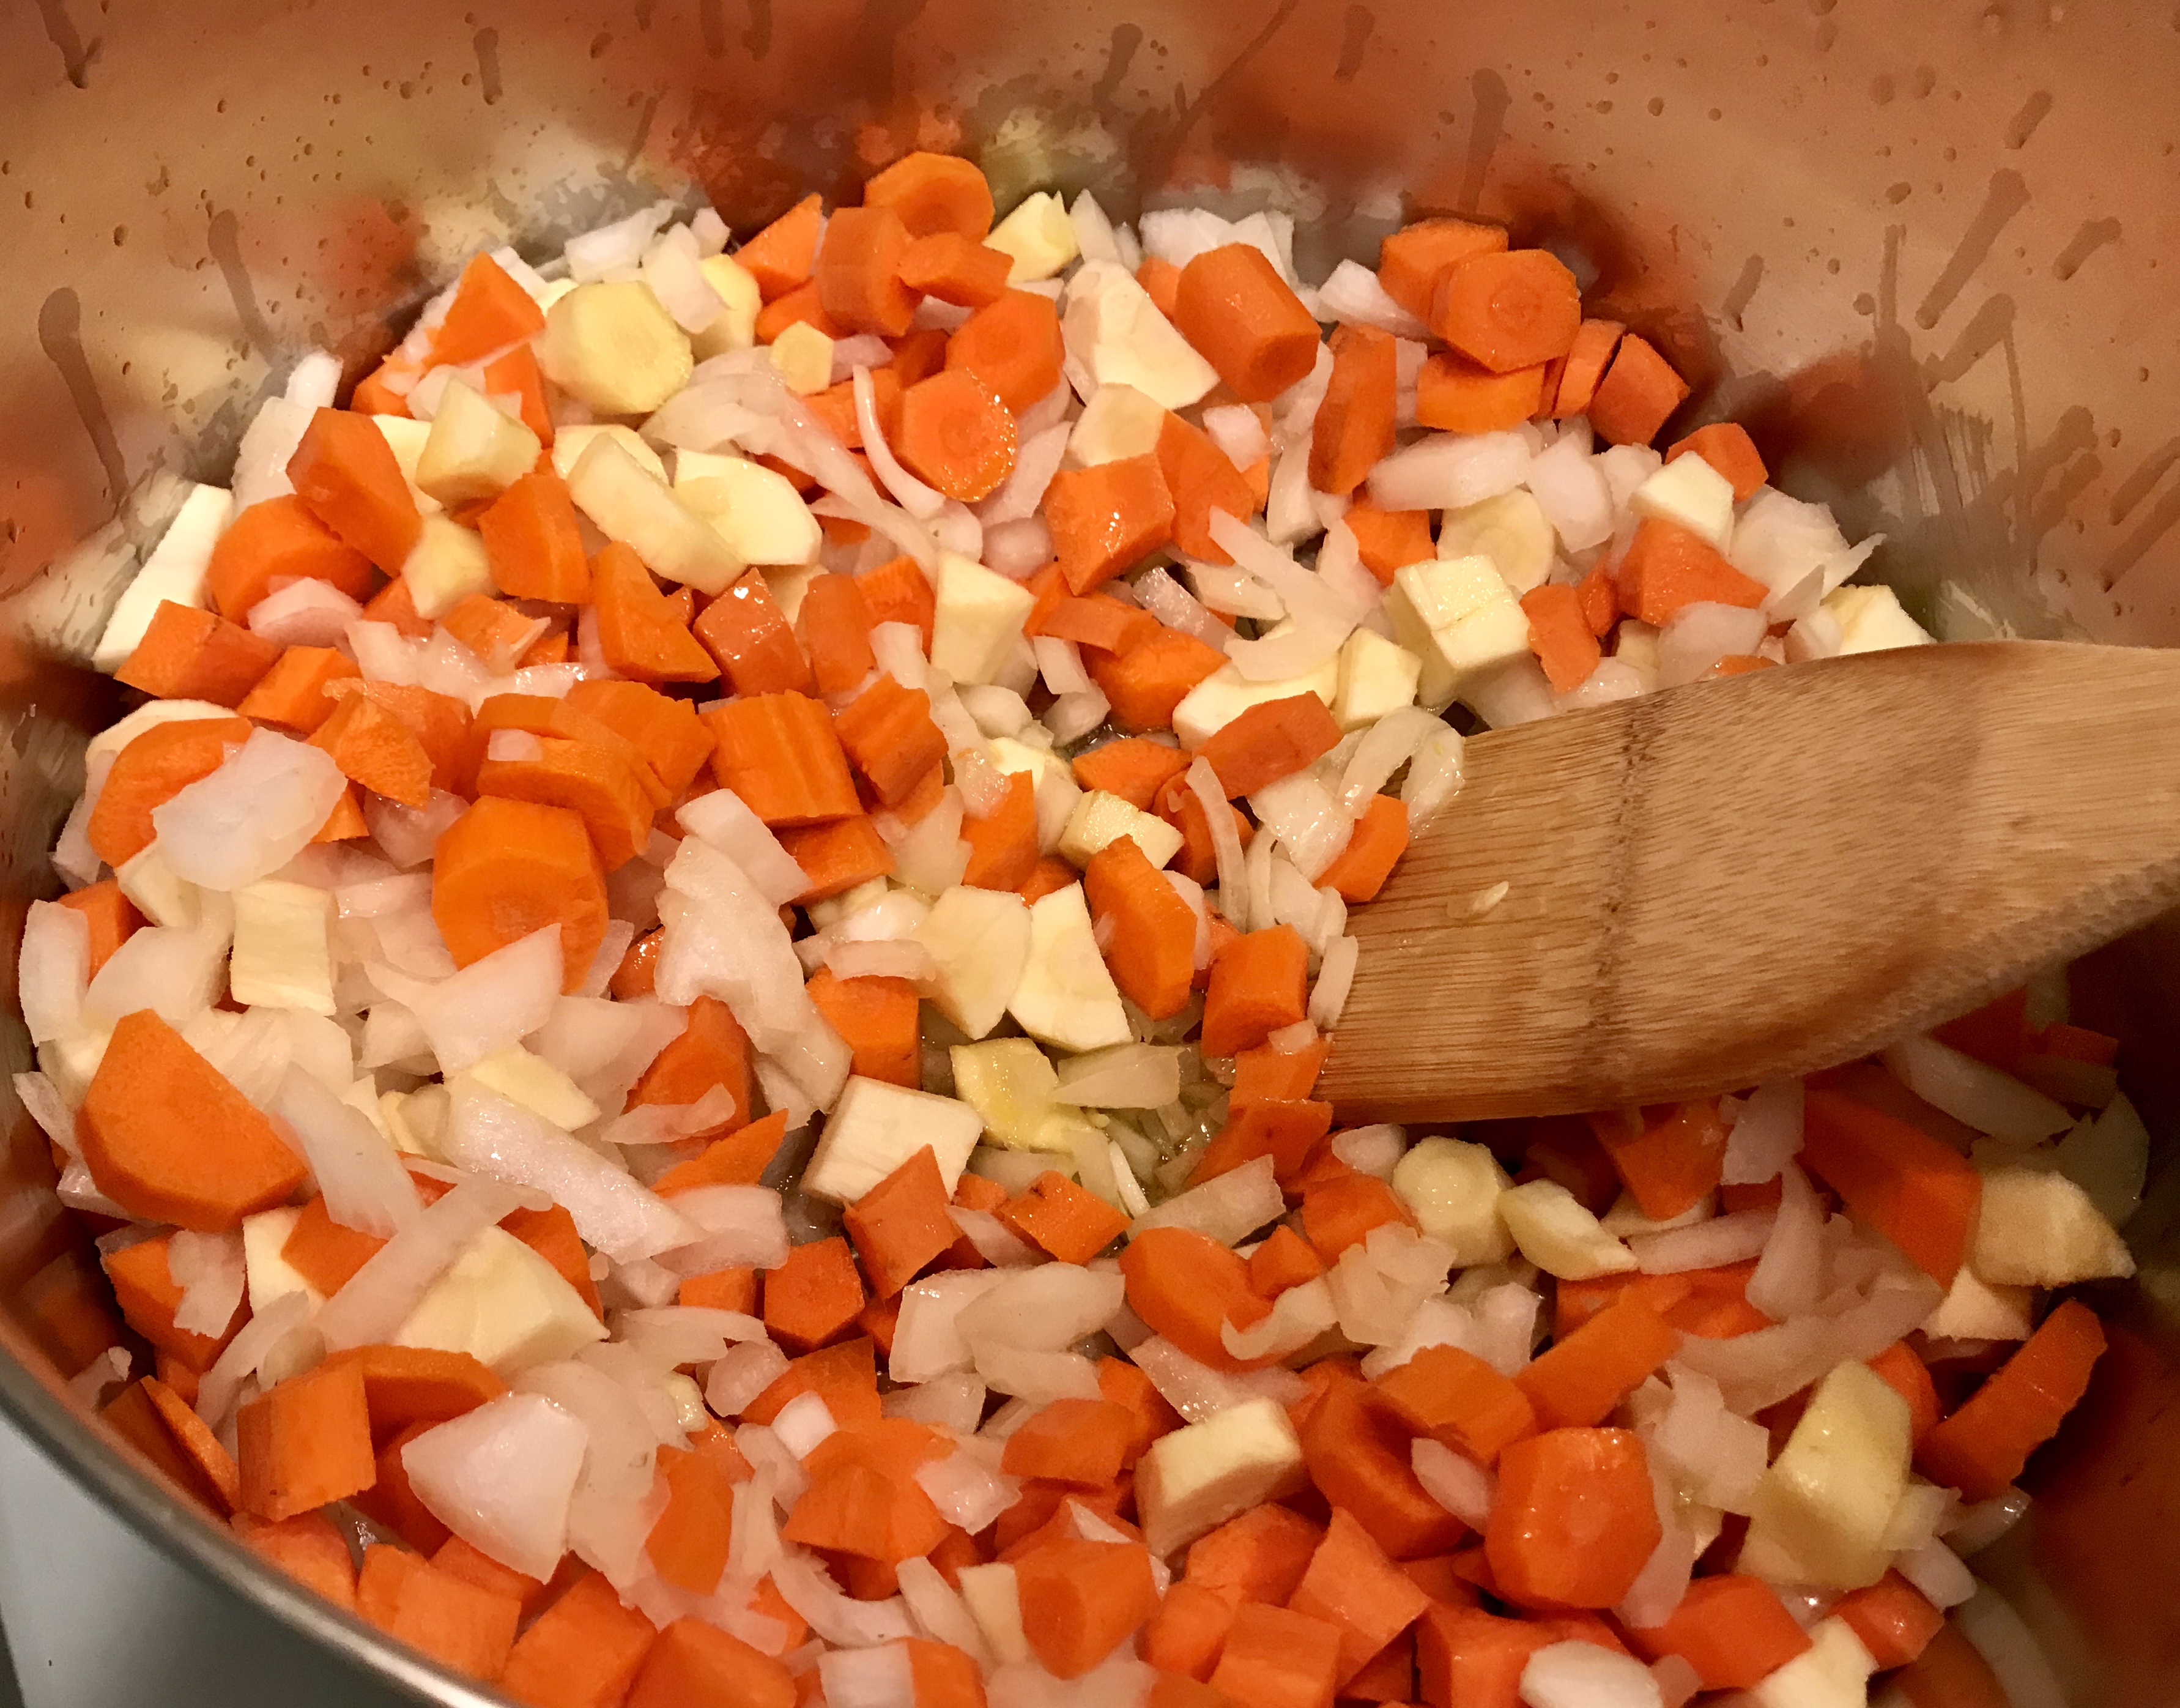
- SAUTE onion and garlic until onion is translucent, about 5 minutes
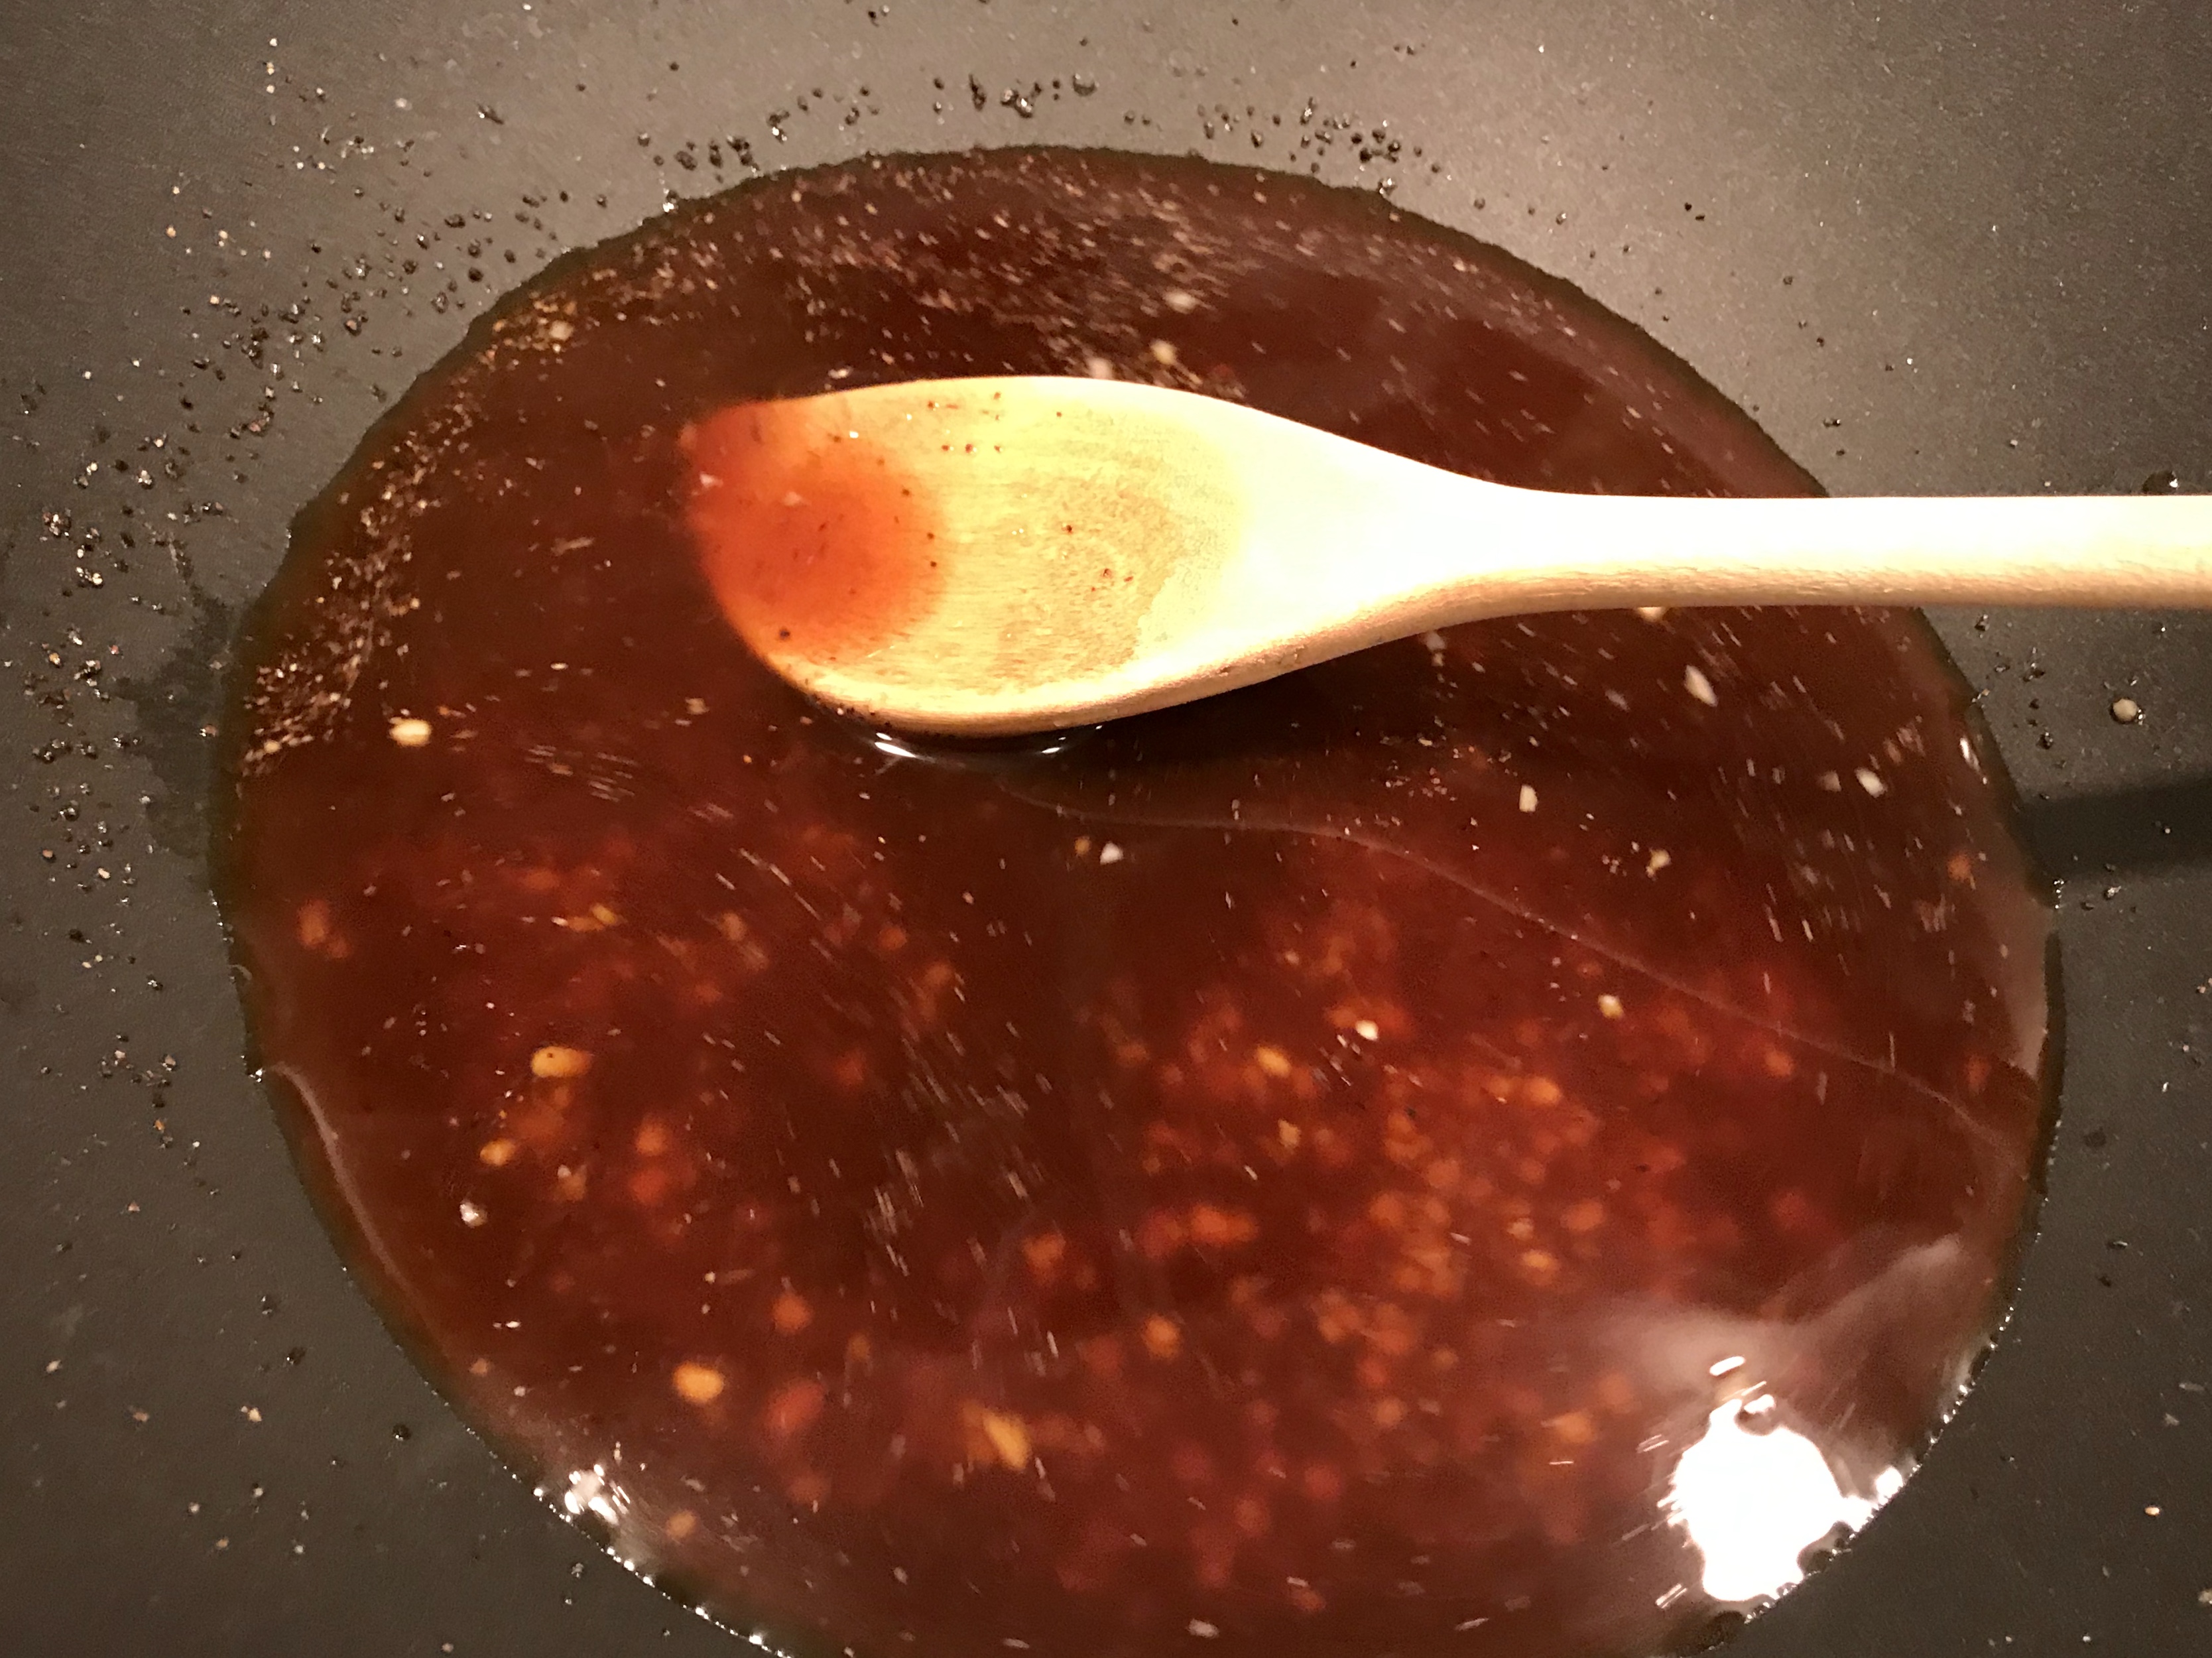
- ADD red wine, can of tomatoes with all its juice, and the bay leaf. STIR until well blended.
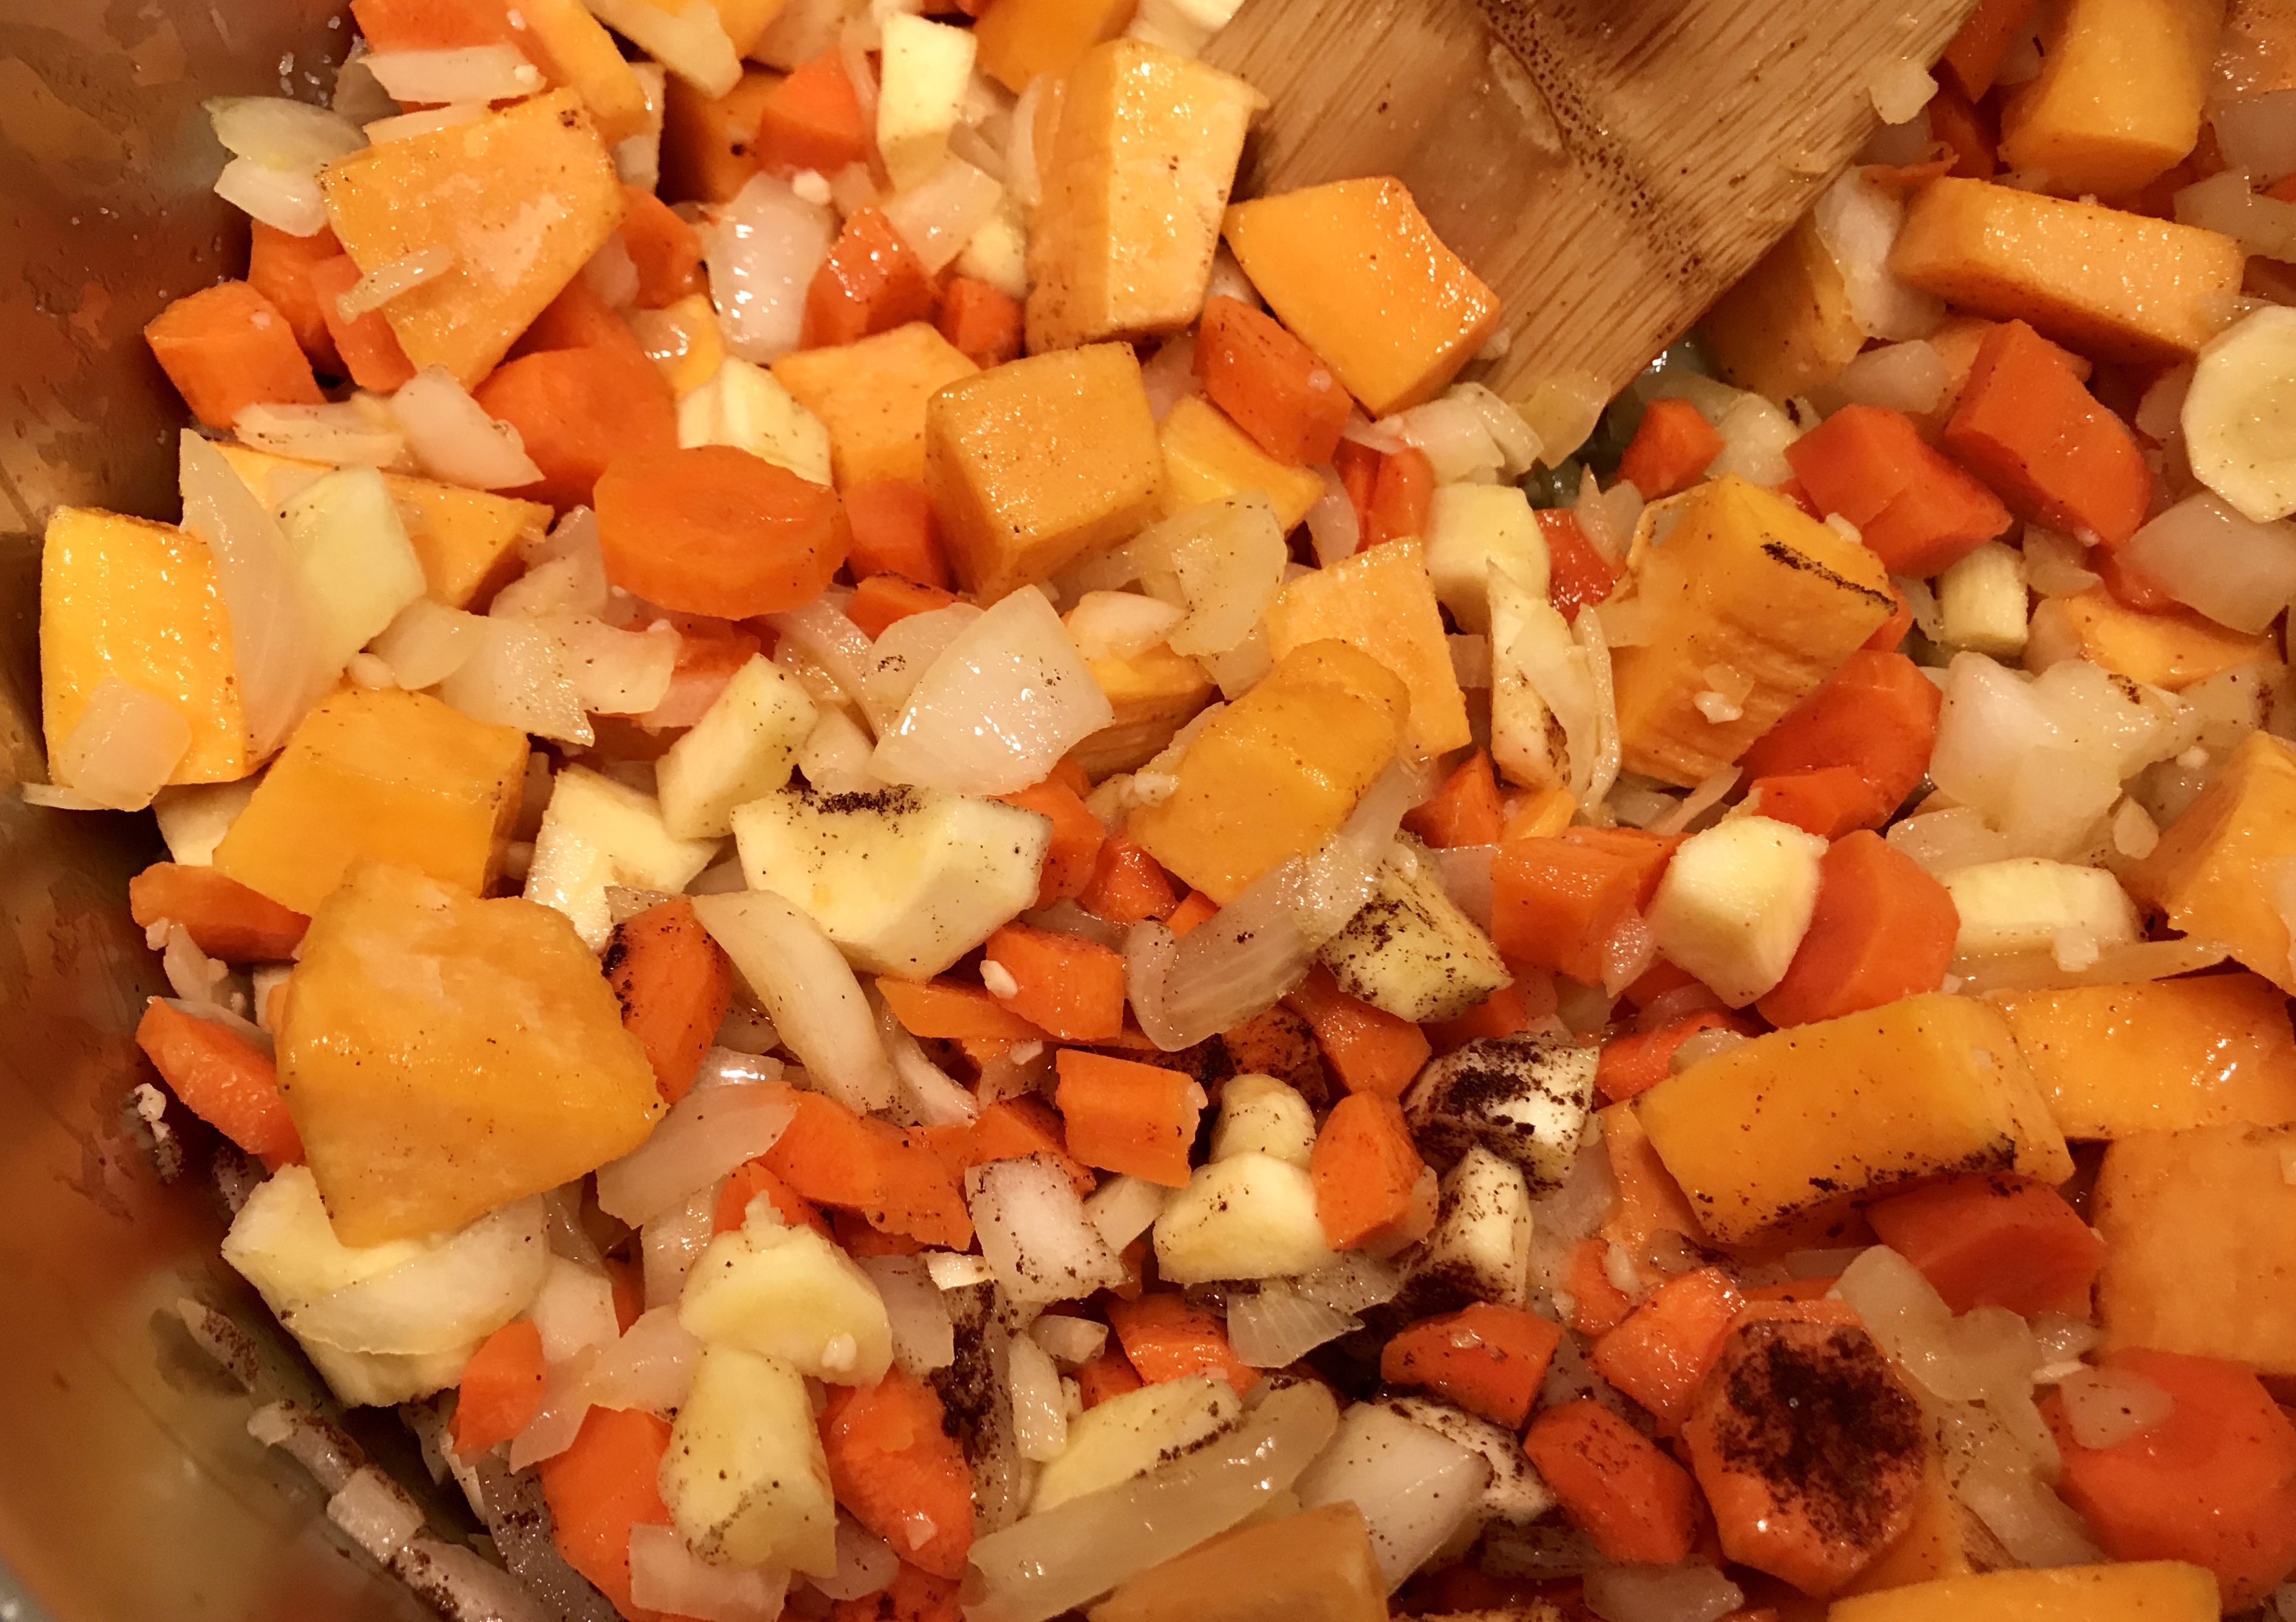
- ADD the basil, oregano, rosemary, thyme, red pepper flakes, 1/2 teaspoon salt, black pepper, and eggplant. MIX well and COVER tightly for 10 minutes over medium-low heat until eggplant is tender.
- ADD zucchini, squash, bell peppers and STIR well. COVER again and simmer for another 8-10 minutes. Having a tight cover on your saucepan allows the liquid to recirculate back into the stew instead of getting lost through evaporation.
- REDUCE HEAT and cook until vegetables are fork-tender. SEASON with additional salt to taste and STIR occasionally
- The flavor will improve over time so you can REMOVE it from heat and let it sit for up to 3 hours on the counter
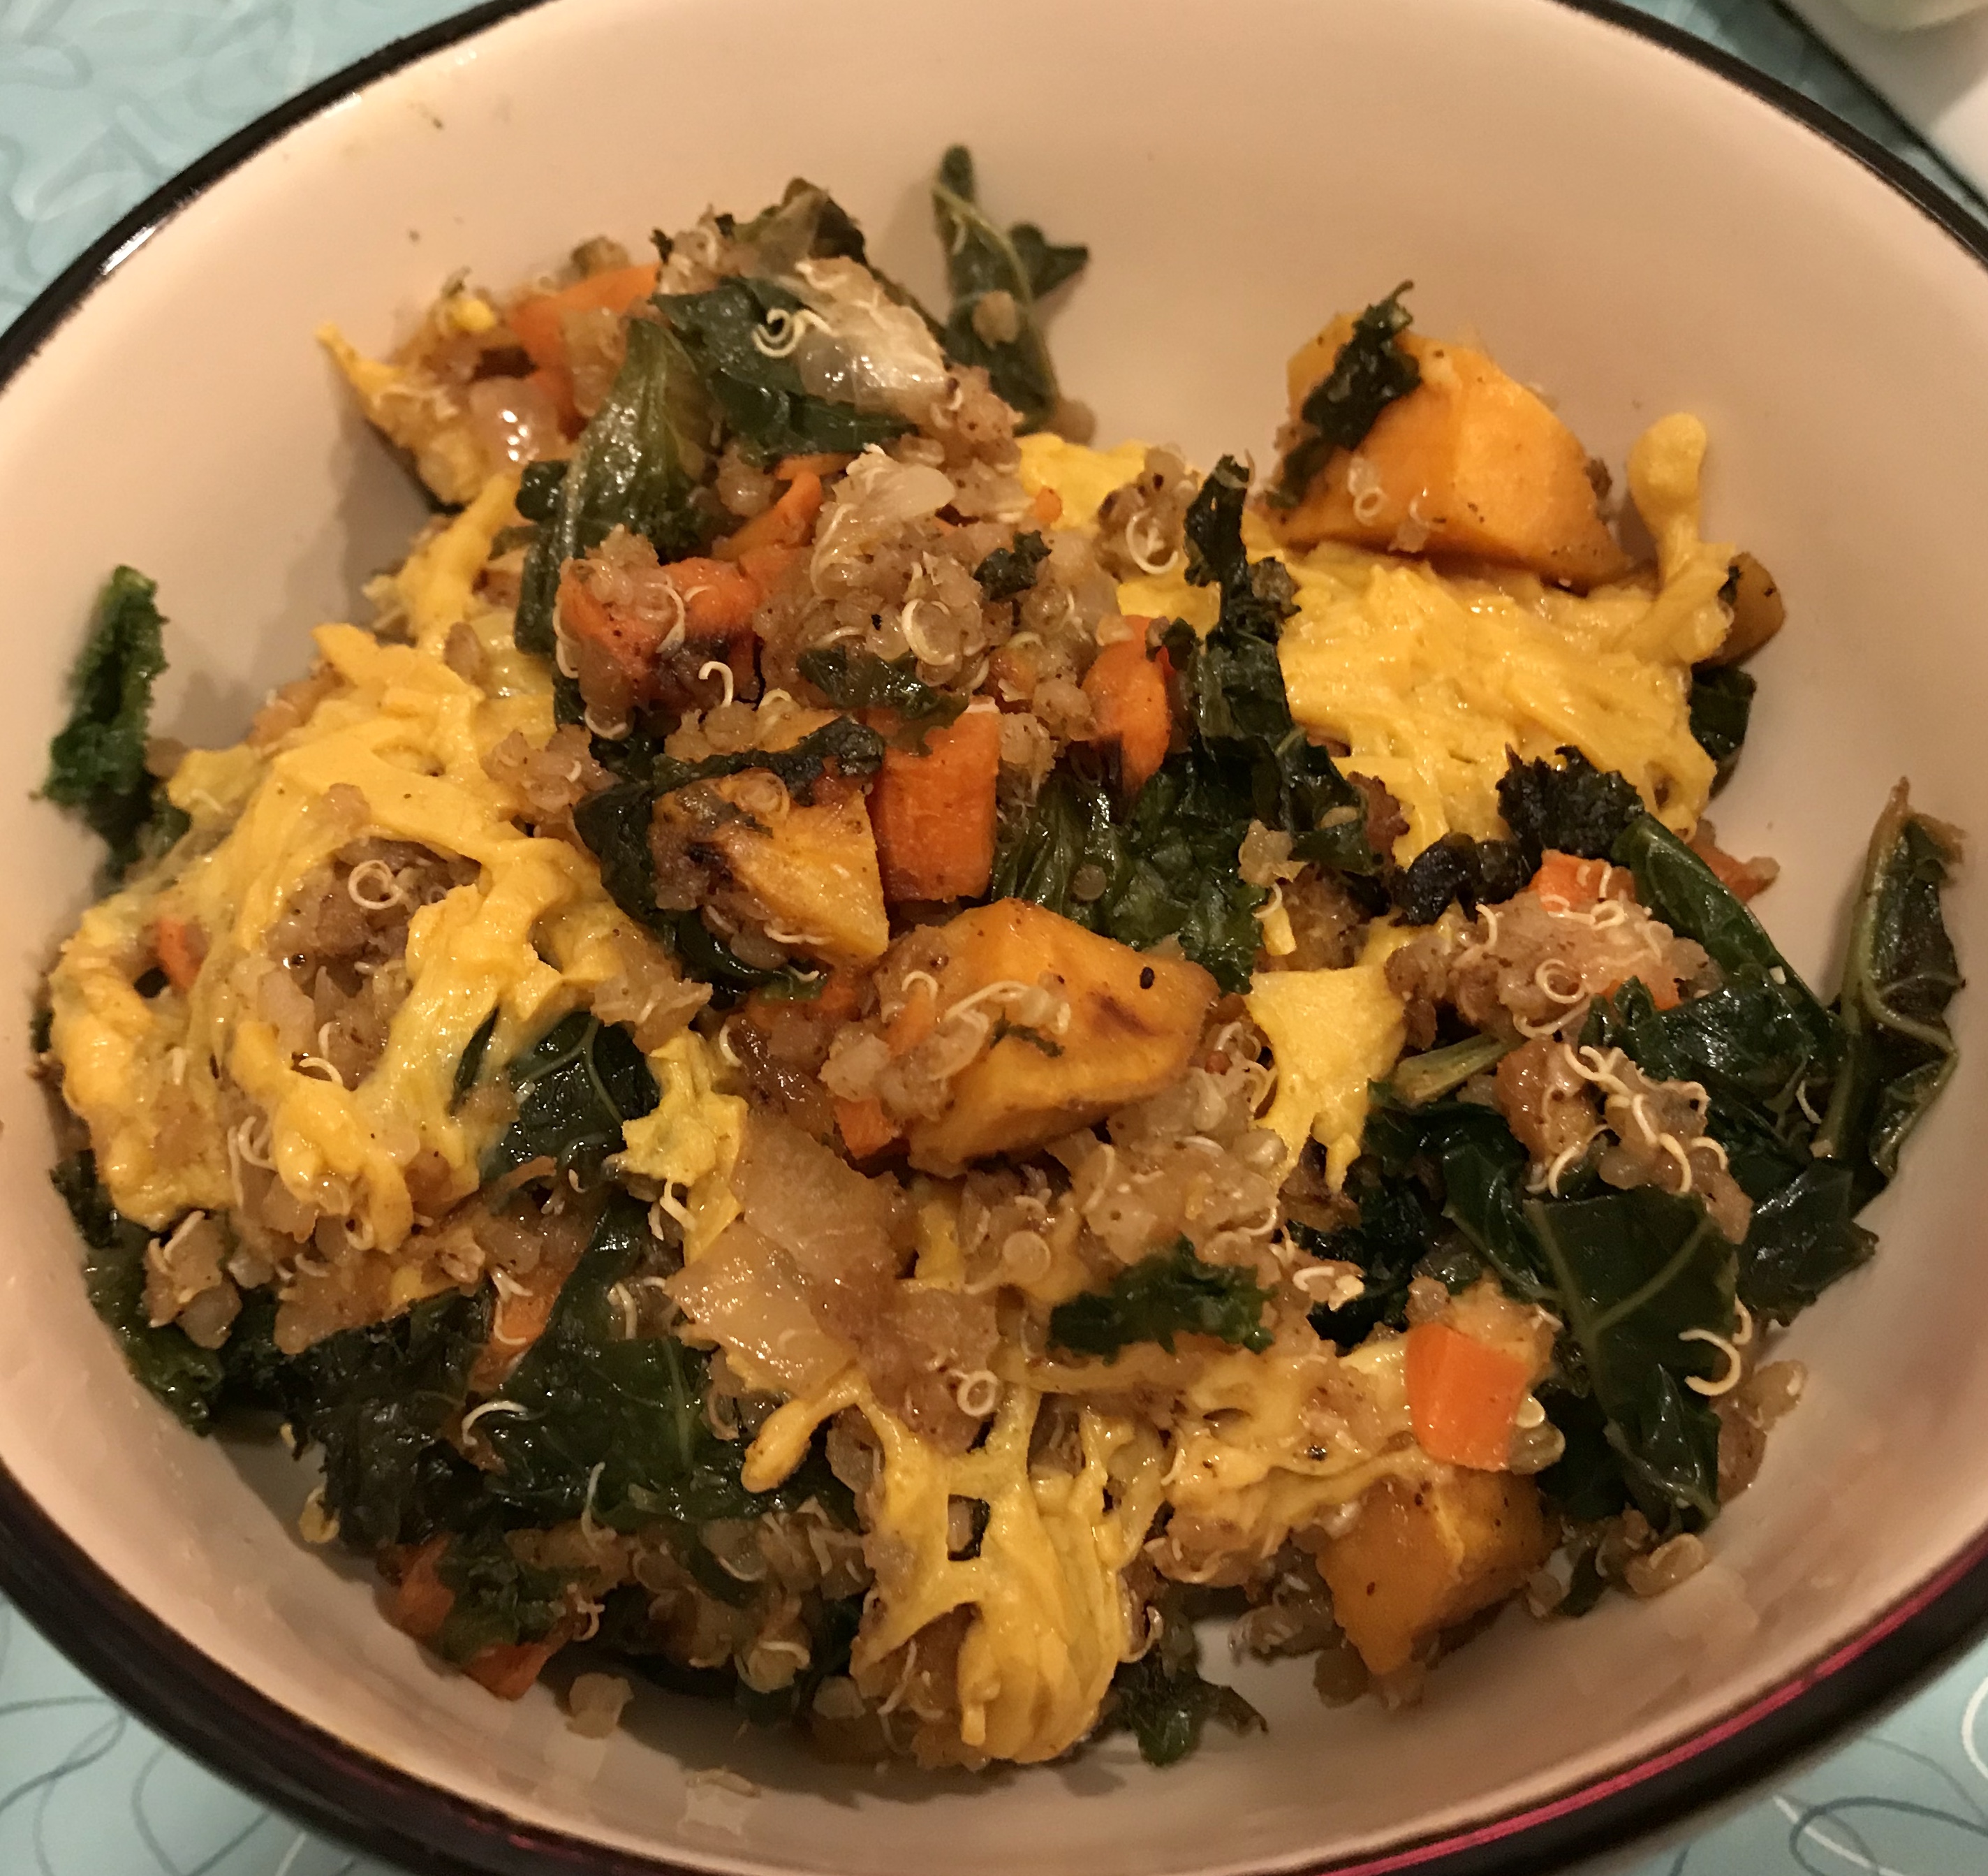
- SERVE over quinoa with a pinch of parsley
- STORE in an airtight container in the refrigerator for up to 5 days or freeze for up to 3 months

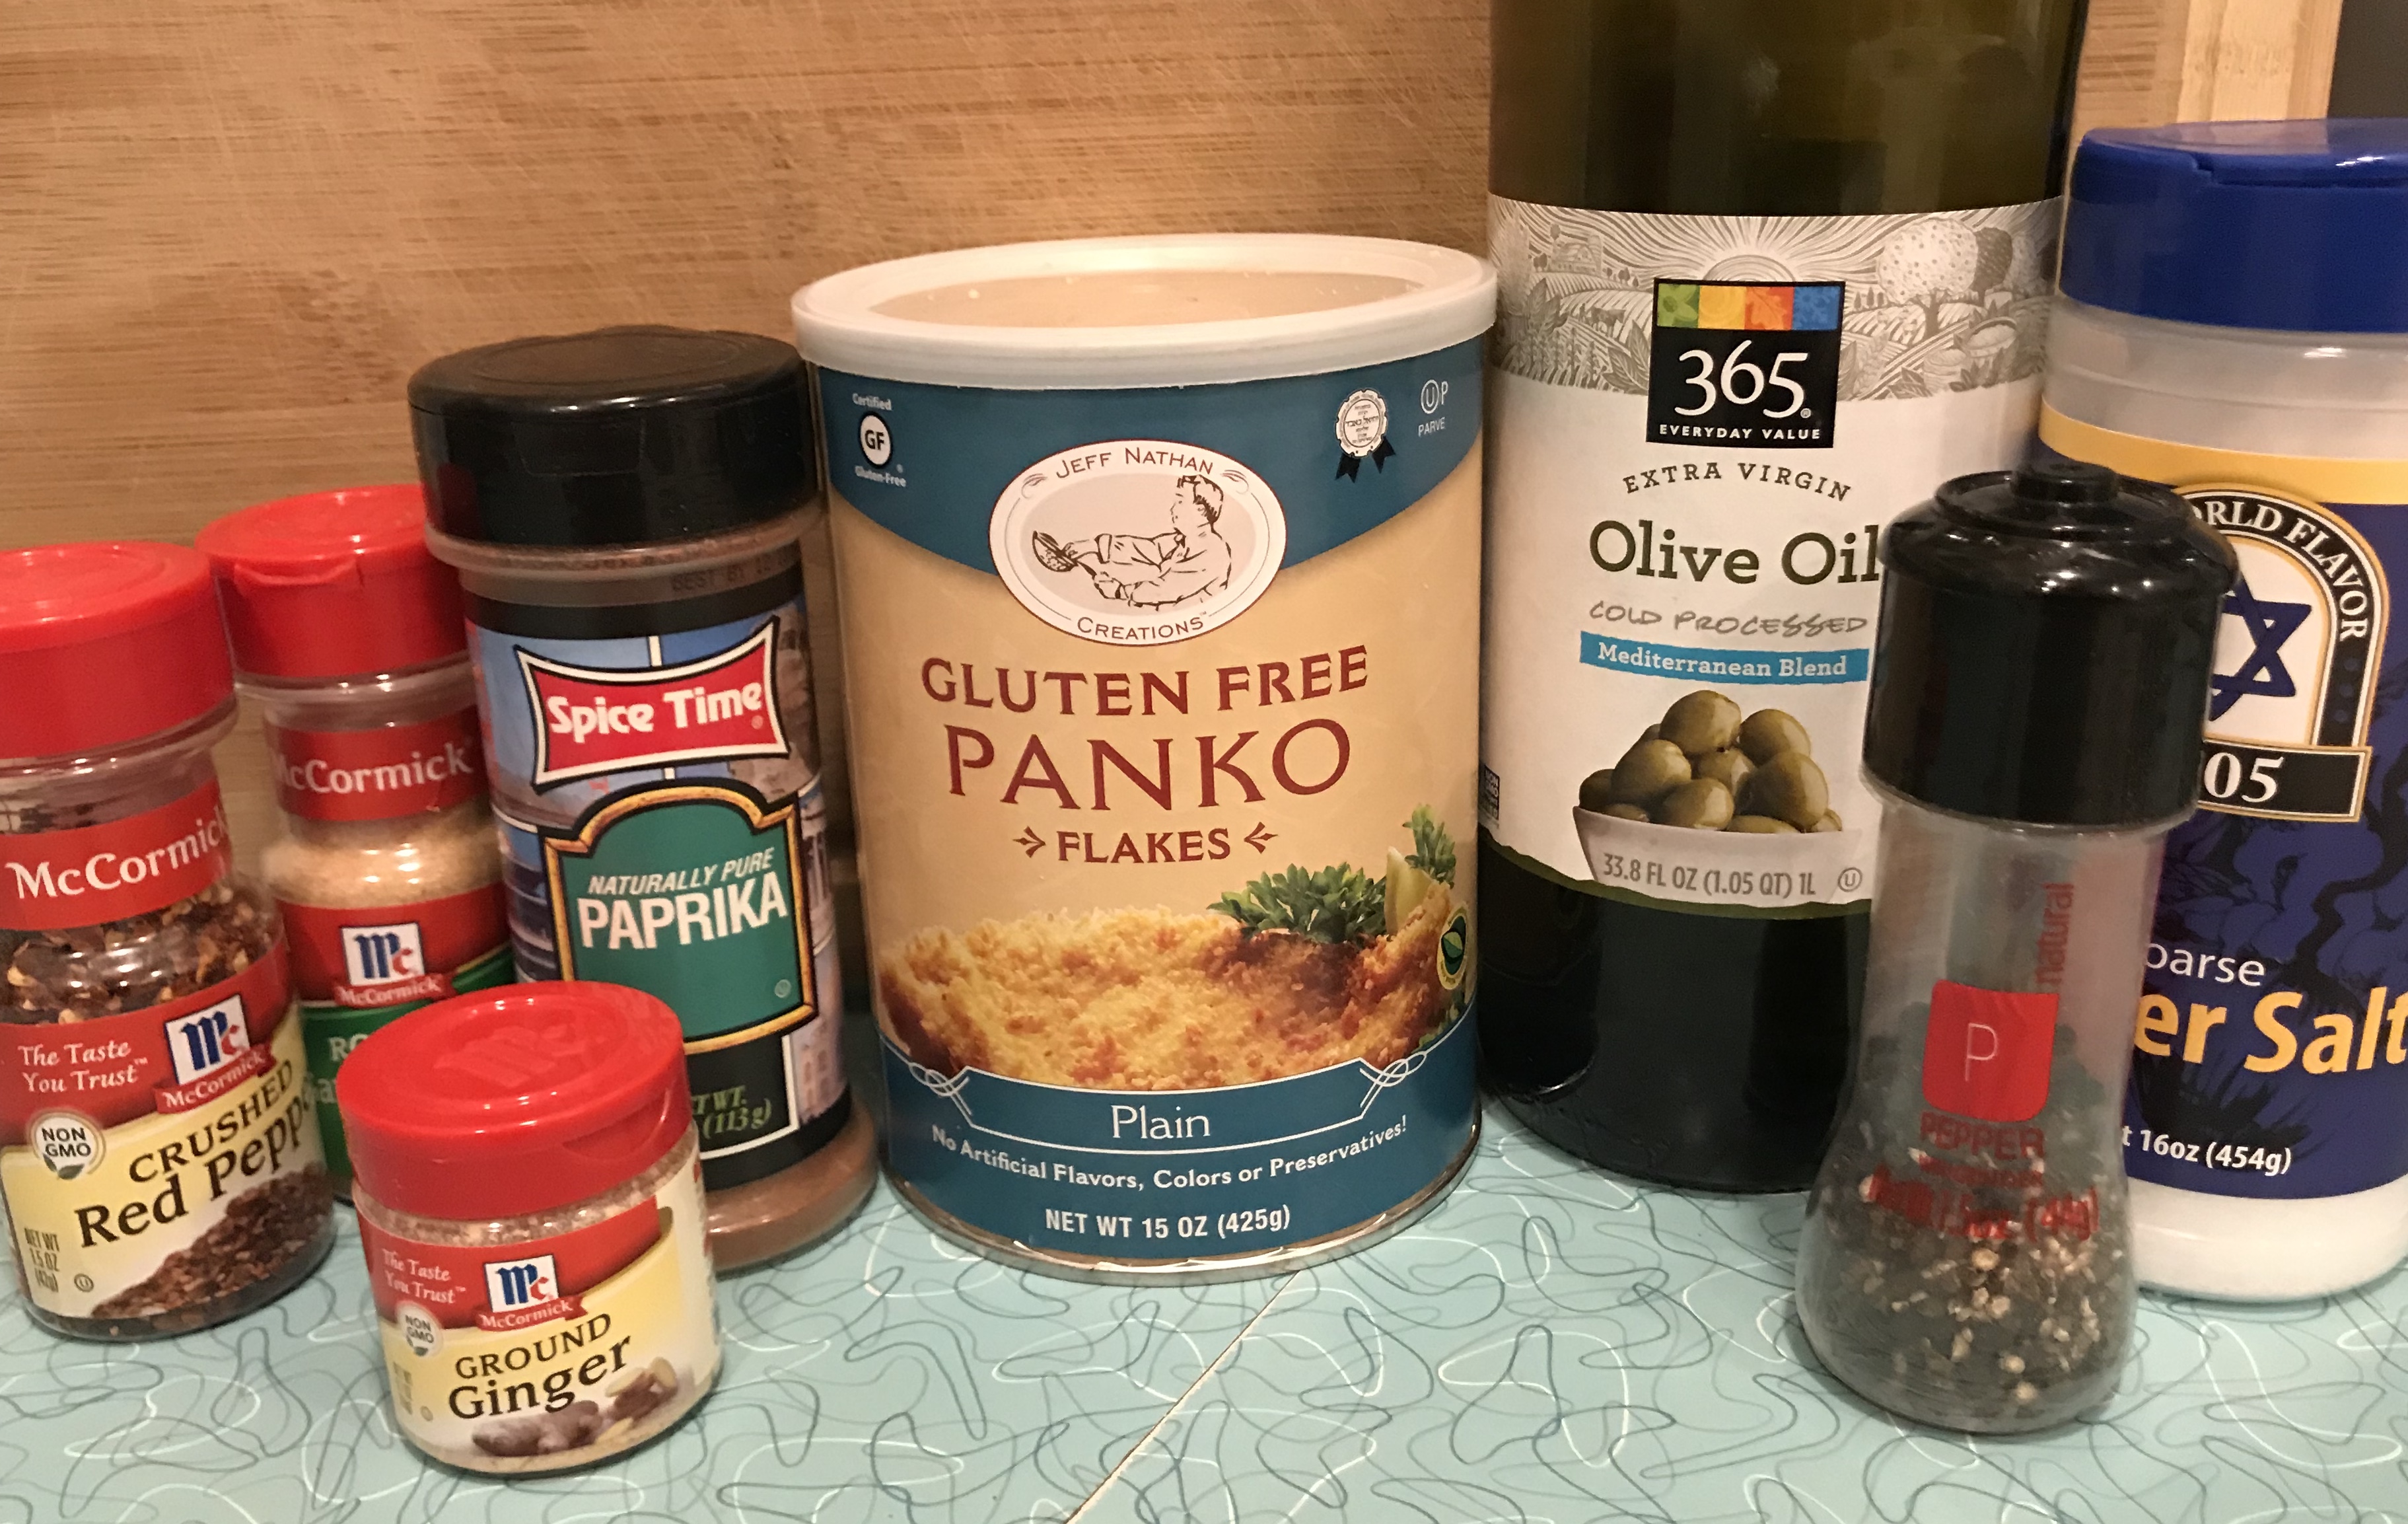
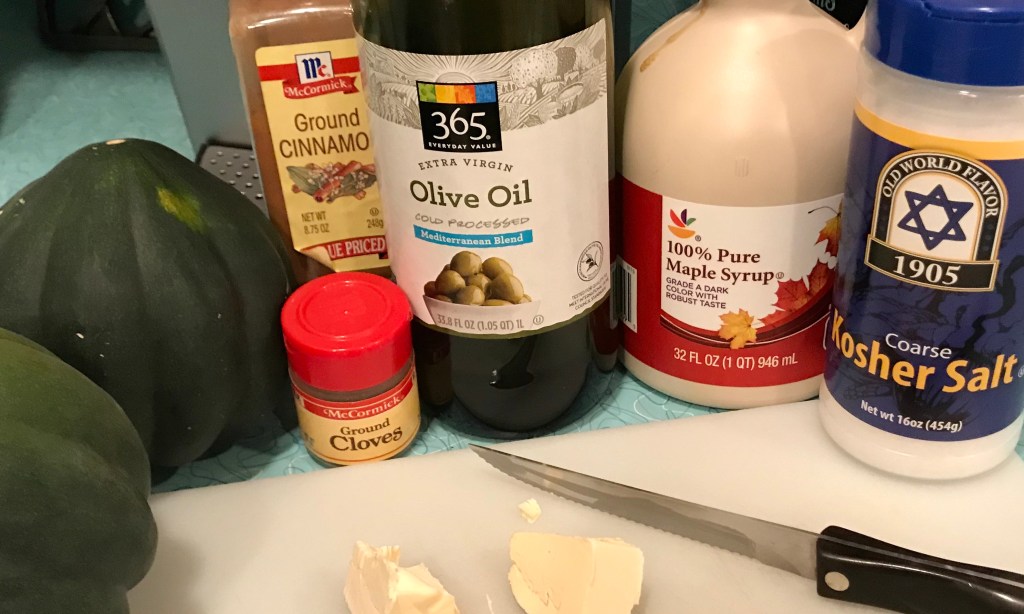
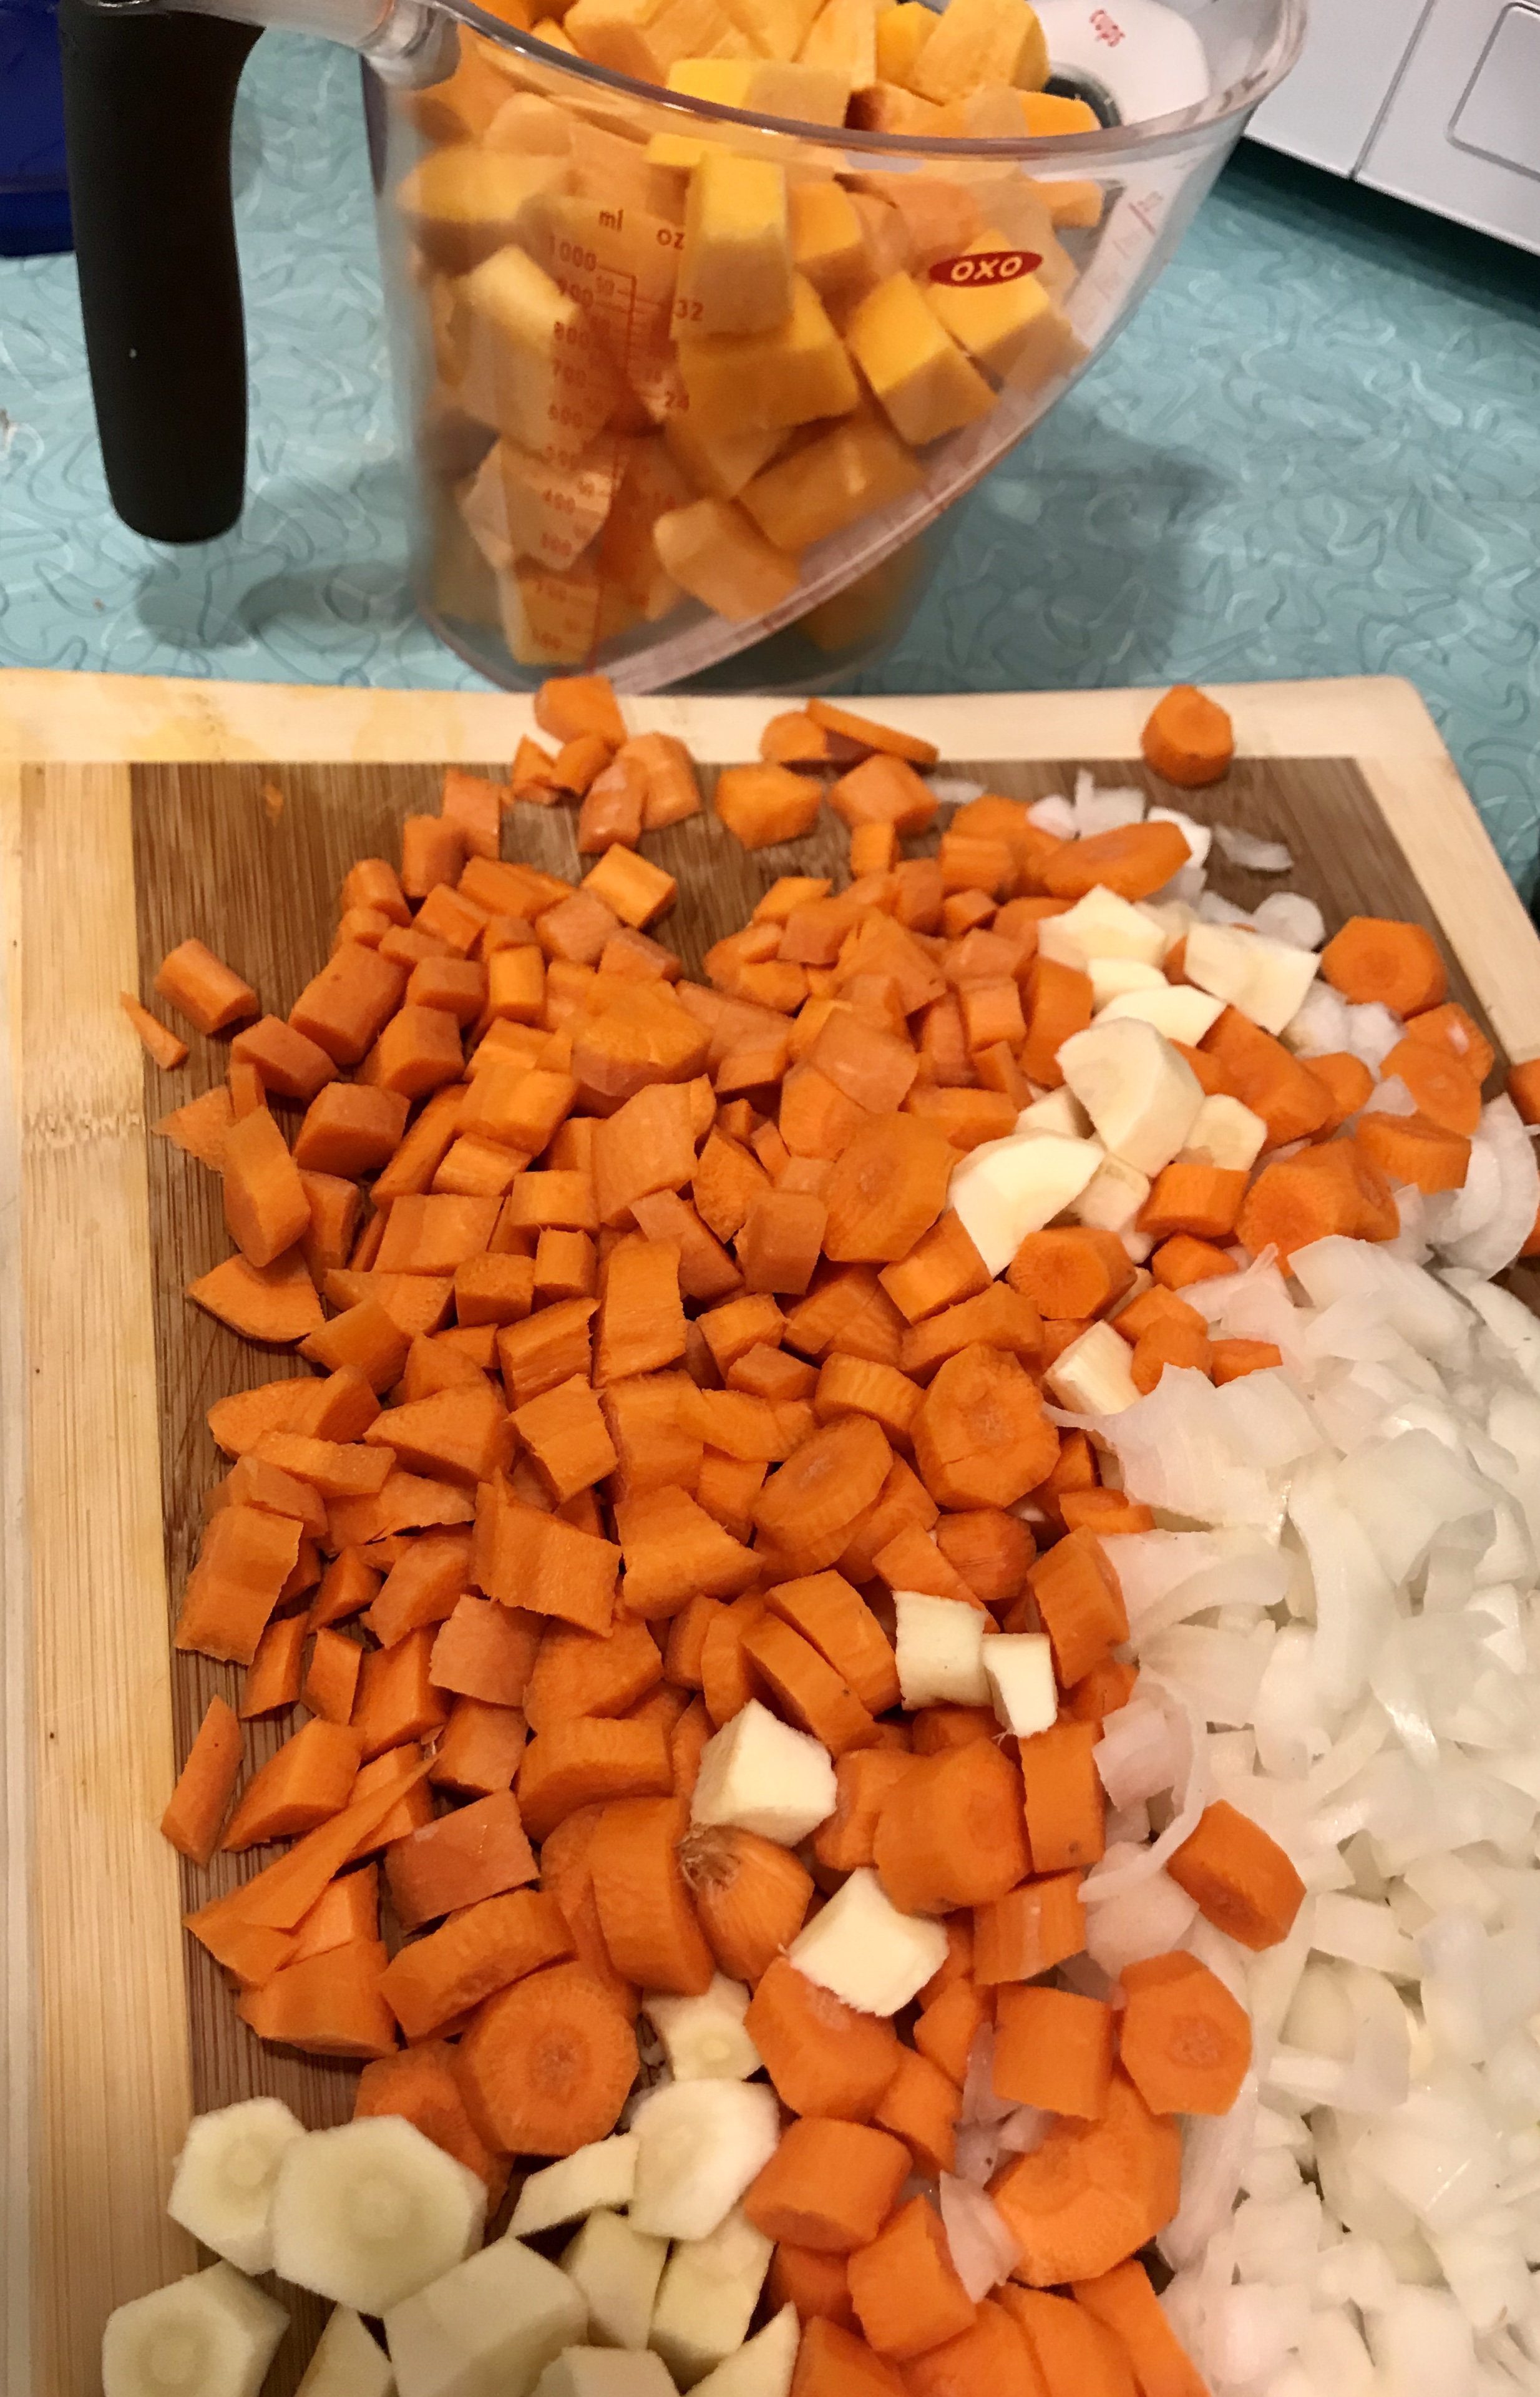
Gather ingredients 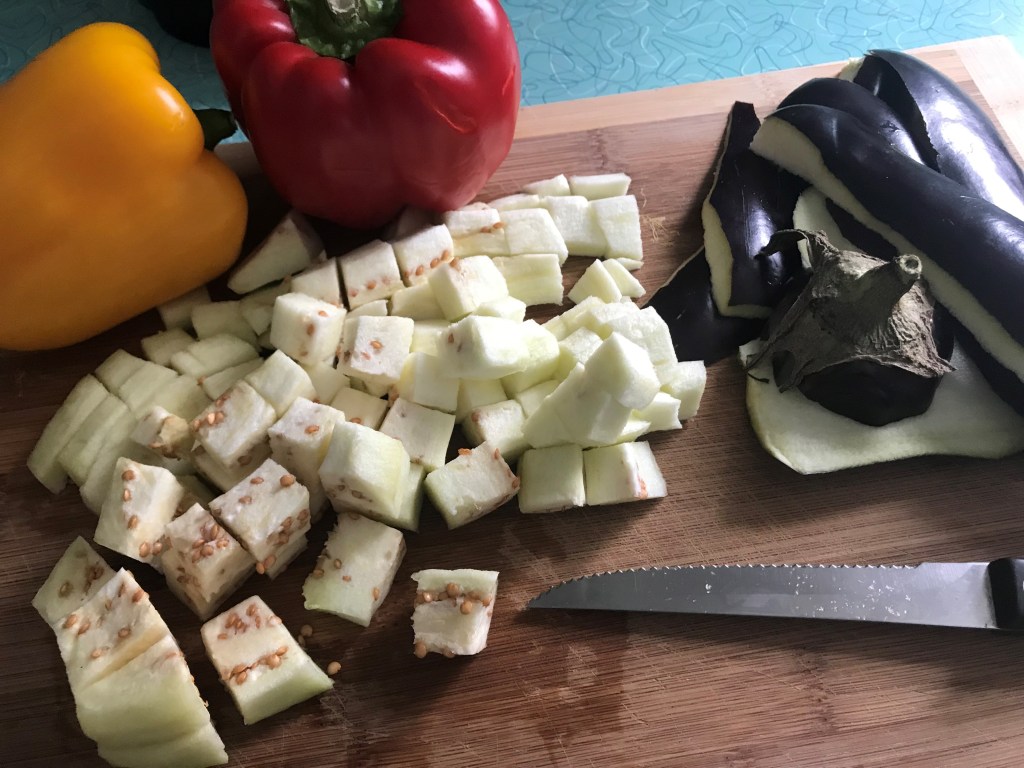
Prepare eggplant 
Chop peppers bitesize 
Chop zucchini bitesize 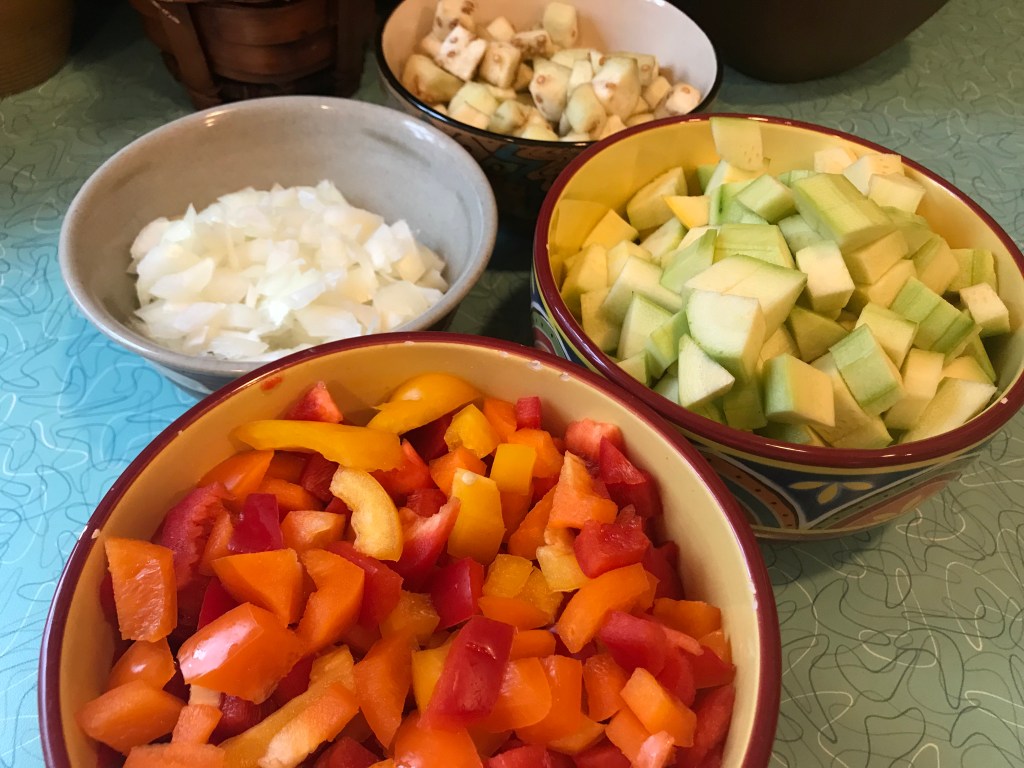
Prep all veggies 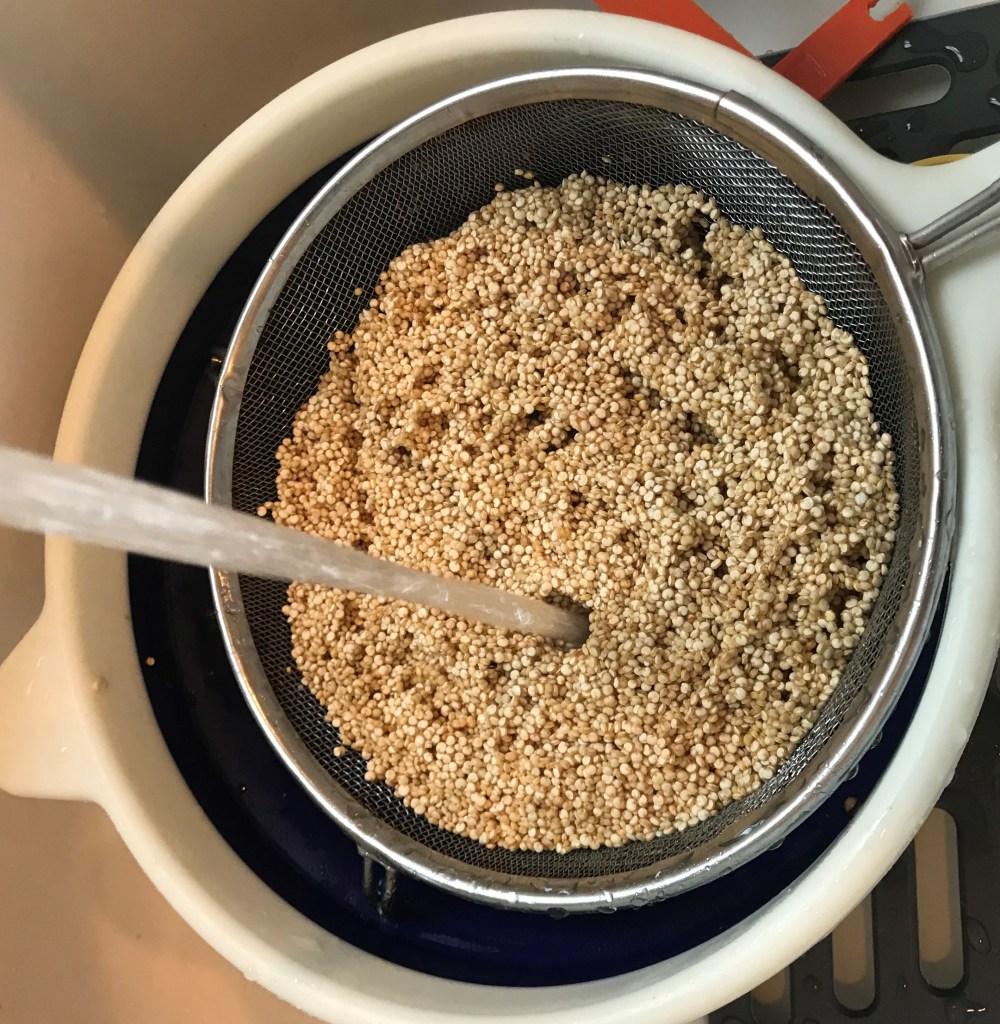
Rinse & cook quinoa 
Suate onions & garlic 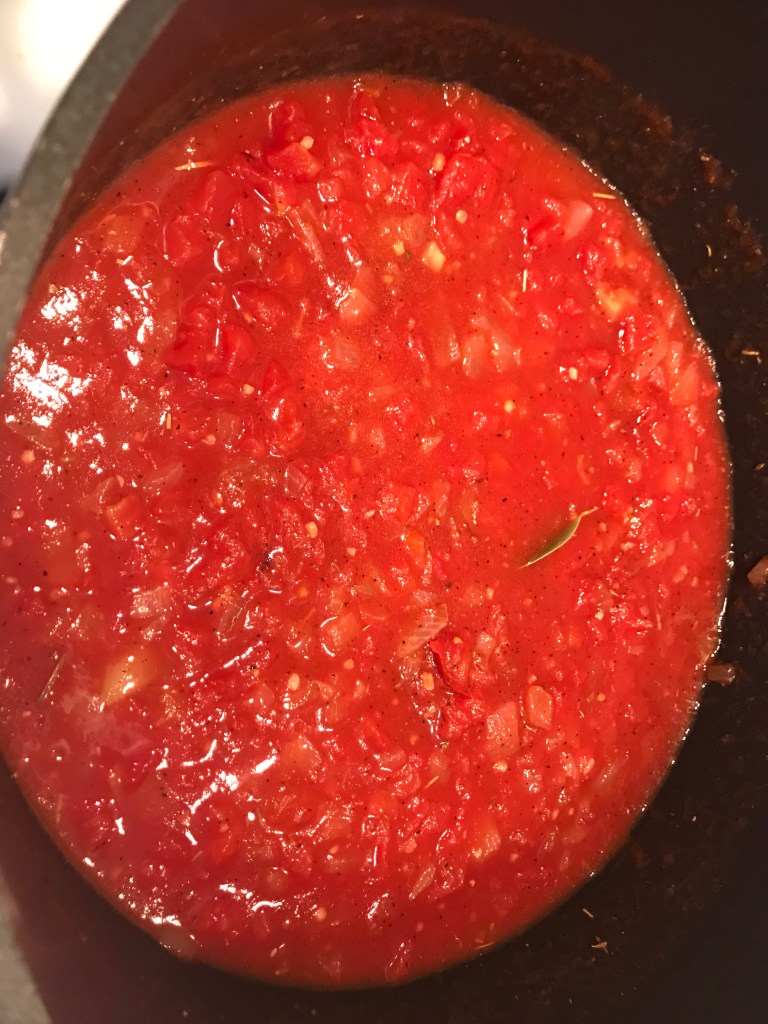
Add wine & tomatoes 
Add eggplant & spices 
Add all veggies 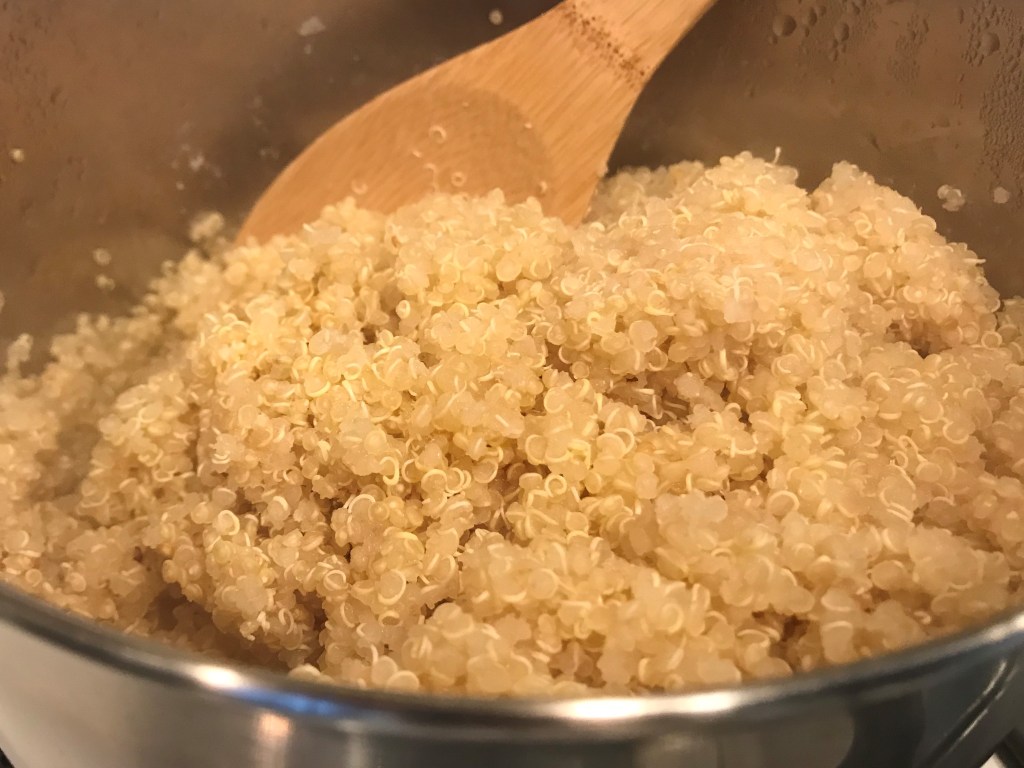
Fluff quinoa when done 
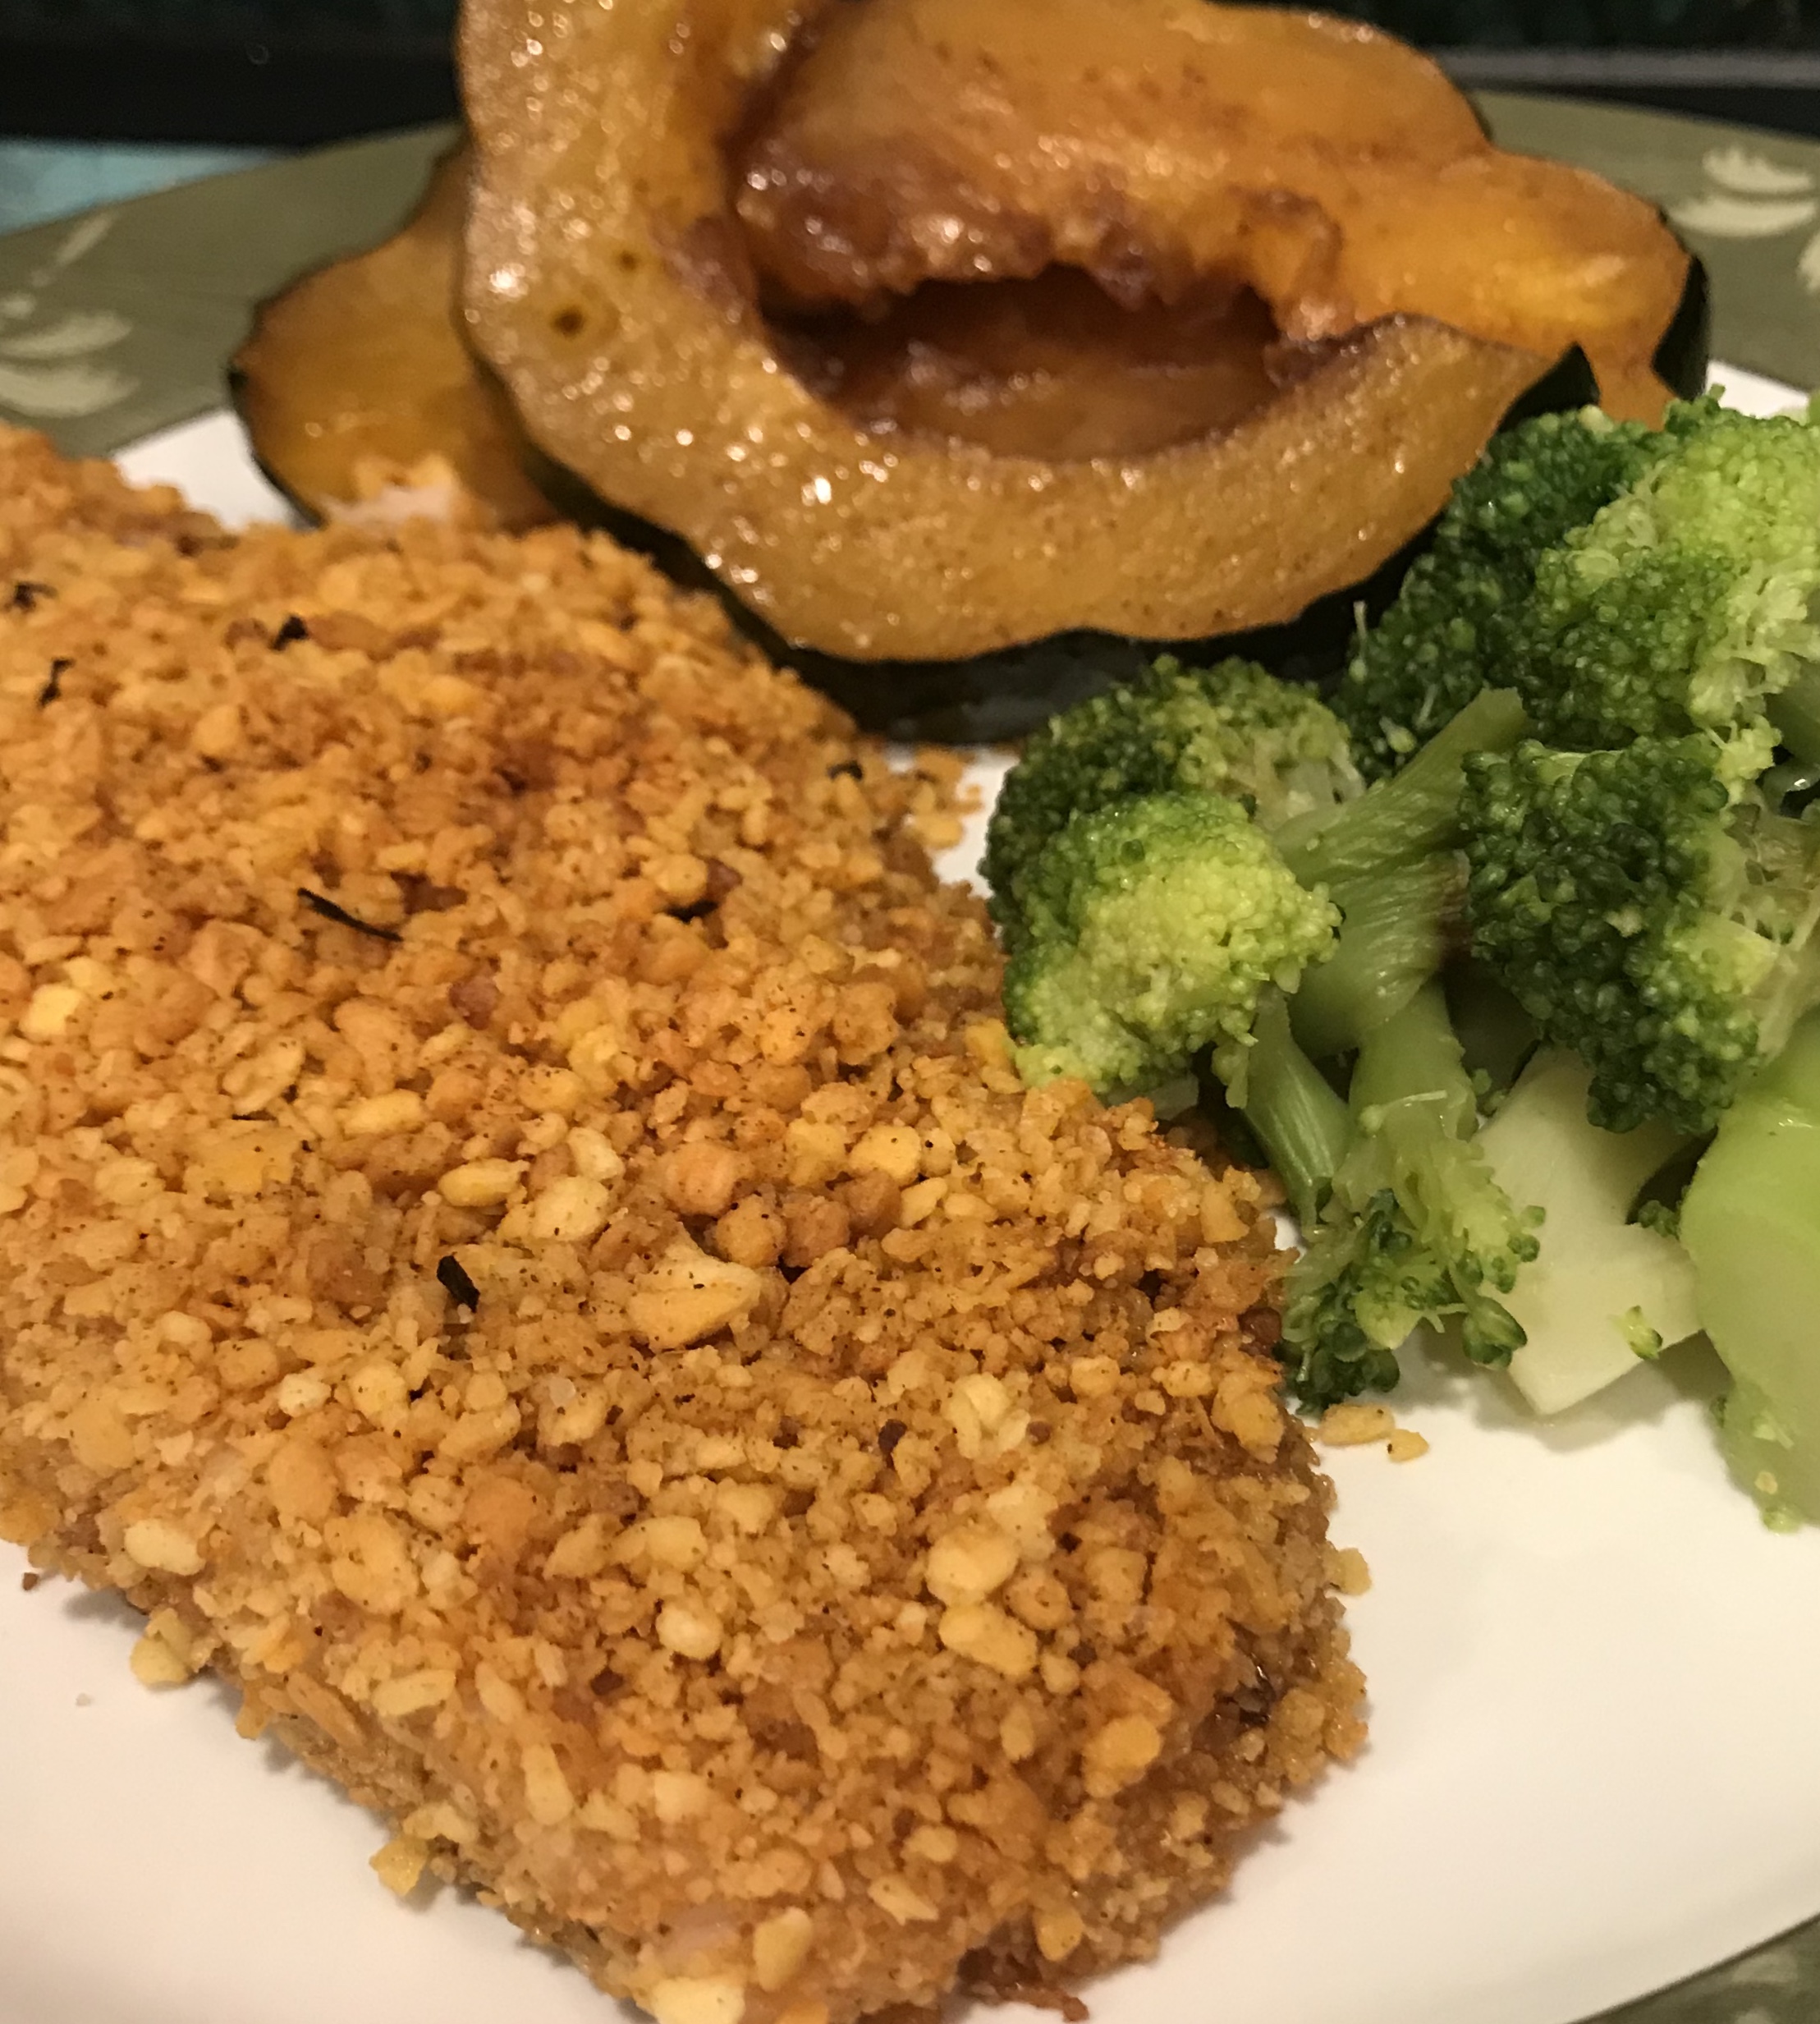
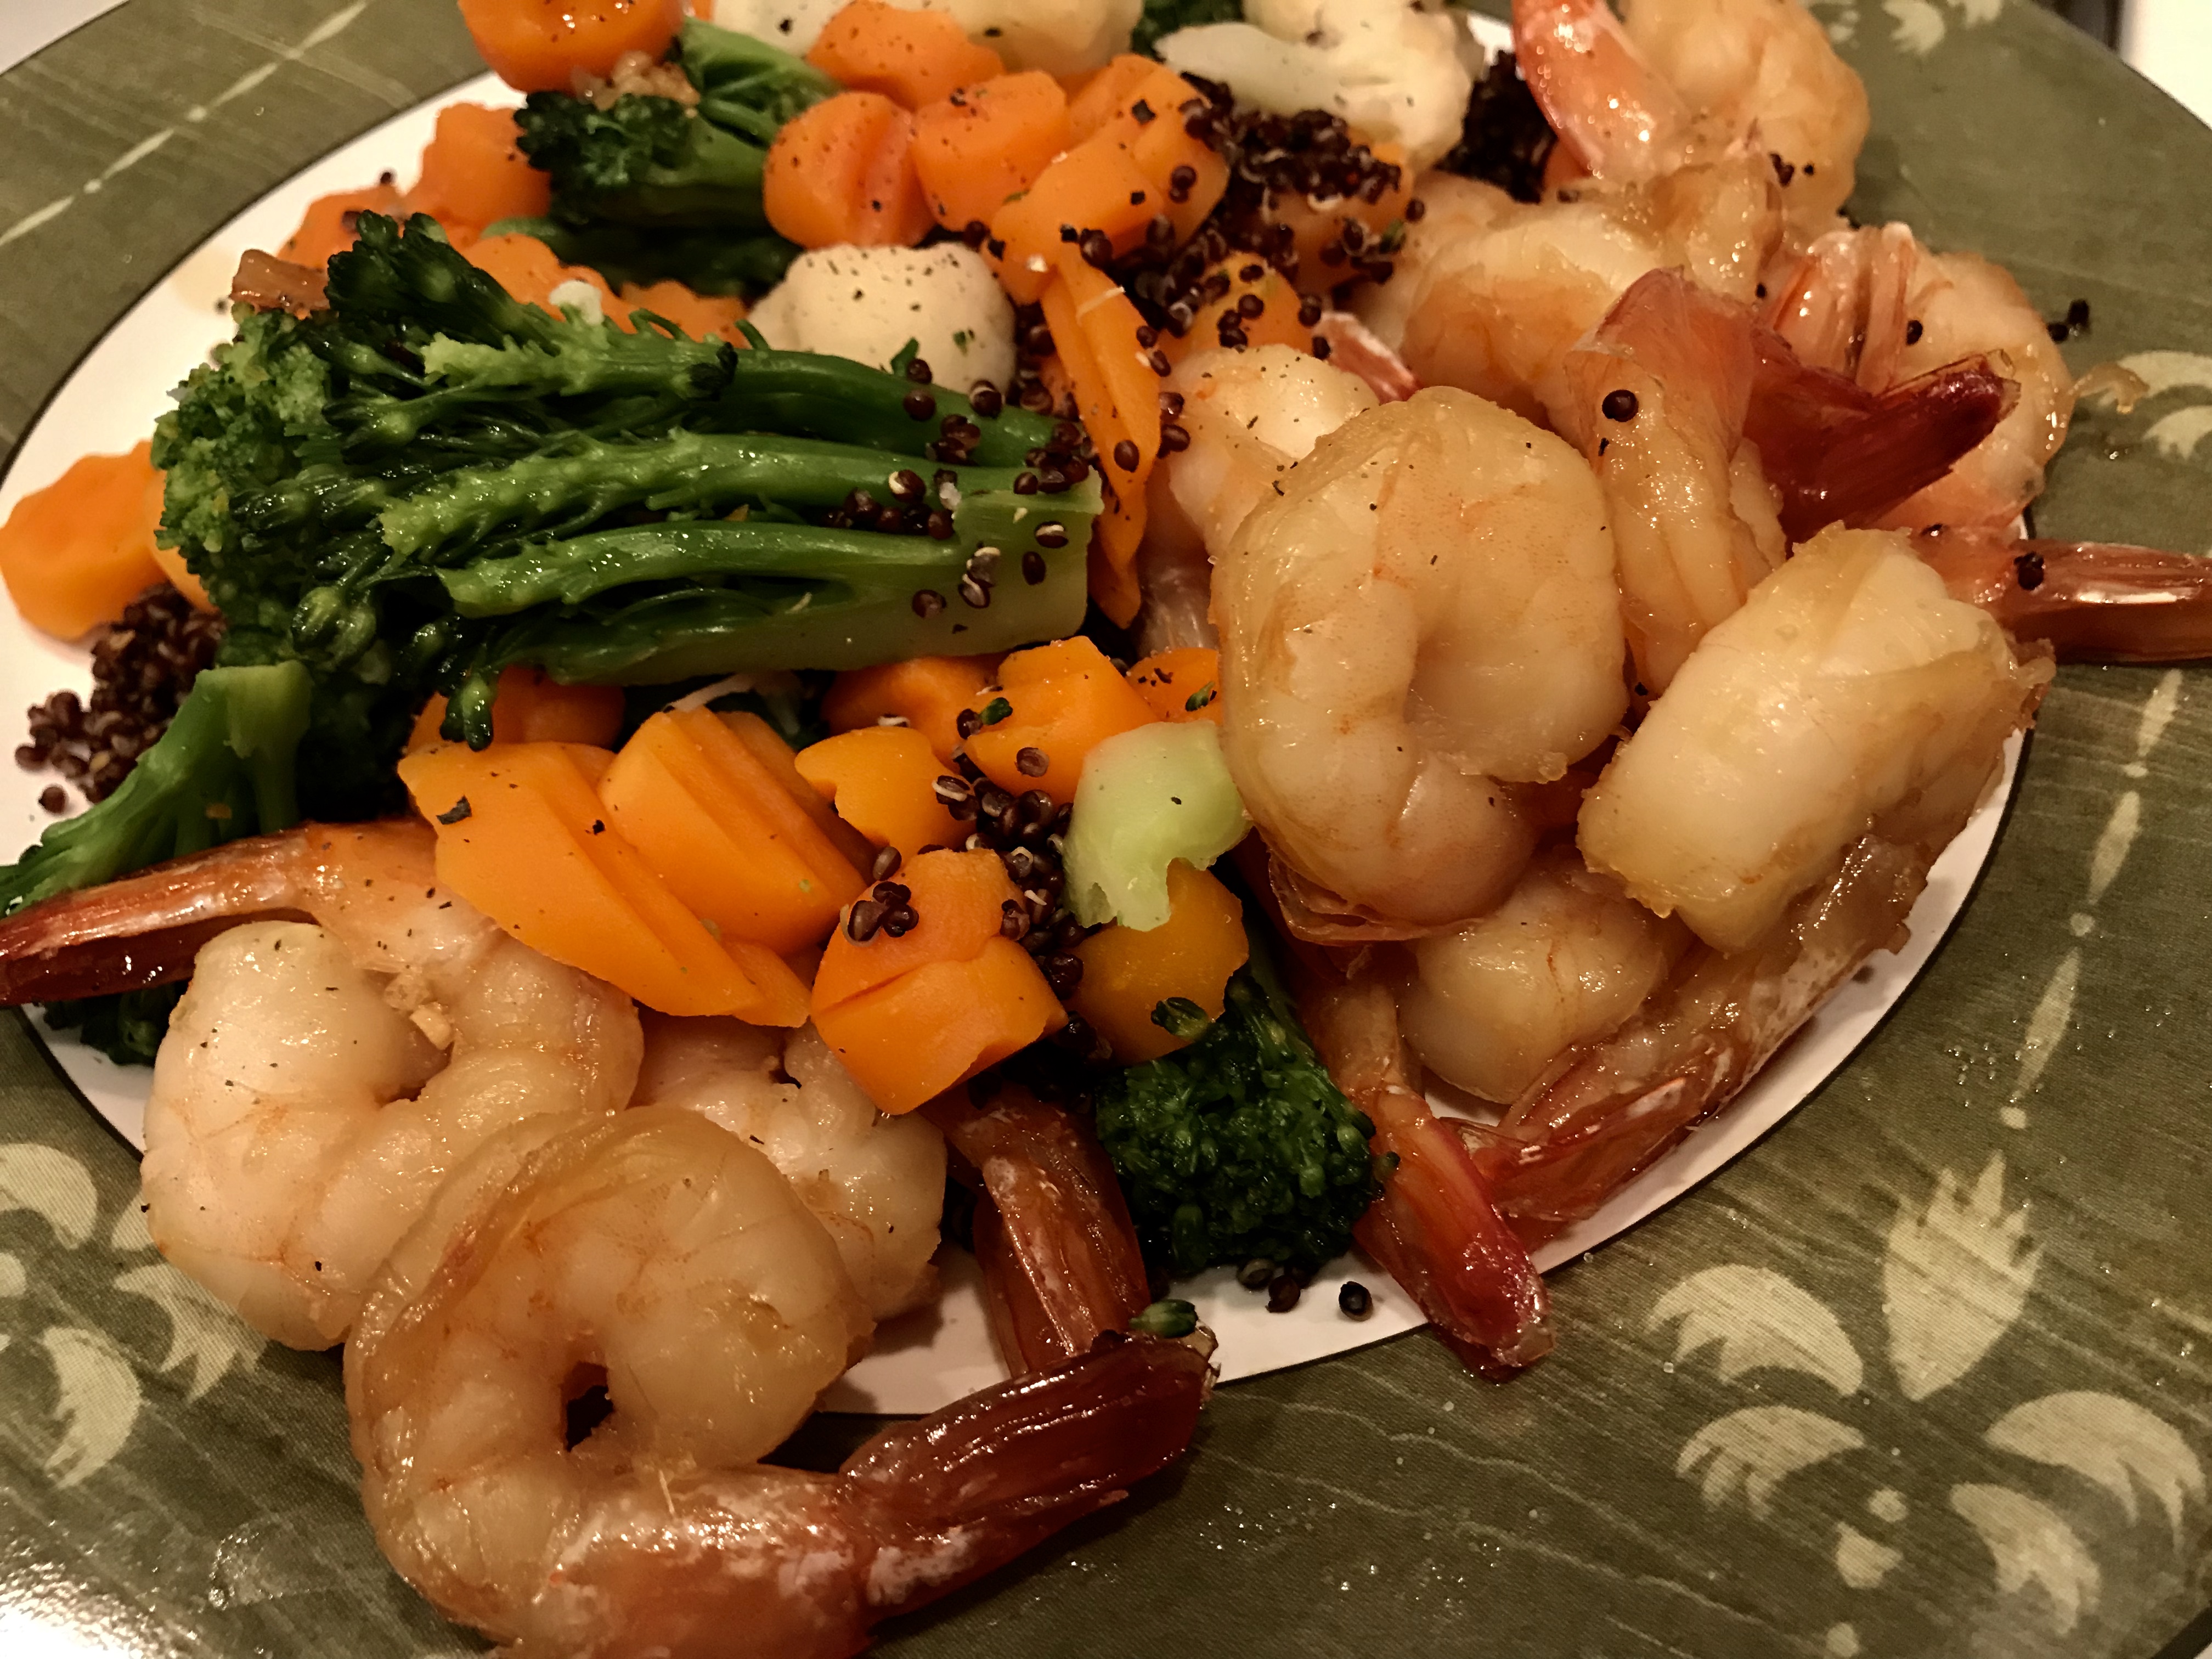
Serve ratatouille 
Ratatouille over Quinoa sprinkled with parsley